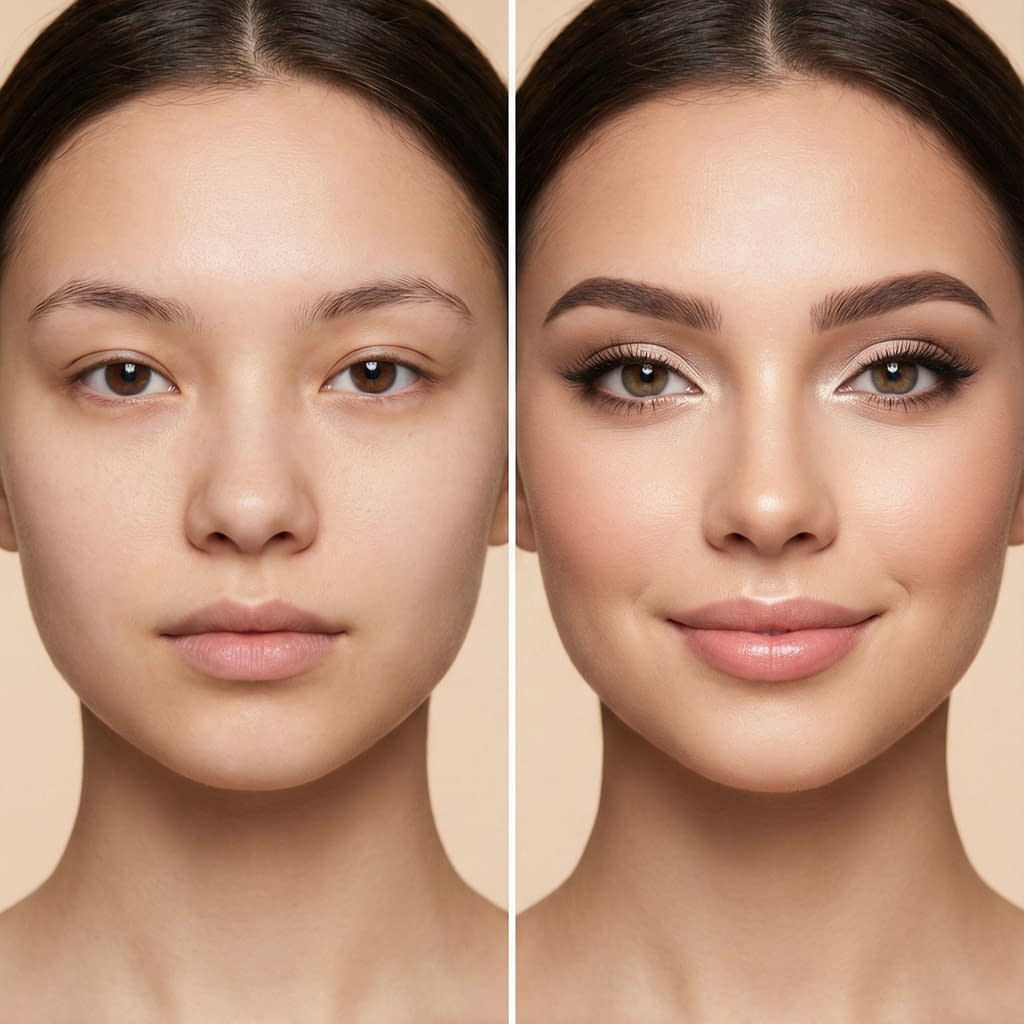
A few clever makeup moves can completely change how your eyes read on your face. For small eyes, the goal is simple: create the illusion of space, lift and brightness without weighing the eye down. That means using light to open the eye, shadow to add depth in exactly the right places, lashes that lift and separate, and liners that elongate rather than close. Below you’ll find a complete, step-by-step toolkit — from prep to false lashes — with practical techniques you can use right away. Try the methods, tweak for your eye shape, and practice until the steps become second nature.
Why Eye Makeup Matters for Small Eyes
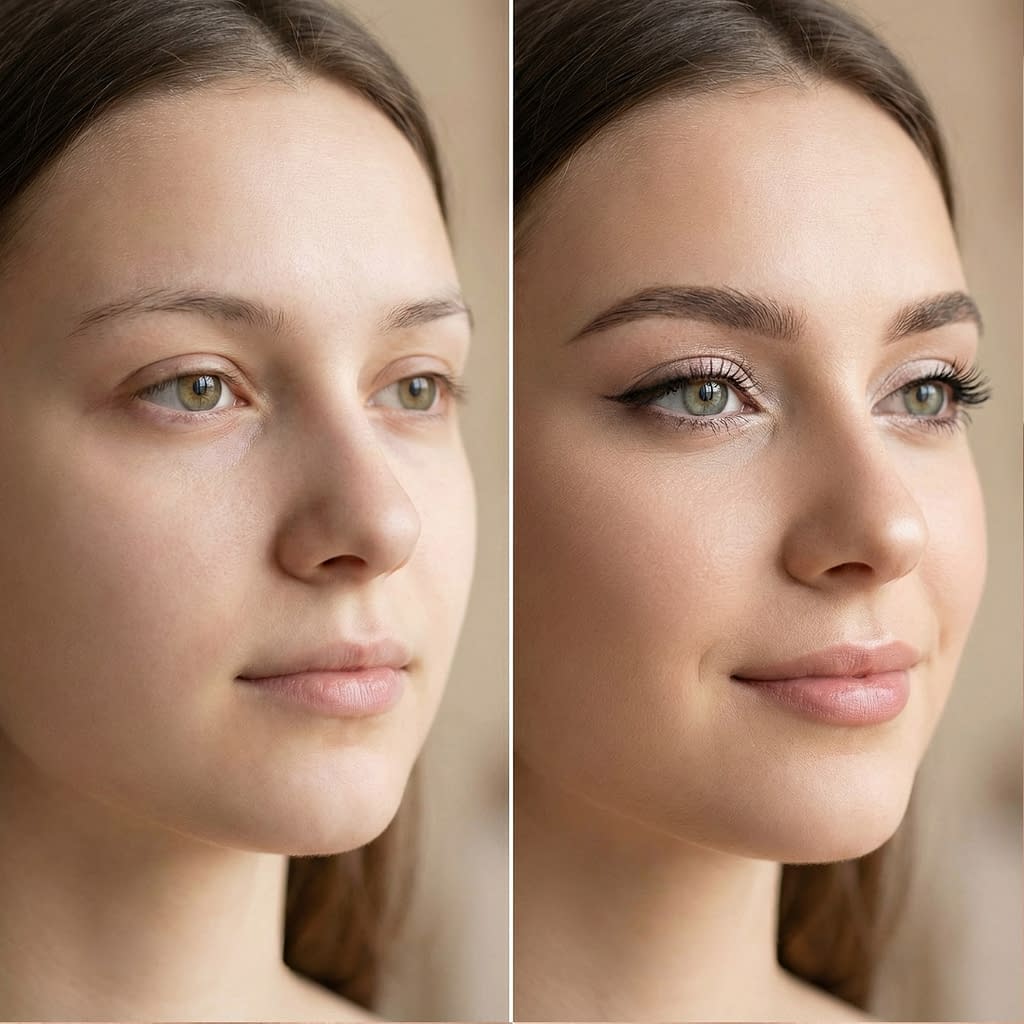
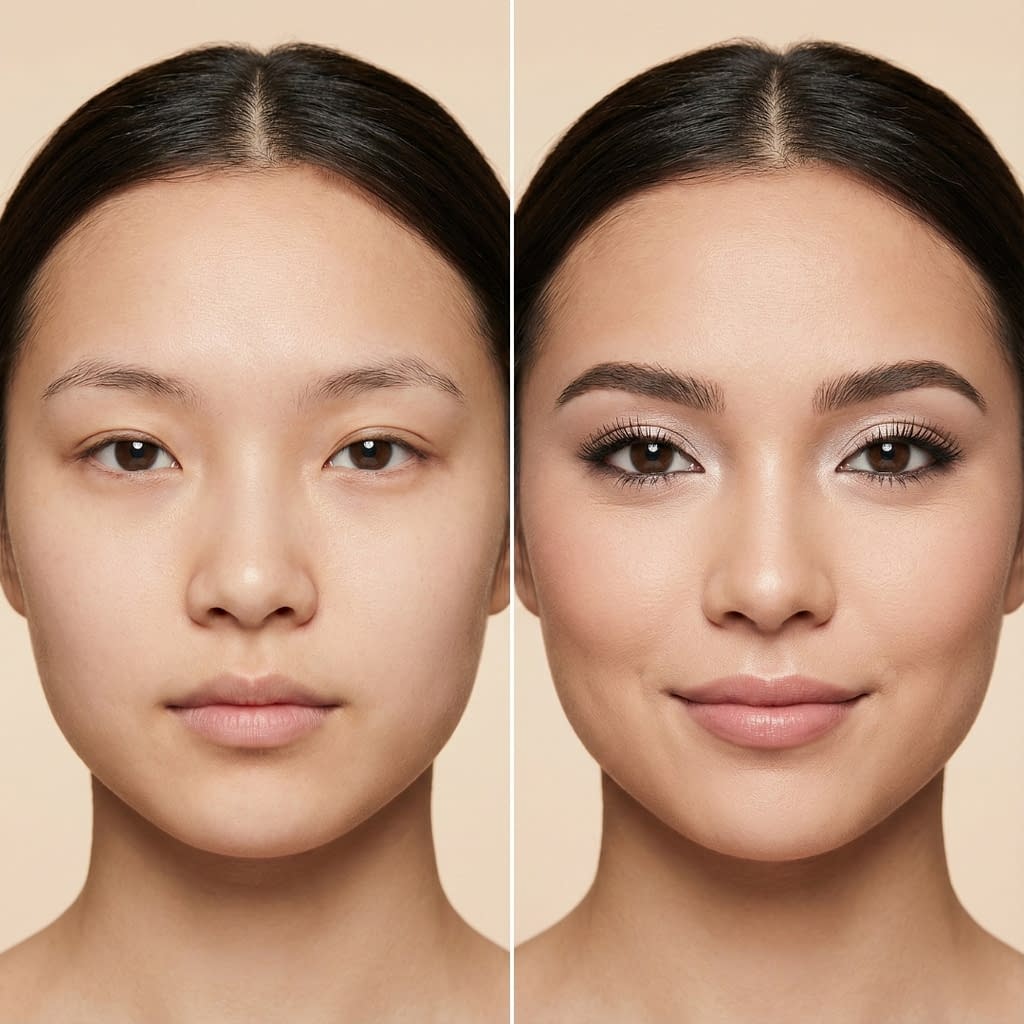
Makeup can change perceived proportions. Small eyes read smaller when surrounded by heavy dark colors, harsh liner, or flattened shadow. Makeup that brightens the inner area, lifts the outer corner, and adds vertical lift makes the eye appear larger. Key principles:
- Light expands, dark recedes. Use lighter tones on the lid and inner corner; place darker shades in the outer crease and outer V to add depth and visual width.
- Vertical lift opens the eye. Curling lashes and lifting the outer corner (winged liner, outer V shadow) creates upward motion.
- Avoid heavy closed-in lines. Thick lower-lid liner or heavy matte shadow across the entire lid will make small eyes look smaller — keep the lower area soft and brightened.
- Contrast and clarity. Well-defined lashes and groomed brows frame the eye and make it read larger.
Prep Your Eyes Properly
Good prep makes every technique work better and last longer.
Step-by-step eye prep:
- Cleanse the eye area gently to remove oil and product residue. Use a micellar water or gentle cleanser if needed.
- Moisturize the eyelids with a lightweight eye cream or gel — let it absorb fully (30–60 seconds). This prevents patchy shadow.
- Prime the lid: apply an eye primer or a thin layer of concealer (tap it in with your ring finger) to even tone and provide grip for shadows. For oily lids, a powder primer or a tiny dusting of translucent powder helps prevent creasing.
- Conceal under-eyes: a slightly brightening concealer reduces shadows that make eyes look tired and smaller. Use a shade that matches or is one tone lighter than your skin; blend well.
- Set the base lightly with a translucent powder or a skin-tone matte shadow to make blending easier.
Use a Light Eyeshadow Base
A light, neutral base opens and evens the lid — visually expanding the surface.
How to apply:
- Choose a matte or satin skin-tone shade one or two shades lighter than your skintone.
- Using a fluffy flat brush or synthetic shader, apply all over the lid from lashline up to the brow bone (or to the bone). This brightens and creates the illusion of height.
- For very hooded eyes, blend slightly above the natural lid to create a higher “working” lid area.
Tip: luminous bases can work, but avoid heavy shimmer across the entire lid — reserve shimmer for inner corner and center lid highlight.
Highlight the Inner Corners
A bright inner corner visually widens the eye and makes it appear more awake.
How to highlight:
- Choose a light, shimmery champagne, soft pearl, or pale gold (match your skin tone; cooler pearls suit cool skins).
- Using a small pencil or detail brush, place a tiny dot of shimmer at the inner corner where the upper and lower lids meet — don’t over-do it; subtlety reads as widened, too much can look glittery.
- Lightly sweep the shimmer along the first 2–3 mm of the lower lash line to connect the highlight.
- For a dewier daytime look, press a touch of cream highlighter on the inner corner with your finger.
Define Your Crease for Depth
Proper crease work creates dimension and the perception of depth (which makes the eye read larger).
Step-by-step crease definition:
- Find your crease area: for deep or hooded lids, identify the small socket area; for more open lids, the crease sits a little higher.
- Pick a soft matte medium-brown or taupe a couple of shades darker than your skin tone.
- Using a fluffy, tapered blending brush, apply the shadow in windshield-wiper motions into the crease, starting from the outer third and working inward — keep the pigment concentrated in the outer half to avoid closing the eye.
- Blend upward and outward (slightly above the natural crease if needed) to create the illusion of a higher lid. The trick: lift the shadow slightly toward the tail of the brow to create an upward trajectory.
- Soften any harsh edges with a clean brush — blended edges read bigger than hard lines.
Use Eyeshadow Strategically
Layering shades with an outer-V technique and gradient shading opens and elongates the eye.
How to build a flattering gradient:
- Transition shade: apply a soft transition color (light warm brown) across the crease as a blending base.
- Outer V: take a deeper shade (matte deep brown or muted plum) and apply in a small V at the outer corner, concentrating on outer 1/3 of lid and outer crease. Blend outward and slightly upward.
- Lid shade: use a light to medium satin shade on the mobile lid (center and inner lid) — this visually pushes the lid forward.
- Center pop (optional): for evening looks, add a small touch of shimmer or metallic to the center of the lid to create dimension. Use fingertips to press it in for maximum payoff with minimal product.
- Lower lash smudge (soft): take a tiny amount of the outer-corner shade and smudge lightly along the outer lower lash line — keep it very soft and only on the outer third to prevent closing the eye.
Technique notes: keep the center of the lid brighter and the outer corner darker — this “light in the middle” trick makes the lid read wider.
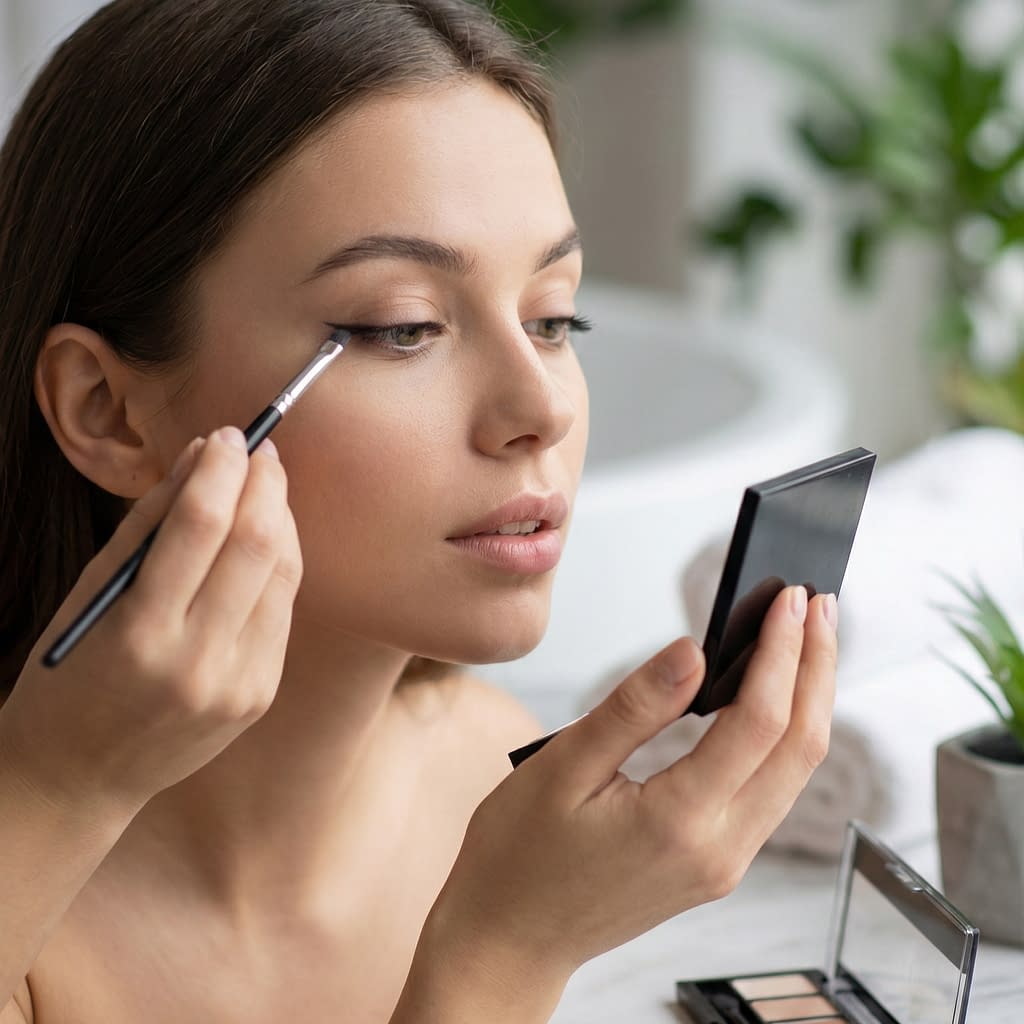
Apply Eyeliner Correctly
Liner is powerful — used right, it elongates and lifts. Used wrong, it closes the eye.
Tightlining (upper waterline) — fullness without closure:
- Use a creamy, waterproof pencil (black or deep brown).
- Gently lift the upper lashline with one finger and apply the pencil to the upper waterline (the tiny gap beneath the lashes). This fills gaps and makes lashes look dense without a visible line.
Winged liner for elongation:
- Start with a thin line at the inner corner, gradually thickening toward the outer third.
- Draw a small wing that follows the lower lash line extension and flicks slightly upward — the wing angle should be gentle, not sharply vertical.
- Keep the line thinner close to the inner corner; a thick inner line eats lid space.
- If liquid liner intimidates, use a fine gel liner or a smudged pencil and then sharpen the wing with a flat brush.
Lower lid rules:
- Avoid heavy black liner all along the lower rim. Instead, use a soft brown pencil smudged thinly on the outer lower lash line or use a nude/peach liner on the lower waterline to open the eye.
- White or nude waterline liners brighten and make eyes look larger — apply to the inner waterline for immediate opening.
Curl Your Lashes for Instant Lift
Curling lashes changes the eye’s vertical dimension instantly.
How to curl correctly:
- Heat the curler slightly with a hairdryer for a second (test on wrist — warm, not hot) to get a longer-lasting curl.
- Place the curler at the base of the upper lashes, squeeze gently and hold for 8–10 seconds.
- Move the curler slightly along the lash length and press again (base → mid → tip) for a natural, gradual curl rather than a sharp crease.
- Release gently and apply mascara immediately to set the curl.
Curling tip: for short lashes, hold a second at the root and a second at the mid-length to create lift and illusion of length.
Use Mascara to Enhance Length and Volume
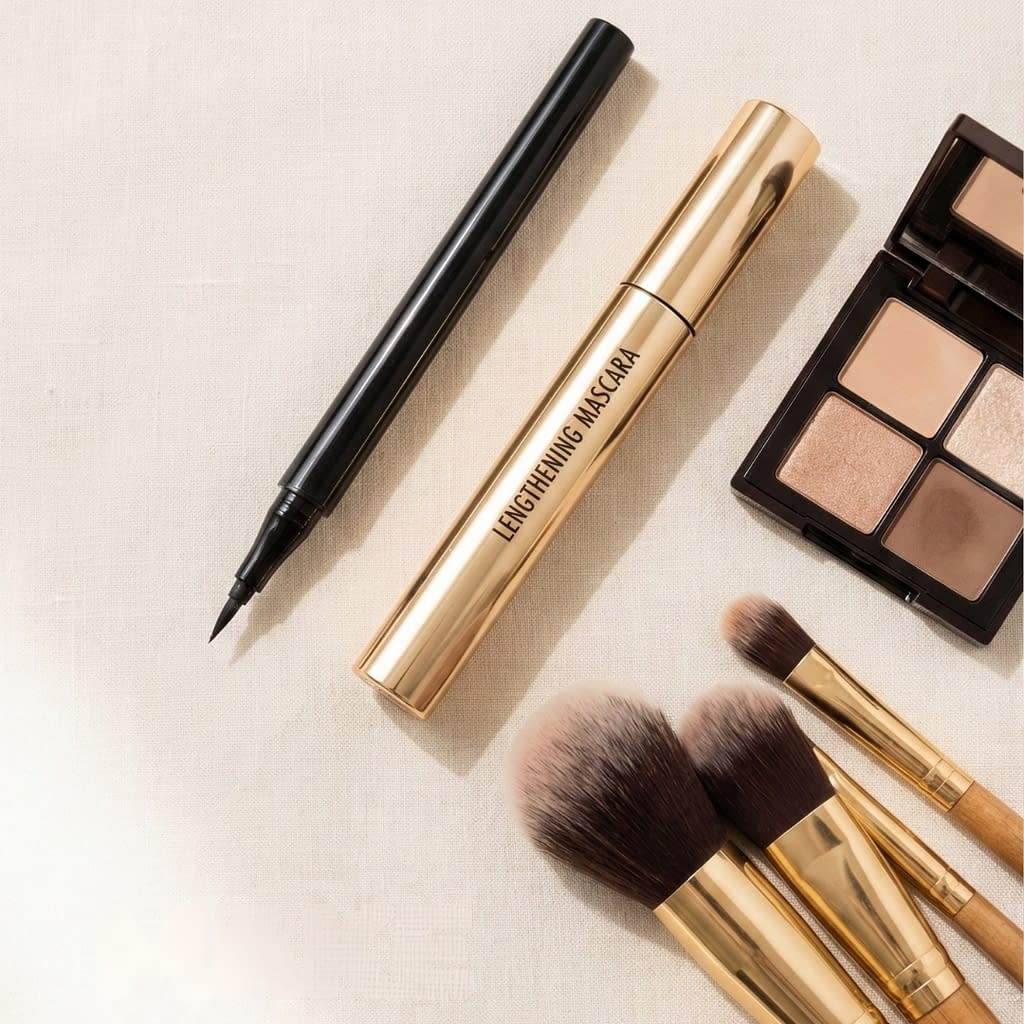
Mascara defines and stretches the eye; technique matters more than formula.
Mascara method:
- Wipe excess product from the wand to prevent clumping.
- Wiggle at the root: place wand at the base of lashes, wiggle left and right, then sweep upward — the wiggle deposits pigment at the root for the lash-density effect.
- Coat tips lightly to add length without drooping the lash.
- Separate with a clean spoolie if clumps form.
- Lower lashes: keep very light — a single combed coat or clear mascara to avoid closing the eye.
- Lengthening mascaras and tubing mascaras can be especially flattering for small eyes because they define and extend without heavy blackness that can close the eye.
Layering trick: apply one coat, let it dry a few seconds, then a second coat concentrating on outer lashes to extend the outer line.
Consider False Lashes or Lash Extensions
False lashes can dramatically expand the eye when chosen and applied correctly.
How to choose and apply:
- Choose the right shape: look for lashes that are shorter in the inner corner and longer at the outer third (cat-eye effect) or use individual/cluster lashes focused on the outer corners for natural widening.
- Trim to fit: hold the strip against your lash line and trim the outer end to fit your eye width. Don’t trim the inner corner.
- Apply thin lash glue along the strip, wait 20–30 seconds for tackiness, then place the strip as close to the natural lash line as possible. Press gently along the band to secure.
- Blend false lashes with your natural lashes using a coat of mascara or a lash comb.
- Individuals: place 2–3 clusters along the outer lash line for an opening effect without full strip intensity.
- Extensions: if you opt for extensions, ask for a tapered, outer-emphasis set — avoid full heavy sets that may overshadow small lids.
Groom Your Eyebrows
Brows frame the eyes; the right shape can lift and balance.
How to groom for bigger-looking eyes:
- Find the right arch: the highest point of the arch should align roughly with the outer iris — a subtly higher arch visually lifts the eye. Don’t overpluck; a soft, natural arch works best.
- Fill with soft strokes: use a pencil or microbrow pen to draw hair-like strokes, focusing on sparse areas. Avoid a harsh block of color.
- Highlight the brow bone: a matte, slightly lighter shade under the arch and a subtle shimmer on the high point gives immediate lift.
- Keep the tail clean: taper the tail but don’t make it too long or heavy — a long, heavy tail draws attention outward and can visually shorten the lid.
Final Words
Here’s a compact, repeatable look that makes small eyes read bigger — save it and practice until it’s quick:
- Prep: cleanse, eye cream, primer, and a light concealer.
- Base: all-over light matte shade to open lid.
- Crease: soft matte medium brown on outer crease, blended up and out.
- Lid: light satin on inner and center lid; tiny shimmer in inner corner.
- Liner: tightline upper waterline; thin winged liner that thickens slightly at the outer corner.
- Lashes: curl, two light coats of lengthening mascara; emphasize outer lashes.
- Brows: groom and softly fill; highlight under arch.
Practice makes perfect — try each technique separately, then combine. Take photos in daylight to see how proportions shift and refine from there. Makeup is creative: adapt these steps to your unique eye shape, and above all, have fun experimenting.


