Eyebrows are a small feature with a huge effect: the right shape and finish can lift your expression, balance your features, and make you look more put-together with minimal effort. This guide walks you through the whole process — from understanding face shapes and mapping brows, to step-by-step filling, blending, correcting mistakes, and simple maintenance. Every heading below uses a strong, readable style so the layout will look clean on your site and easy for readers to scan.
Why Perfect Brows Make a Big Difference
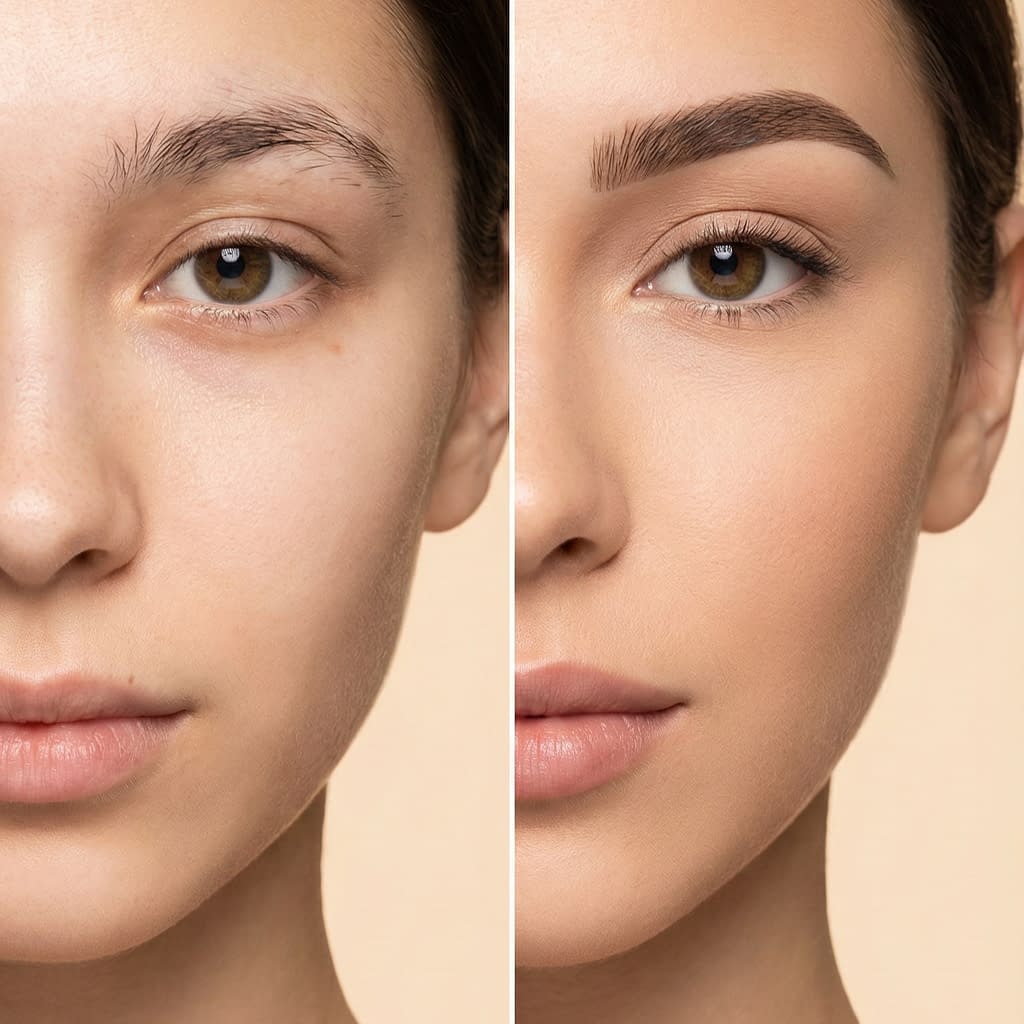
Brows do more than fill space above the eyes. They:
- Frame the eyes and define the face.
- Influence perceived age and expression (a subtle arch can make you look more alert).
- Create symmetry and balance that the brain interprets as attractive.
A small tweak in brow shape or placement can visually lift the cheeks and the eye area. When you treat brows as architecture — not just color — your results look intentional and flattering.
Know Your Face Shape and Brow Goals
Think before you draw:
- Identify whether your face is oval, round, square, heart, long/rectangular, or diamond.
- Match the brow style: rounder brows soften angles; higher arches lengthen round faces; flatter brows shorten long faces.
- Decide the daily goal: natural, groomed, laminated, or bold. Your product and technique choices follow from that goal.
Pro thinking: don’t chase trends that clash with your bone structure. Subtlety over drama usually reads better in daily life.
Essential Tools for Eyebrow Shaping and Filling

A small, quality kit beats a drawer full of unknowns:
- Fine-tipped brow pencil (hair-like strokes)
- Angled brush (for pomade or powder)
- Brow powder (for soft depth)
- Spoolie (blend & shape)
- Clear or tinted brow gel (set & texture)
- Tweezers / small scissors (maintenance)
- Small flat brush + concealer (clean edges)
Tool tip: keep one spare spoolie and a well-sharpened pencil in your bag for touch-ups.
Mapping Your Brows: Finding the Ideal Start, Arch, and End
Mapping makes symmetry easy:
- Start point: vertical from nostril to inner eye corner.
- Highest arch: line through nostril and outer iris.
- End point: nostril to outer eye corner.
Lightly mark these three points on both brows before filling. Check the distance between starts to make sure they’re not too close — a slight gap is natural and flattering.
Pro tip: map with a thin string or the edge of a business card for consistency.
Step-by-Step Guide to Filling Sparse Areas
Work slowly and build natural density:
- Brush brows upward with a spoolie and trim any very long hairs.
- Outline lightly the lower edge if you need guidance, but keep the inner brow soft.
- Draw hair-like strokes with a pencil in the direction the hairs grow — short, varied-length strokes at the front; slightly longer toward the tail.
- Add soft powder where you need depth (use an angled brush).
- Blend with a spoolie to soften and distribute pigment.
- Set with brow gel brushed upward for lift.
If a spot looks too dense, a single pass with the spoolie will diffuse it. Always build; never start with heavy application.
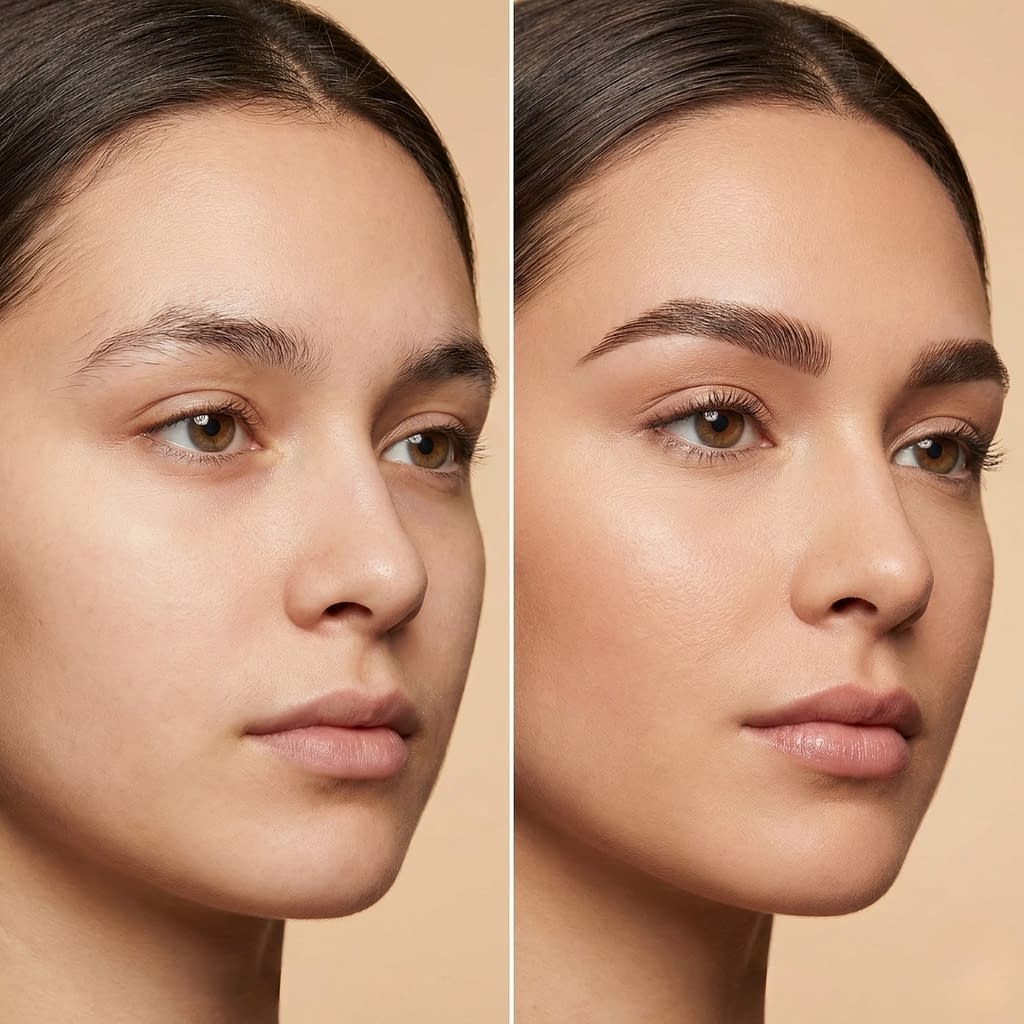
Blending Techniques for Natural-Looking Brows
Blending converts makeup into believable hair:
- Spoolie, spoolie, spoolie: after every few strokes, brush through to soften edges.
- Layer textures: pencil for micro-strokes, powder for softness; powder over pencil often reads most natural.
- Use a tiny dot of concealer under the lower edge to lift and clean lines — blend downward so it doesn’t look painted.
Remember: brows should have dimension (shadow + hair strokes), not be a monochrome block.
How to Correct Mistakes Without Ruining Your Shape
Fix small errors gently:
- Too dark? brush upwards with a spoolie, then buff with a clean brush.
- Overdrawn tail: dip a q-tip in micellar water and subtly remove excess; re-blend.
- Uneven arches: add micro-strokes to the lower/inner side of the lighter brow, then spoolie.
Work in small, reversible steps. If you remove too much, use concealer to redraw and match.
Using Brow Gel and Setting Products for All-Day Hold
Hold keeps shape but should stay flexible:
- Clear gel maintains natural texture.
- Tinted gel adds depth for sparse brows.
- Soap or wax technique can create laminated, feathery looks — use a little product on a spoolie and press hair upward; set and don’t over-layer.
Avoid crunchy gels — they make brows look stiff and fake. Aim for movement.
Tips for Thick, Thin, or Uneven Brows
Adjust strategy by density:
- Thick brows: tidy by trimming long hairs, tweeze stray hairs, and define the lower edge. Use powder to soften heavy lines.
- Thin brows: create individual hair strokes with a sharp pencil; consider tinting or semi-permanent options if you want lower maintenance.
- Uneven brows: map precisely and fill to the larger but balanced shape — small asymmetries look natural.
If you’re trying to grow brows, a gentle daily comb and a nourishing serum can help over months.
Quick Everyday Brow Routine for Busy Mornings
3–4 minute polished brows:
- Spoolie through (30s)
- Pencil sparse spots + powdered sweep (90–120s)
- Blend + set with gel (30s)
Practice brings this under-3-minute routine to autopilot.
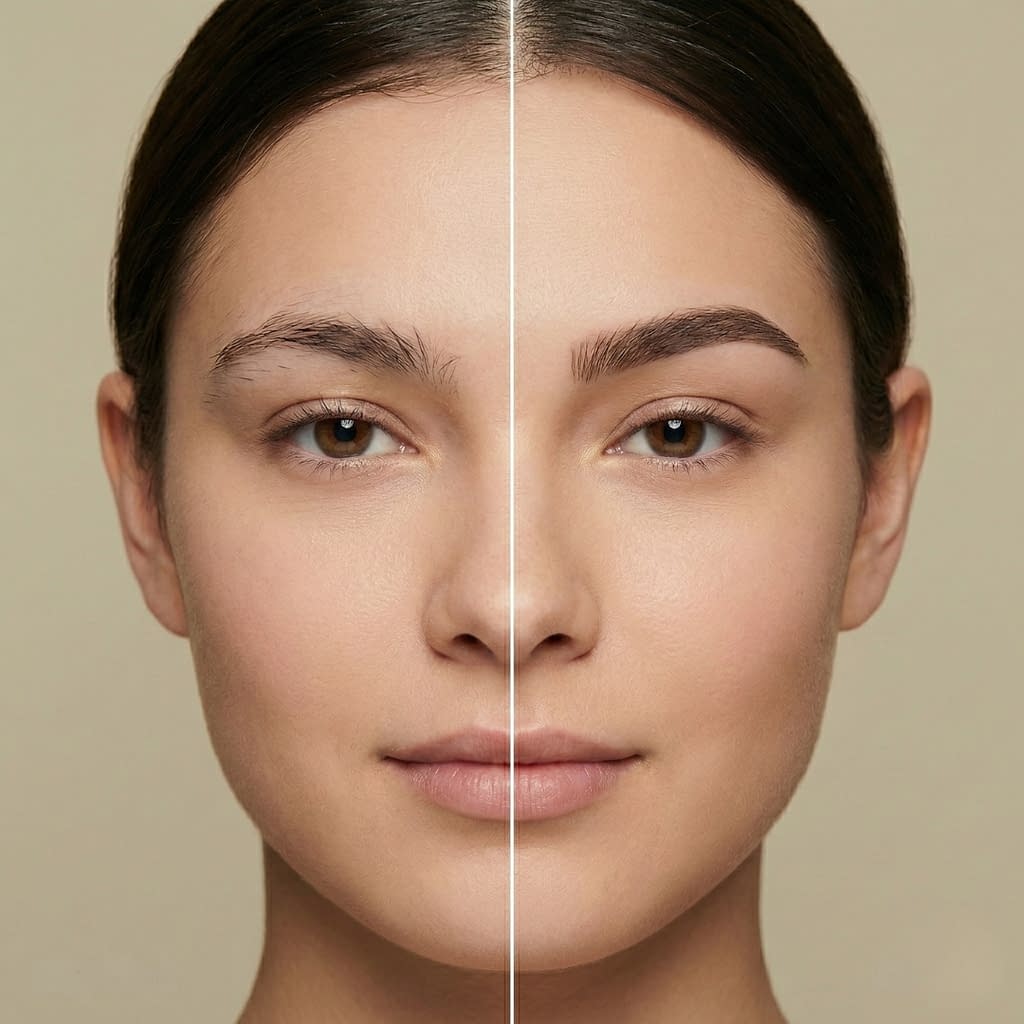
Professional Tricks to Make Brows Look Symmetrical

Pros use small hacks:
- Measure with a pencil each time you map.
- Concealer lines sharpen and correct subtle mismatches.
- Tinting evens base color so daily filling is easier.
- Photograph your brows straight-on in natural light to evaluate symmetry — mirrors can lie.
Little optical tricks like a light highlight on the arch visually lift and harmonize.
Common Mistakes That Make Brows Look Harsh or Fake
Avoid these frequent errors:
- Using a shade that’s too dark or too warm/cool for your hair.
- Heavy, blocky application at the front.
- Not blending.
- Over-plucking or creating an overly high arch.
If it looks dramatic in the mirror, try stepping back or taking a quick photo — you’ll see it differently.
Maintaining Your Brows Between Touch-Ups
Keep shape steady with gentle upkeep:
- Tweeze only stray hairs outside your mapped shape.
- Trim extended hairs by brushing up and snipping tiny tips.
- Refresh shape every 6–10 weeks professionally, depending on growth.
- Use a small brush and conditioning oil if hair is dry or wiry.
Maintenance is lighter than reworking the whole brow — small, frequent fixes win.
Final Words
Perfect brows combine thoughtful mapping, realistic goals, and practiced technique. Treat your brows as a framework — map them, use small hair-like strokes, blend thoroughly, and set with a light gel. Keep tools clean, work in thin layers, and maintain gently. With practice you’ll create brows that look natural, balanced, and uniquely flattering every day.


