Nobody wants an up-close surprise of a rogue nose or ear hair — but trimming those hairs the right way keeps you neat without risking pain, irritation, or damage. This post explains why nose and ear hair exist, which trimming methods are actually safe, step-by-step instructions for both areas, tool care, how often to tidy up, when to get help from a pro, and how to do it discreetly. Read the whole thing or skip to the sections you need — every step is designed to keep you safe and comfortable.
Why Nose and Ear Hair Grooming Matters
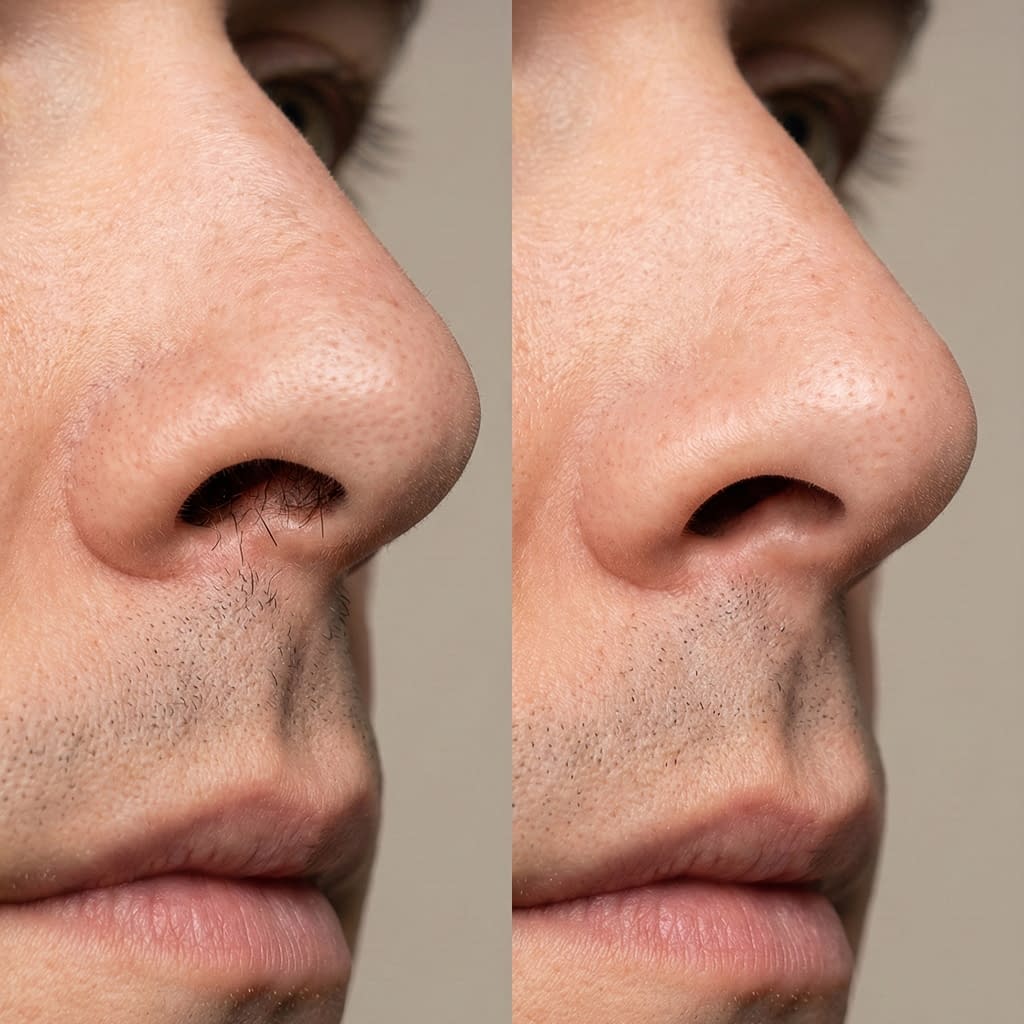
Groomed nose and ear hair looks cleaner and more put-together. That said, these hairs do serve a purpose (see next section), so grooming is about trimming the visible, bothersome hairs — not removing all hair entirely. Doing it properly prevents accidental cuts, painful tugging, infections, and embarrassing moments. A neat trim can also improve how you smell and reduce the temptation to fiddle with your nose or ears in public.
Understanding the Role of Nose and Ear Hair in Your Health
Nose and ear hairs trap dust, pollen, and other particles before they reach your lungs or ear canal. They’re a first line of defense. The goal of grooming is to shorten visible hairs that stick out — not to remove all filtering hairs deep inside the nostril or ear. Keeping some hair intact maintains protection while improving appearance.
Common Mistakes People Make When Trimming
- Plucking or waxing hairs from inside the nose or ear — painful and raises infection risk.
- Sticking scissors or any sharp object deep into the ear canal or nostril — can cut skin or damage eardrum.
- Using dull blades that tug instead of cut cleanly.
- Over-trimming so the nostrils or ear entrance are entirely bare — removes protective filtration.
- Trimming in poor light or without a mirror — increases chance of nicks.
Avoid these and you’ll avoid most grooming mishaps.
Tools You Can Safely Use for Nose and Ear Hair
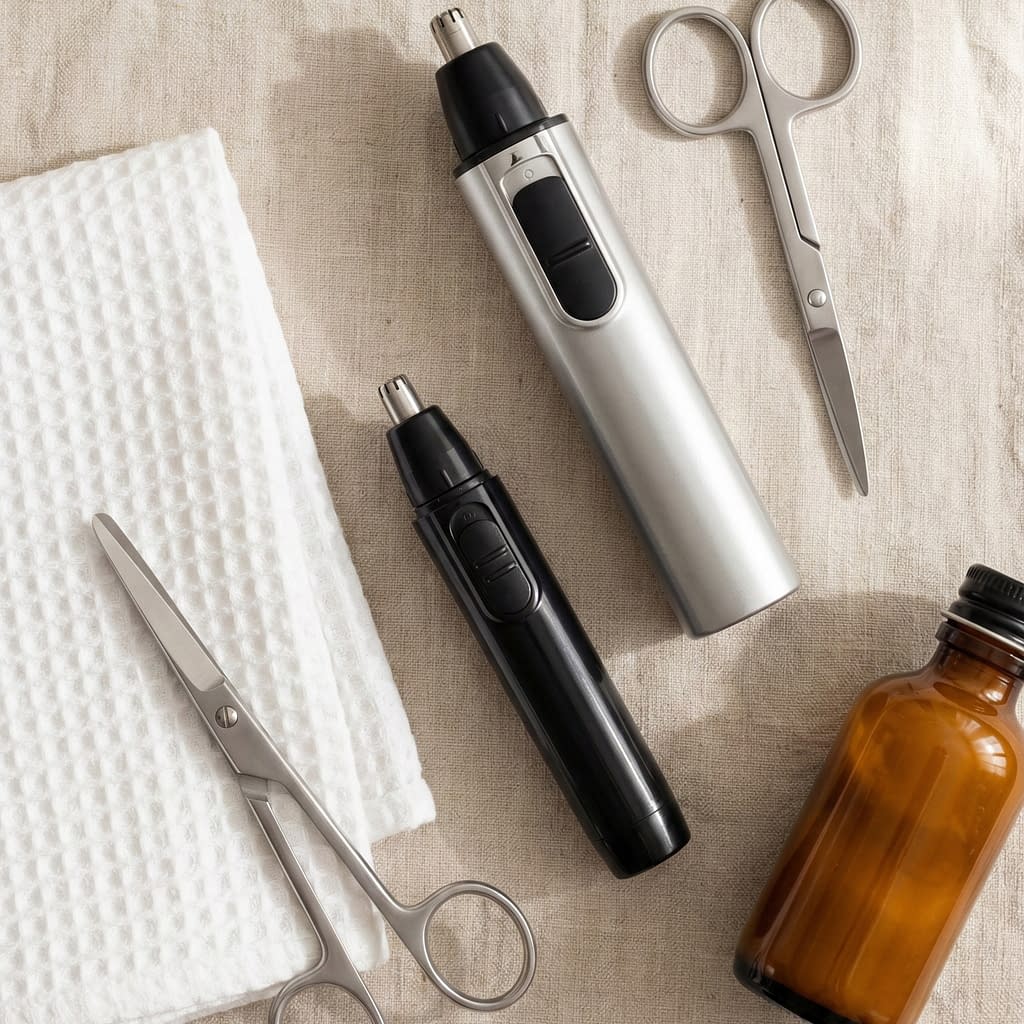
Safe tools make a huge difference. The best choices are designed for these areas:
- Battery-operated nose & ear hair trimmer (rotary or oscillating head): safest and easiest — heads are rounded and made to cut without poking.
- Grooming scissors with rounded tips: good for very short, visible hairs near the nostril or ear entrance — only use the rounded-tip type and keep the blades outside the canal.
- Ear/nose trimmers with vacuum feature: collect cut hair and reduce mess.
- Headlamp or bright light + magnifying mirror: helps you see hairs clearly so you trim only what’s needed.
Avoid using regular household scissors, tweezers, or razor blades in these areas.
Electric Trimmers vs. Scissors: Pros and Cons
Both methods can be safe when used correctly. Choose based on comfort and precision needs.
- Electric trimmers (recommended for most people)
- Pros: Designed for the job, less chance of cutting skin, quick, good for hard-to-see angles.
- Cons: Needs batteries/charging and cleaning, can be noisy.
- Rounded-tip scissors (for careful spot trimming)
- Pros: Precise for trimming small visible hairs, no batteries required.
- Cons: Requires a steady hand, good light, and extreme caution to avoid inserting scissors too far.
If you’re unsure or nervous, start with an electric trimmer — it’s more forgiving.
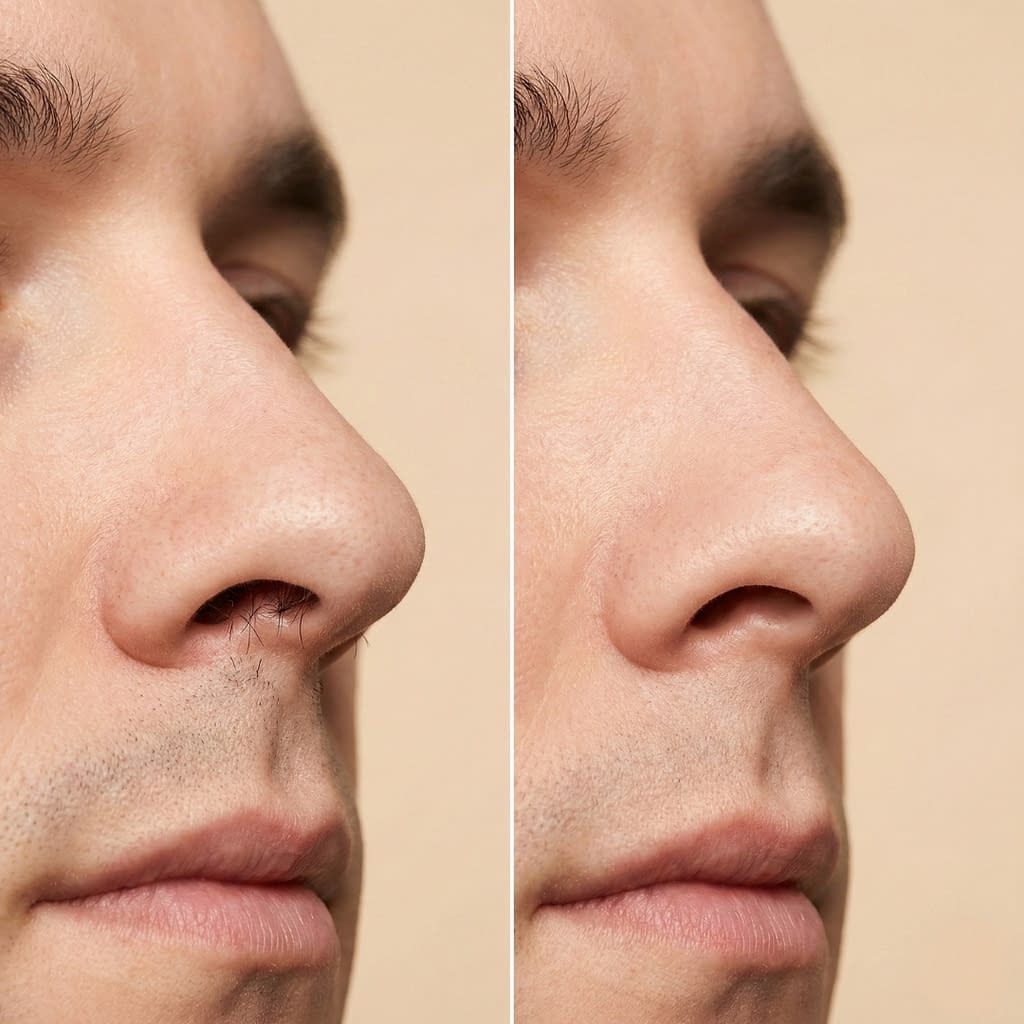
Step-by-Step Guide to Trimming Nose Hair Safely
Follow these steps slowly and calmly.
- Wash your hands with soap and water.
- Work in bright light and stand in front of a mirror (a magnifying mirror helps).
- Blow your nose gently to remove mucus and loosen hair.
- Choose your tool: electric trimmer is best; rounded-tip scissors are okay for tiny visible hairs.
- Tilt your head back slightly so you can see the nostril opening clearly (don’t jam your head back — a small tilt is enough).
- Trim only the hairs you can see at the nostril entrance — these are the only hairs you should cut. Avoid reaching deep into the nostril.
- If using an electric trimmer, insert the rounded head just to the depth of the nostril opening and move in small circles.
- If using scissors, keep the tip at the opening and snip tiny bits; don’t insert the blades past the visible rim.
- Work slowly and check frequently — stop and look rather than trimming a lot at once.
- Wipe away trimmed hairs with a tissue and rinse the trimmer per instructions.
- Optional: apply a tiny amount of saline spray if your nostrils feel dry after trimming.
Do not use tweezers or pluck hairs deep inside the nose — it’s painful and can cause infection.
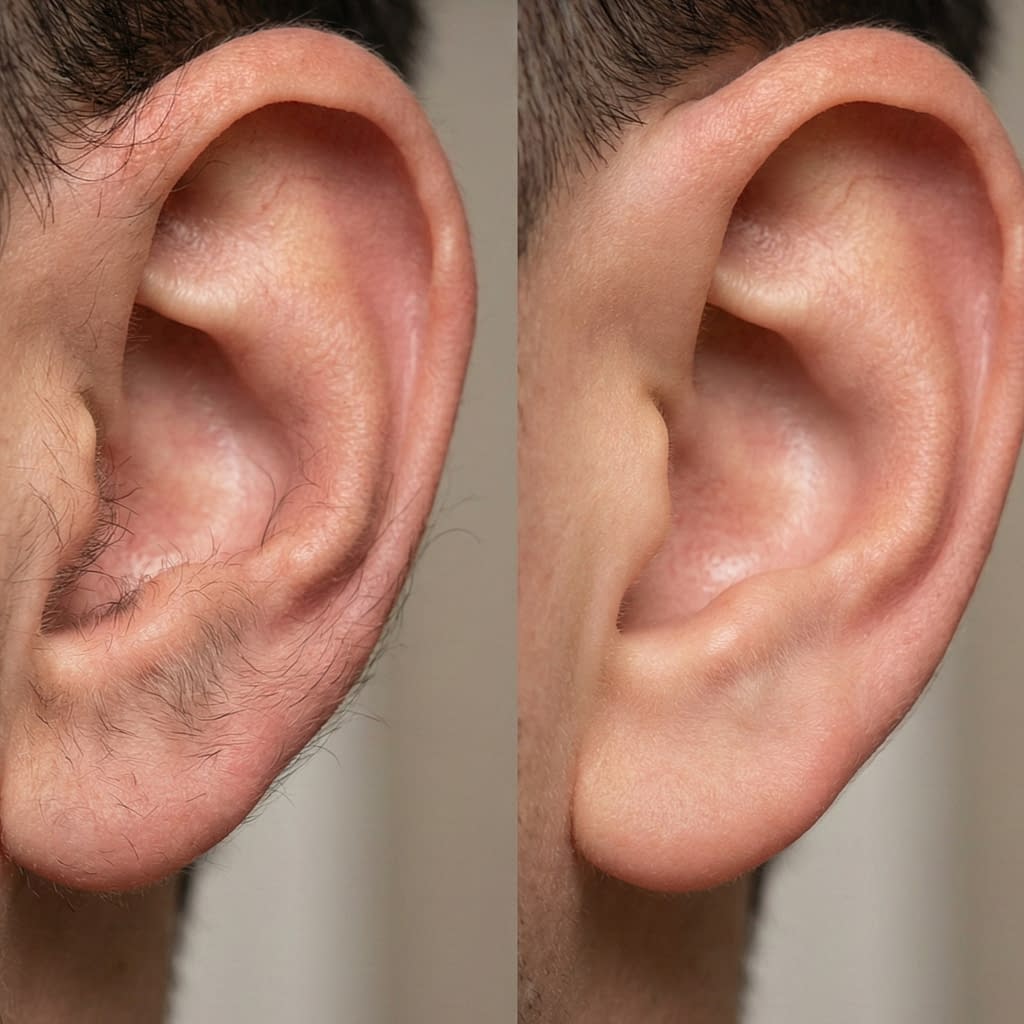
Step-by-Step Guide to Trimming Ear Hair Safely
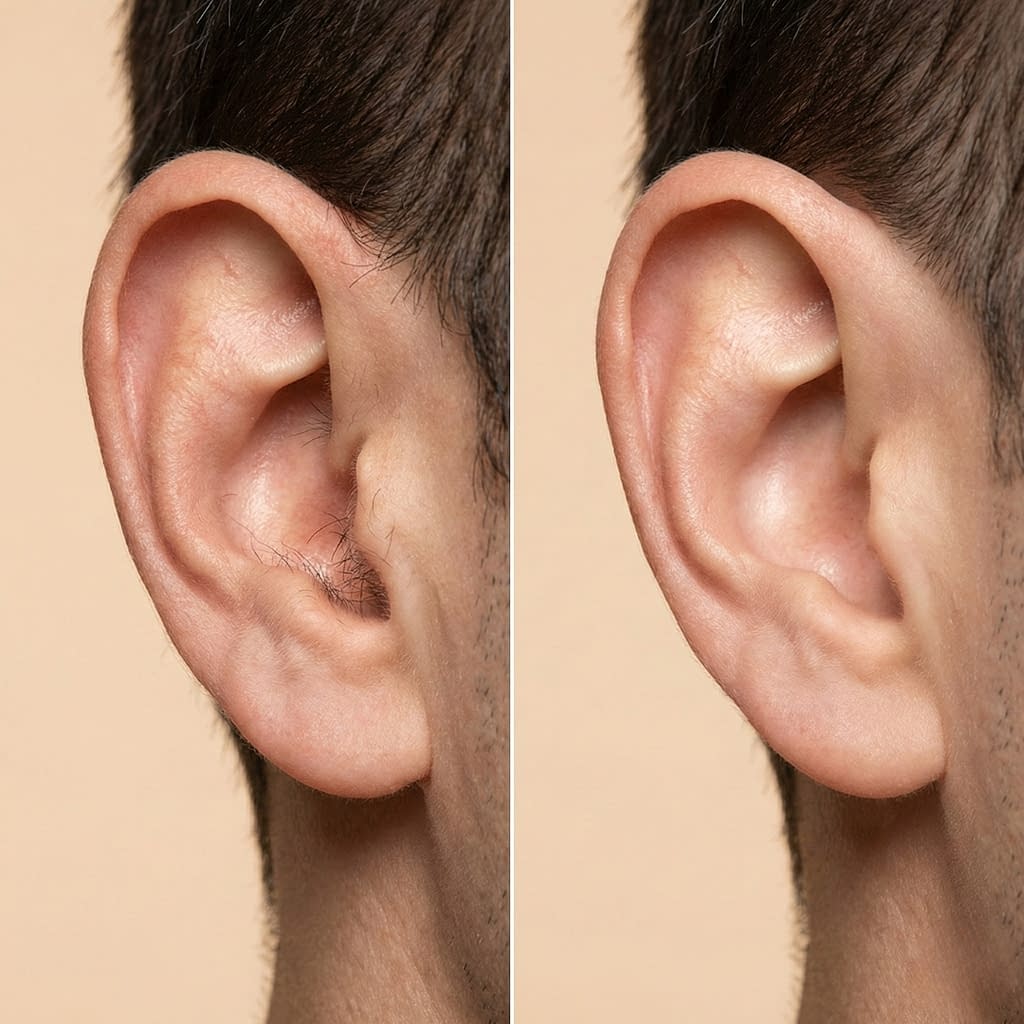
Ears have two areas to consider: visible hair at the outer ear (helix, concha) and hair just inside the ear entrance.
- Wash your hands and make sure your tools are clean.
- Use good light and a mirror — a handheld mirror plus a wall mirror can help you see inside the ear entrance.
- Brush the outer ear gently with a dry towel to see which hairs are sticking out.
- For visible hairs at the ear rim or concha: use rounded-tip scissors to trim only the protruding hairs or use an electric trimmer with a small head.
- For hairs at the entrance to the ear canal: use a nose/ear electric trimmer with a rounded head and gently trim only the hairs you can see at the opening — do not insert deep into the ear canal.
- Trim a little at a time, checking frequently to avoid removing too much.
- After trimming, clean away hairs with a soft cloth; if needed, wipe the outer ear with a damp cloth and dry.
- If you have wax build-up or suspect blocked earwax, do NOT attempt to remove it with tools—see a clinician for safe removal.
Never insert objects (Q-tips, tweezers, toothpicks) deep into the ear canal — that can push wax inward or injure the eardrum.
How to Avoid Pain, Irritation, and Cuts
- Trim only what you can see.
- Keep tools sharp and clean — dull blades tug and cause pain.
- Use rounded-tip scissors to reduce the risk of piercing skin.
- Keep steady hands: sit down and rest your elbows on a table for stability if you need to.
- Move slowly and stop if you feel resistance, pain, or a sudden movement from sneezing.
- If you sneeze or cough, pull tools away immediately to avoid accidental cuts.
- After trimming, rinse area gently if needed; don’t scrub.
Cleaning and Maintaining Your Grooming Tools
Clean tools prevent infection and keep cuts tidy.
Electric trimmer cleaning (general)
- Turn off and remove the head if the model allows.
- Brush out hairs with the small brush that came with the trimmer.
- Rinse under running water if the trimmer head is washable (check manual).
- Sanitize by wiping metal parts with 70% isopropyl alcohol occasionally; let air-dry fully before reassembly.
- Oil blades if the manufacturer recommends it (a drop of clipper oil keeps the mechanism smooth).
- Store in a clean, dry place.
Scissors care
- Wash with soap and water after use, dry completely, and wipe metal with a small alcohol swab. Keep in a soft sheath to protect tips.
Replace items per manufacturer recommendations (blades, heads, batteries) so tools stay safe and effective.
How Often You Should Trim for a Neat Look
Frequency depends on how fast your hair grows and how tidy you want to look:
- Every 2–6 weeks is a common range.
- Check once a week in bright light and trim small visible hairs as needed.
- If you notice rapid regrowth or particularly visible strands, do a light tidy rather than a full trim.
Maintain a gentle rhythm so trimming never becomes a rushed, risky chore.
Tips for Discreet Grooming Without Drawing Attention
- Trim in private (bathroom with the fan on) and do it before social events so you’re not tempted to groom in public.
- Keep small grooming tools in a toiletry bag rather than carrying them openly.
- Use a compact mirror and a quiet trimmer if you must do a quick touch-up on the go.
- If someone notices, a short “just tidying up” is perfectly fine — no need for awkward explanations.
Signs You Should Seek Professional Help
Visit a healthcare professional (primary care or ENT specialist) or trusted barber/technician if you experience:
- Persistent bleeding after trimming or a cut that won’t stop bleeding.
- Pain, redness, warmth, swelling, or pus in or around the nostril or ear (signs of infection).
- Hearing changes, ear pain, or deep ear discomfort after attempting to clean or trim — this might indicate wax impaction or injury.
- Unusual growths or lumps in the nostril or ear canal — let a clinician evaluate these.
- If you have a bleeding disorder or take blood thinners, check with your doctor before trimming — small nicks can bleed more than usual.
Professionals have tools and skills to handle tricky situations safely.
Avoiding Over-Trimming and Potential Risks
- Don’t remove all inner nostril hair — leave deeper hairs intact for filtration.
- Avoid removing too much ear entrance hair, which can leave the canal exposed to dust and irritation.
- Over-trimming can cause dryness, itching, or sneezing; be conservative.
- If you remove hair after waxing or plucking, avoid doing so frequently — plucking in these areas can lead to follicle damage or infection.
Final Words
Trimming nose and ear hair safely is simple when you use the right tools, work slowly in good light, and trim only the hairs you can see at the entrance. For most people, a small electric trimmer or rounded-tip scissors plus careful technique is all that’s needed. Clean your tools, steady your hands, and stop if you feel pain. If anything looks infected, bleeds heavily, or causes hearing changes, see a professional. Take a couple of minutes every few weeks and you’ll look tidy without risking discomfort.


