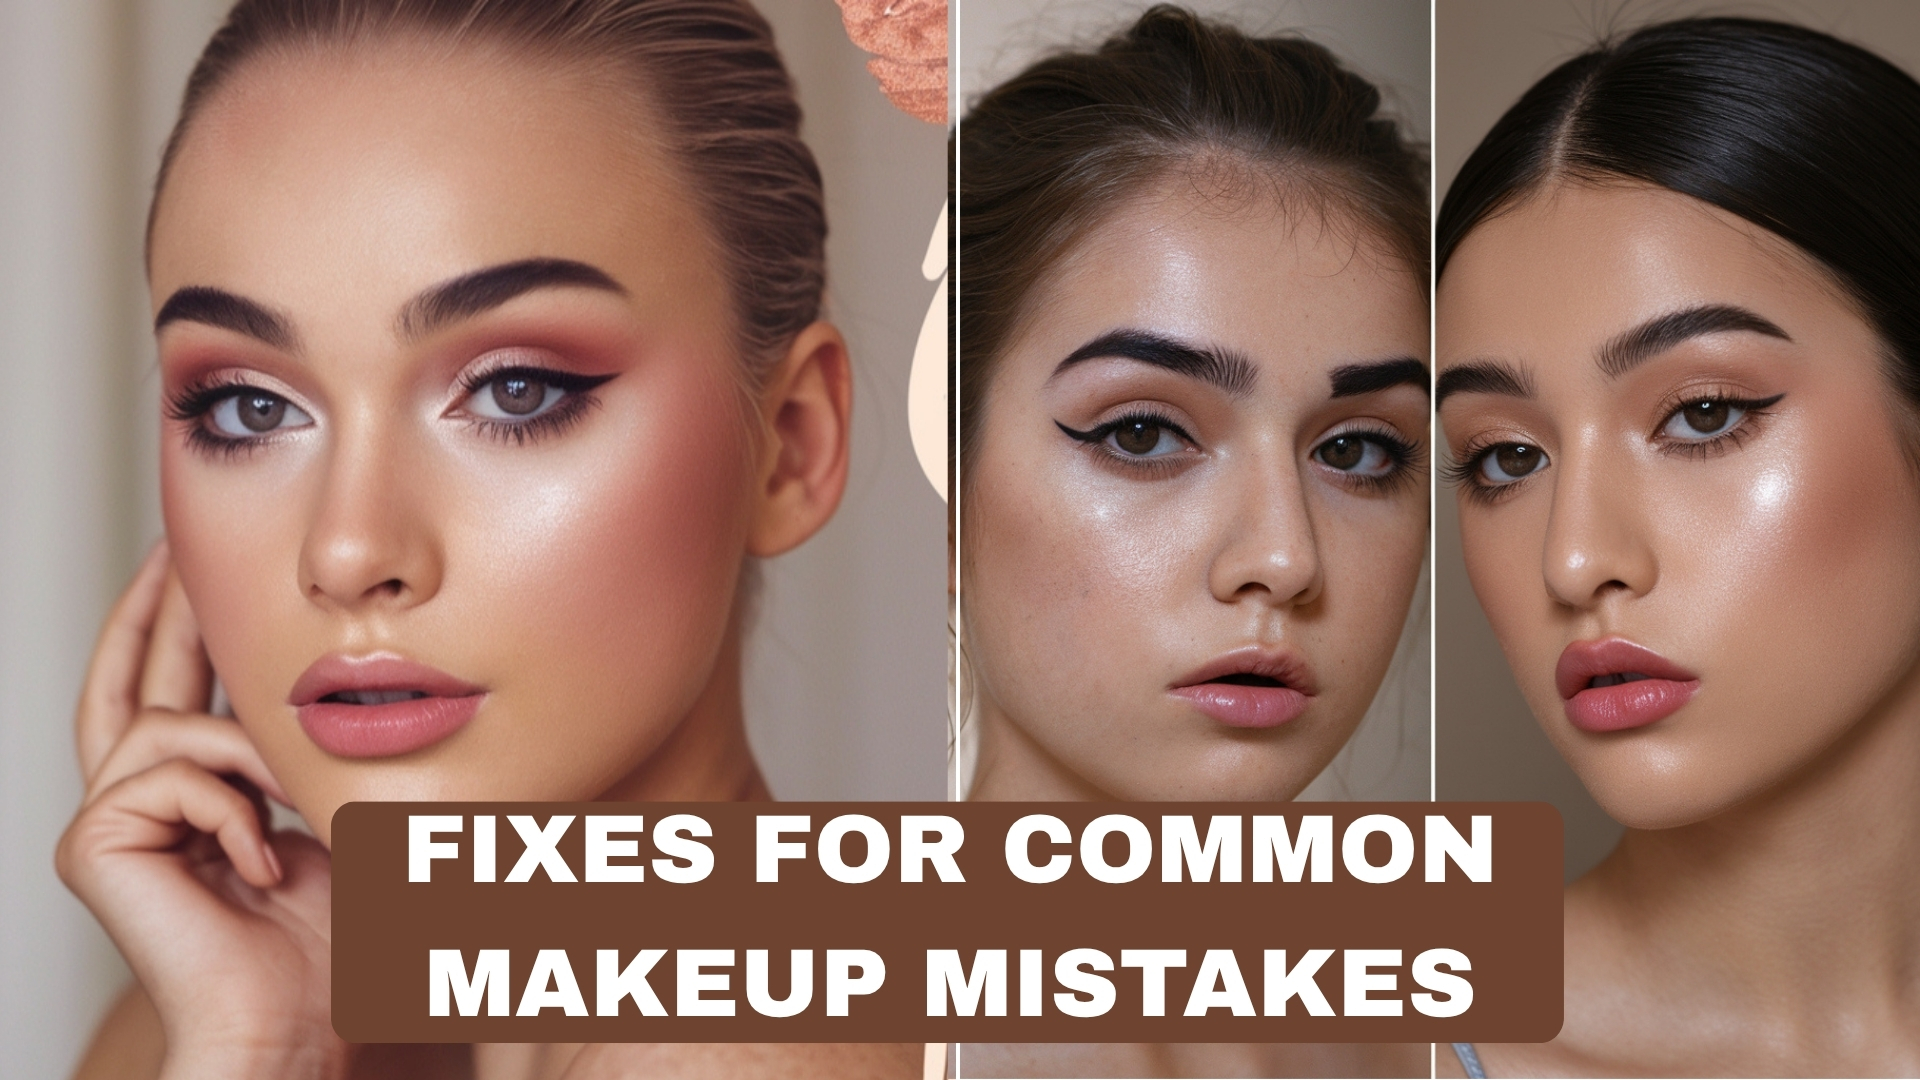
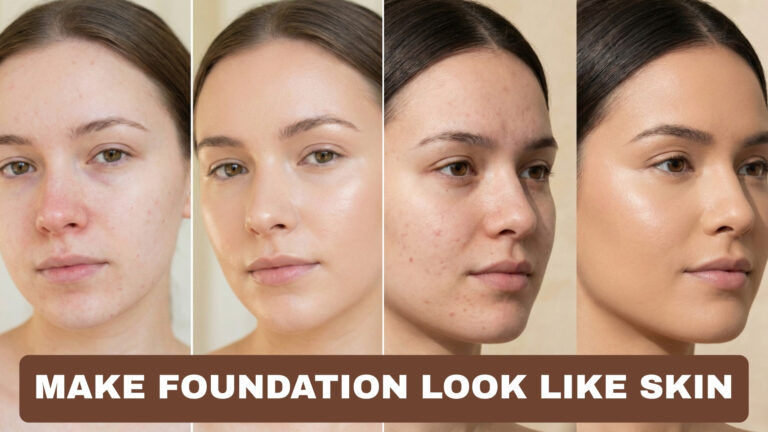
Small makeup missteps add up—why your foundation creases, why your liner looks lopsided, why your lashes clump—so that even a beautiful look can read unfinished. This guide breaks down the 10 most common areas where people trip up, explains why those mistakes happen, and gives step-by-step, practical fixes you can use immediately (no scrubbing entire face and starting over). Keep this post handy for quick fixes on the go — and to build habits that stop the mistakes before they start.
Common Makeup Mistakes You Might Be Making
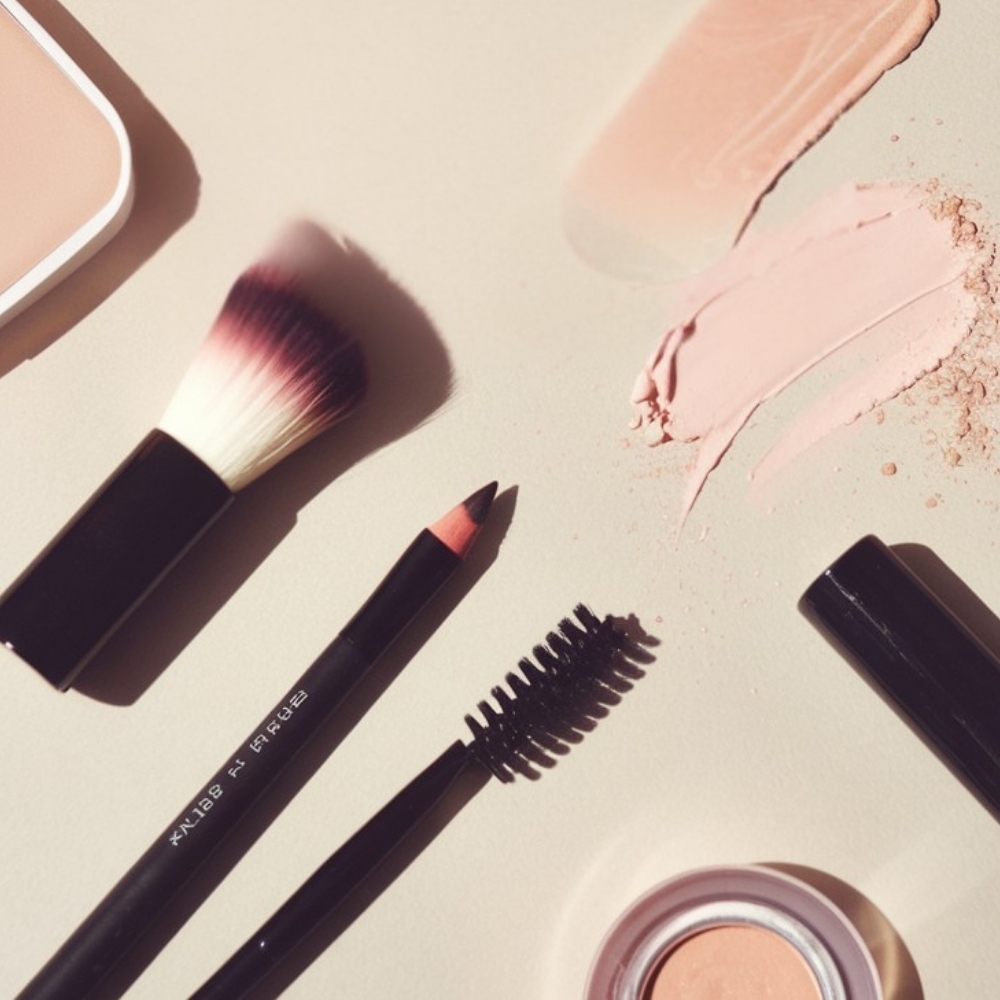
Little errors that make a big difference in your final look
Before we get into solutions, it helps to recognize the patterns. Here are the top everyday mistakes that sabotage otherwise great makeup:
- Skipping proper skin prep — makeup sits on dry or oily skin and won’t blend.
- Wrong shade / wrong undertone foundation — makes you look ashy, orange, or mask-like.
- Too much product at once — heavy-handed application leads to cakey or creasy makeup.
- Rushed or dirty tools — dirty brushes, damp sponges, or quick swipe jobs cause patchiness and bacteria buildup.
- Ignoring color balance — strong cheeks + strong lips + heavy brows rarely work together without careful blending.
- Not setting correctly — makeup slides or oxidizes without the right powder/spray combo.
- Overcorrection — too much concealer to “fix” something creates a thicker problem.
How to break the cycle (quick checklist):
- Cleanse/toner → hydrate (light) → targeted treatment → sunscreen (AM).
- Match foundation on jawline in daylight; test one shade lighter for concealer.
- Apply thin layers + build — less is faster to fix.
- Clean your tools often and use the right tool for the job.
- Pause and step back to check balance under natural light.
Foundation Fails: How to Get a Smooth, Natural Finish
Avoid cakey or patchy base makeup with these easy fixes
Why it goes wrong
- Too much product applied at once, wrong finish for your skin type, or poor prep (dry flakes, excess oil, textured pores).
Step-by-step fixes
A. Rescue a cakey foundation (mid-day or on the go)
- Gently mist face with a hydrating setting spray or plain thermal water. Don’t soak — a light mist helps loosen oxidized cakey foundation.
- Pat (don’t rub) with a damp beauty sponge to re-blend layers. This presses product into the skin and removes excess without removing everything.
- If spots remain heavy: dab a little micellar water on a cotton swab and gently lift the excess makeup, then re-moisturize that spot and reapply a thin layer of foundation.
- Finish with a fine-milled translucent powder only where needed (T-zone, under eyes if creasing), and lock with setting spray.
B. Fix patchy, streaky foundation
- Identify the cause: flakiness → exfoliate more gently next time; oily patch → blot first.
- For immediate fix: blot oil with tissue, then pat a light layer of oil-controlling primer or mattifying powder into the area.
- Use a damp sponge to stipple a tiny amount of foundation rather than brushing or rubbing—stippled layers blend outward more seamlessly.
C. Avoid future foundation fails
- Always prime if you have texture or oiliness (hydrating primer for dry skin, mattifying for oily).
- Work in thin layers: dot foundation with fingers or brush, then blend with sponge. Build only where coverage is needed.
- Match shade in daylight on jawline and consider neutral undertones for natural finish.
Pro tip: For dry skin, mix a drop of facial oil with foundation to improve slip and reduce flaking; use sparingly.
Concealer Confusion: Cover Blemishes Without Creasing
Tips to blend perfectly and brighten your under eyes
Why concealer creases or looks cakey
- Using too much product, wrong formula (too dry or too emollient), or applying to an unprimed under-eye.
Step-by-step fixes
A. Under-eye creasing rescue
- First, gently remove excess — use a clean fingertip or sponge to press away (don’t rub) any product sitting on top of lines.
- Lightly mist the area with hydrating spray. Let it sink 30 seconds.
- Use a small amount of a creamy, hydrating concealer (choose one shade lighter than your foundation for brightening). Apply only where needed — inner corner, along dark areas — with a tiny brush or fingertip.
- Set sparingly: use a very fine translucent powder applied with a small, fluffy brush or a velour puff pressed in only where creasing tends to happen. Finish with a flash of setting spray to melt powder into skin.
B. Covering blemishes without creating a spot-tying ring
- Spot-prime gently with a drop of lightweight primer (silicone-based helps blur).
- Dot a small amount of full-coverage concealer over the blemish (use a small pointed brush).
- Tap with the tip of a damp sponge to blend edges outward — do not buff in circles.
- Set with a tiny brush and translucent powder only on the spot.
C. Concealer for brightness vs coverage
- Brightening: choose one shade lighter and a hydrating texture; use thin layers.
- Coverage: choose true color match with slightly thicker formula; apply in layers and set delicately.
Pro tip: If your concealer is oxidizing and getting darker, test formulas on the jawline and let them sit 10 minutes before buying.
Overdone Brows? Here’s How to Shape Them Naturally
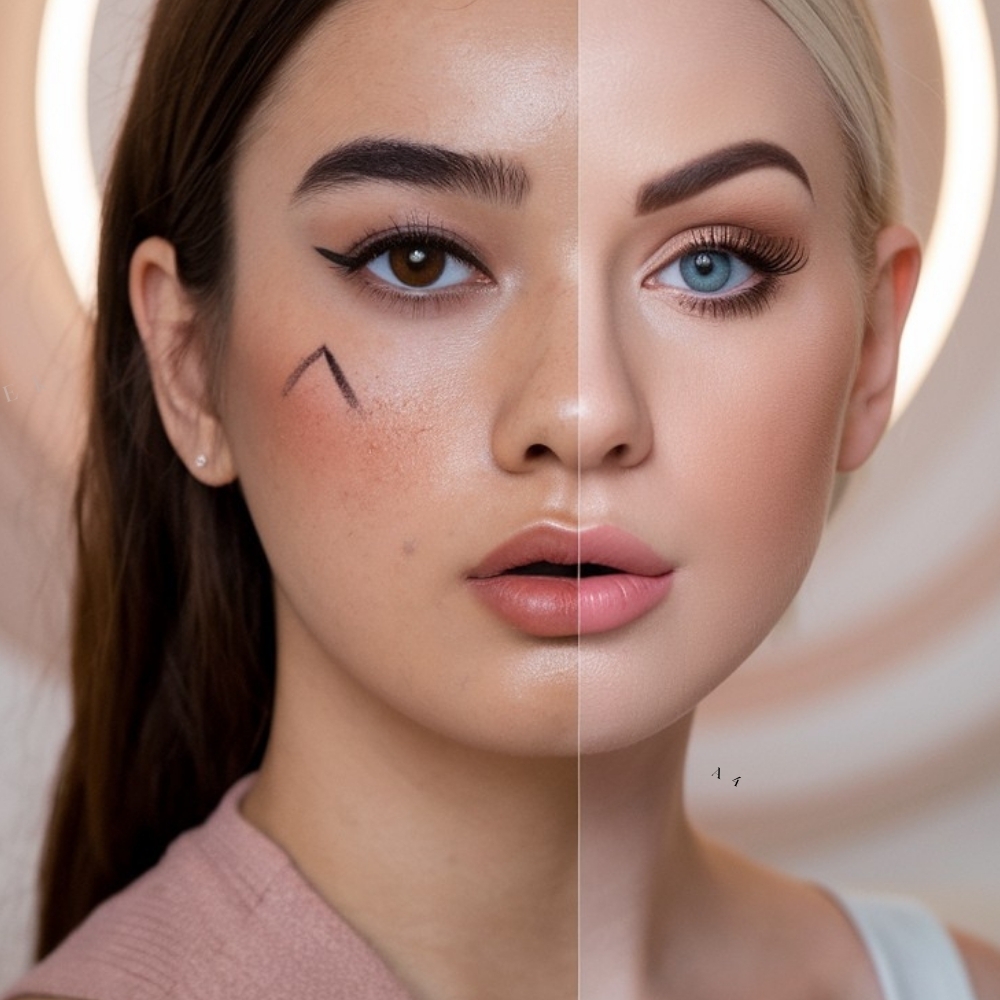
Simple ways to achieve balanced, face-framing brows
Common problems: overly harsh lines, blocky fill, wrong color, sparse tails, mismatched arches.
Step-by-step fixes
A. Soften harsh brows
- Take a spoolie and brush brows upward and outward to see the true shape.
- Using a small, fluffy brush or a brow spoolie lightly dipped in a tiny bit of brow gel or clear mascara, brush through to soften any heavy pencil marks.
- Use a clean micro-sponge (or your finger) dipped in a little micellar water to gently diffuse the front of the brow where it looks too dark.
B. Make brows look natural and filled
- Use a fine-tip pencil or ultra-fine angled brush with pomade and work in short, hair-like strokes in the direction of hair growth. Start at the inner brow with lighter pressure and build towards the tail.
- Blend with a spoolie: brush through repeatedly to soften and distribute product.
- Define the underside with a small flat brush and a touch of concealer blended into skin — not a harsh line but a soft brightening beneath to lift the arch.
C. Fix mismatched brows
- Identify which brow is the reference (the one closest to your natural ideal).
- With the reference brow in mind, add product very conservatively to the other brow and blend—stop frequently and compare by stepping back.
D. Sparse areas without heavy makeup
- Use a tinted brow gel or a brow pen with micro-strokes for a feathery finish rather than blocky powder.
Pro tip: Choose a brow color one shade lighter than your hair at the front and match hair color toward the tail for a softer gradient.
Eyeliner Errors: Prevent Smudging and Uneven Lines
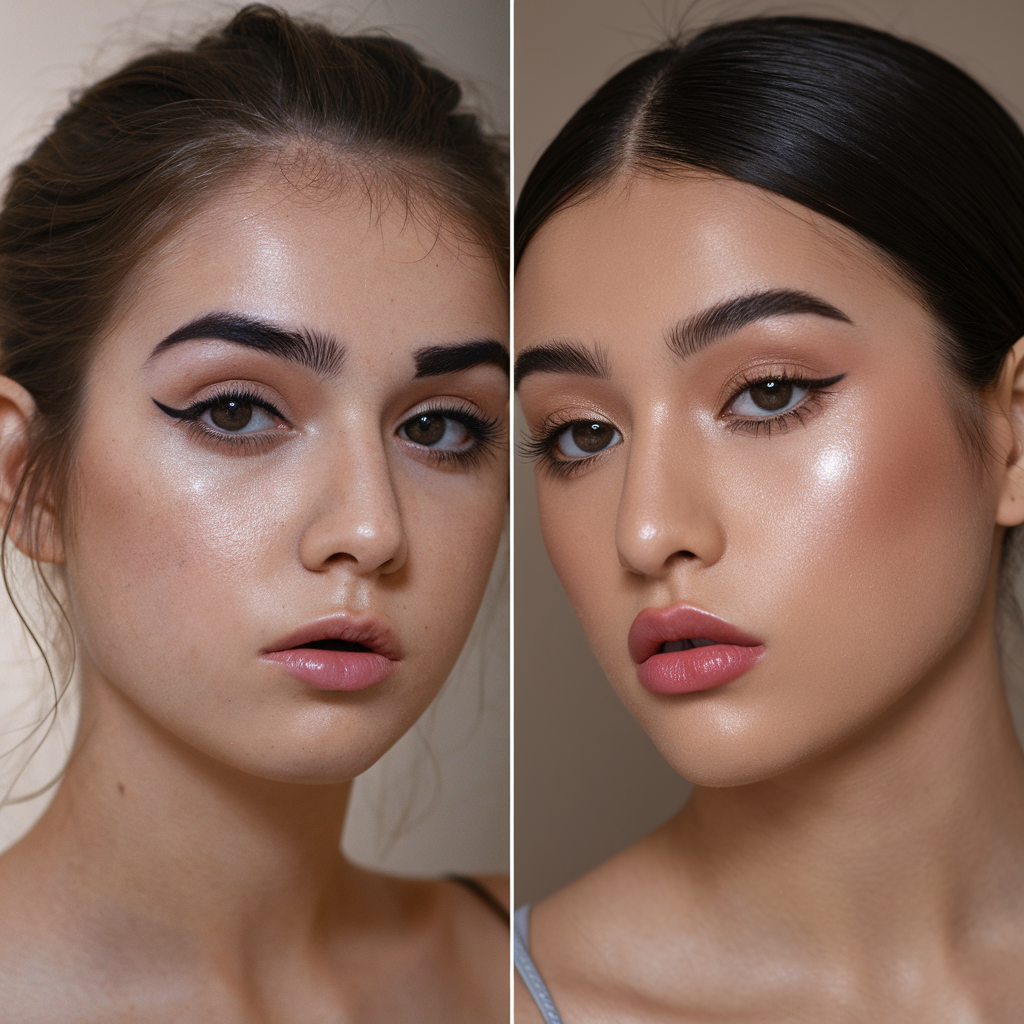
Tricks for sharp, long-lasting eye definition
Why liner smudges or looks uneven
- Oil on lids, wrong formula for your eyelid type, or unsteady application.
Step-by-step fixes
A. Stop a smudged liner in its tracks
- Blot the smudged area with a tissue to remove surface oil—don’t rub.
- Swipe a cotton swab with a dot of micellar water to lift stubborn smudges.
- Re-line with a waterproof pencil or gel liner applied close to the lash line; set with an eye shadow of the same color to lock it down.
B. Fix uneven wings quickly
- Use a pointed cotton swab dipped in micellar water or makeup remover to gently carve out the wing edge. Keep the swab tip sharp and drag away carefully.
- Rebuild the wing with small strokes from the outer edge inward (reverse technique), then connect to the lash line.
- Use concealer on a tiny, flat brush to sharpen the wing’s edge and brighten the outer corner.
C. Make liner last all day
- Prime lids with a matte, oil-controlling eye primer. For pencil liner: apply pencil, then immediately set with a matching matte eyeshadow pressed over the line with a small angled brush.
D. For hooded or watery eyes
- Use waterproof formulas only on the tightline and waterline; for lid liner use waterproof gel set with powder. Apply glue-thin layers and blot to set.
Pro tip: If you want a perfect flick, place a piece of scotch-tape angled from the outer corner to the tail of the brow as a stencil, then remove slowly.
Clumpy Mascara or Flaky Lashes?
How to revive your mascara and get fluttery lashes every time
Problem causes: old mascara, too many coats, incorrect wand technique.
Step-by-step fixes
A. Fix clumpy, spidery lashes now
- If lashes are wet and clumpy: wait 30–60 seconds and use a clean spoolie to brush through lashes and separate. A warm compress (not hot) for a few seconds can loosen product for easier combing.
- If mascara has dried and flakes, remove gently with an oil-based cleanser or micellar water; start fresh. Dried mascara flakes irritate eyes and create a messy look.
B. How to apply mascara for volume + separation
- Start with clean, curled lashes (curler before mascara; don’t curl after applying mascara).
- Pump a small amount of product on the wand by wiping off excess on the tube rim.
- Wiggle the wand at the base of the lashes and sweep upward in a zig-zag motion — this deposits product where you want it and reduces clumping.
- For separation, use a clean spoolie or a lash comb between coats (wait 20–30 seconds between coats).
C. Dealing with flakiness later in the day
- Don’t rub. Remove flakes gently with a clean spoolie or a small brush. If flakes are near the waterline, remove makeup and reapply a light coat if needed.
D. Mascara care
- Replace mascara every 3 months. Store upright; don’t pump the wand in the tube—this traps bacteria and dries product.
Pro tip: For extra definition, apply a thin coat of brown mascara then a quick top coat of black at the outer lashes to soften daytime looks.
Blush and Bronzer Blunders
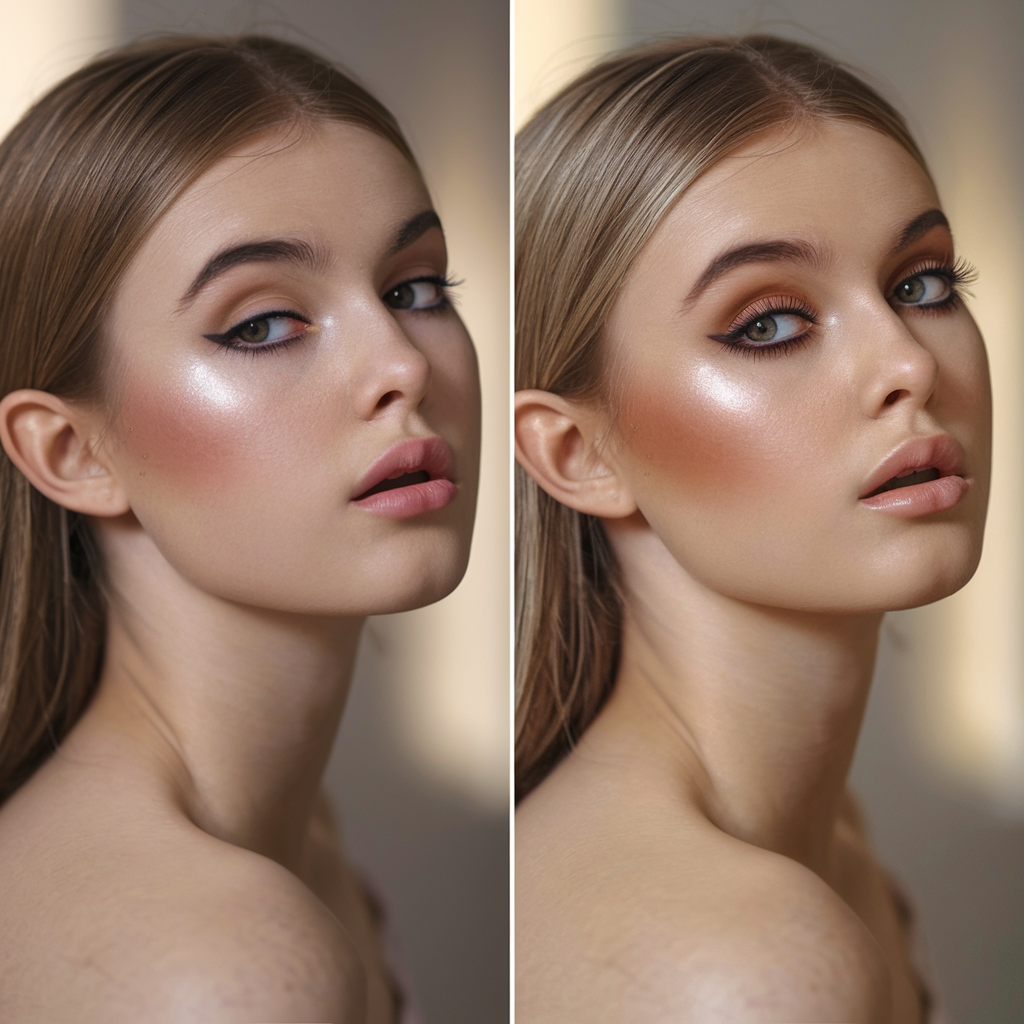
Blend like a pro and add warmth without harsh lines
Common blunders: orangey bronzer, blush in wrong place, unblended harsh edges.
Step-by-step fixes
A. Soften a patchy bronzer
- If bronzer looks muddy: buff a clean, fluffy brush over the edge to diffuse; then lightly dust with a neutral translucent powder to blur lines.
- For severe patches: use a damp sponge to gently press and lift some product, then reapply a lighter hand of bronzer and blend.
B. Reposition misplaced blush
- If blush is too low or harsh, use a clean brush dipped in setting powder to soften edges.
- For immediate fix: swipe a tiny amount of foundation or concealer on the area and blend to neutralize tone, then reapply a small dot of blush and blend upwards toward the temples.
C. How to place blush & bronzer correctly
- Bronzer: apply where the sun hits — forehead edge, hollows of cheeks (under cheekbone, parallel to ear line), and jawline. Use sculpting strokes, not circles.
- Blush: smile slightly and apply to the apples for youthful look; for sculpted look, apply slightly higher toward the cheekbone and sweep back.
- Blending: always connect bronzer and blush with soft strokes so there is no visible line.
D. Avoid orange bronzer
- Choose a bronzer with neutral or slightly golden undertones. Test on jawline in daylight. Build slowly.
Pro tip: Use a small fan brush or a fluffy blush brush and medium pressure to diffuse edges. Finish with a spritz of setting spray for a skin-like melt between powder and skin.
Lipstick Mishaps: Stop Feathering and Uneven Color
Long-lasting lip tricks for a perfect pout
Why lipstick feathers or looks uneven
- Lip balm buildup, unclean lip edges, wrong texture for lining, or too much product.
Step-by-step fixes
A. Stop feathering (mid-day rescue)
- Lightly blot lips with tissue to remove excess product.
- Apply a tiny amount of translucent powder around the lip edge using a small flat brush to create a barrier (or use a clear lip primer).
- Re-line with a lip liner slightly inside original line and reapply lipstick carefully.
B. Fix uneven coverage
- Scrape off (very lightly) the top layer of lipstick with a tissue if it’s uneven; reapply thin, even layer using a lip brush for control.
- For stains: use concealer around edges to sharpen shape and remove any color on skin.
C. Make lipstick last longer (stepwise method)
- Exfoliate lips gently and apply thin balm; blot off excess.
- Apply lip liner all over the lips as a base (optional for long wear).
- Apply first thin layer of lipstick. Blot, then dust translucent powder over tissue on lips (sandwich method) to set.
- Apply a second layer of lipstick. Finish with a small touch of gloss in the center if you want shine.
D. For liquid lipsticks that crack
- Avoid thick layers; after application, press lips together gently and hold for a few seconds. If cracking occurs, remove and use a thinner lip stain or mix with a balm.
Pro tip: For instant neatness, use a small angled brush and a little concealer to trace the outer lip line for a crisp border.
Setting It Right: Lock In Makeup Without Looking Dry
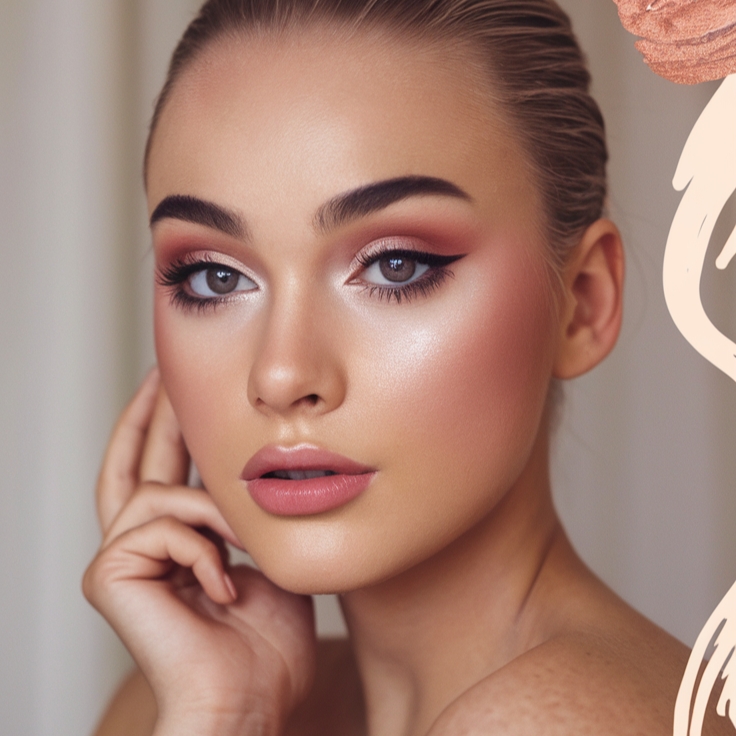
The correct way to use powder and setting spray
Why setting goes wrong
- Powder applied too broadly/much creates flat, cakey finish; spray used too soon causes patchiness.
Step-by-step fixes
A. Powder without the dry look
- Identify where you really need powder: areas that crease (under eyes), areas that get shiny (T-zone), and places where your makeup slides. Avoid powdering luminous spots (cheekbone highlight).
- Use a light hand and a fluffy brush. Tap off excess. Press powder into the skin with a velour puff or press with brush (don’t sweep aggressively).
- For under-eye setting, use a small tapered brush and a scant amount of finely milled powder — apply only into the inner corner/crease area where concealer creases.
B. How to set with spray for a natural finish
- Wait 1–2 minutes after powdering so powders absorb and settle.
- Hold setting spray ~8–10 inches from face and mist in an X and T formation (two sprays total) — don’t soak.
- If spray makes powder appear patchy, lightly press with a damp sponge to meld layers.
C. Quick de-powdering
- If powder looks too heavy, use a few light spritzes of setting spray, then gently pat skin with a clean sponge to remove excess, or use a hydrating facial mist then press with sponge.
Pro tip: Use a hydrating setting spray for dry skin and a mattifying one for oily skin, but finish both with a tiny mist to eliminate any powdery residue.
Final Touches: Quick Fixes for On-the-Go Makeup Mistakes
Easy ways to correct slip-ups without starting over
Carry these emergency tools: cotton swabs, small concealer brush, pressed translucent powder, sponge, mini setting spray, small spoolie, and blotting paper.
Common emergency fixes
A. Transfer on clothes
- Gently blot (do not rub) with a makeup remover wipe or micellar water, then press the area with a damp cloth. For delicate garments, treat at home with stain remover.
B. Smudged eye liner late in day
- Remove the smudge with a cotton swab dipped in micellar water.
- Re-apply a thin line with a waterproof pencil and set with shadow.
C. Foundation came off at the nose from mask friction
- Press a thin layer of foundation with a damp sponge only where patching is needed, avoid powder on the fresh patch to prevent a white cast; finish with a spritz of setting spray.
D. Makeup looks flat after long wear
- Add a tiny bit of cream blush on the apples of cheeks and blend upward for warmth.
- Dab a touch of cream highlighter on tops of cheekbones and bridge of nose for instant life.
- Rewet mascara wand (wipe excess) and comb through lashes if clumped.
E. Lipstick smeared onto teeth
- Put finger in mouth, wrap in tissue, pull out — tissue removes product from teeth easily. Or use a clean fingertip to wipe inner lip.
F. Quick contour rescue
- If contour looks too strong: blend edges with a clean, dense brush, then buff a warm, slightly lighter powder where needed to soften.
G. Powder fallout from eyeshadow
- Use a sticky base (like a concealer dot) to pick up fallen glitter; otherwise brush off gently and reapply a tiny amount of foundation in that small spot.
H. Brow got too dark on one side
- Spoolie through and brush product upward; lighten with a bit of setting powder on the brush to dull intensity, then re-lash soften with clear gel.
Final Words
Great makeup isn’t about perfection — it’s about knowing the quick adjustments that rescue a look and the tiny habits that prevent mistakes. The rules to remember:
- Prep well (hydrate, prime if needed).
- Work thin, build slow.
- Match products to skin type and undertone.
- Use the right tool for each job and keep it clean.
- Set strategically—not everything needs powder.
- Carry a tiny emergency kit with a few essentials for on-the-go fixes.


