Soft glam is the sweet spot between everyday natural and full-on evening glam: polished, luminous skin, softly defined eyes, and a flattering contour that reads beautifully both in daylight and on camera. It’s ideal for weddings, date nights, interviews, or anytime you want to feel elevated but not overdone. Below you’ll get a full, step-by-step breakdown — from skin prep to finishing spray — with product choices, techniques, brush & tool tips, troubleshooting, and pro hacks so you (and your makeup) look flawless all day and night.
What Is a Soft Glam Makeup Look?
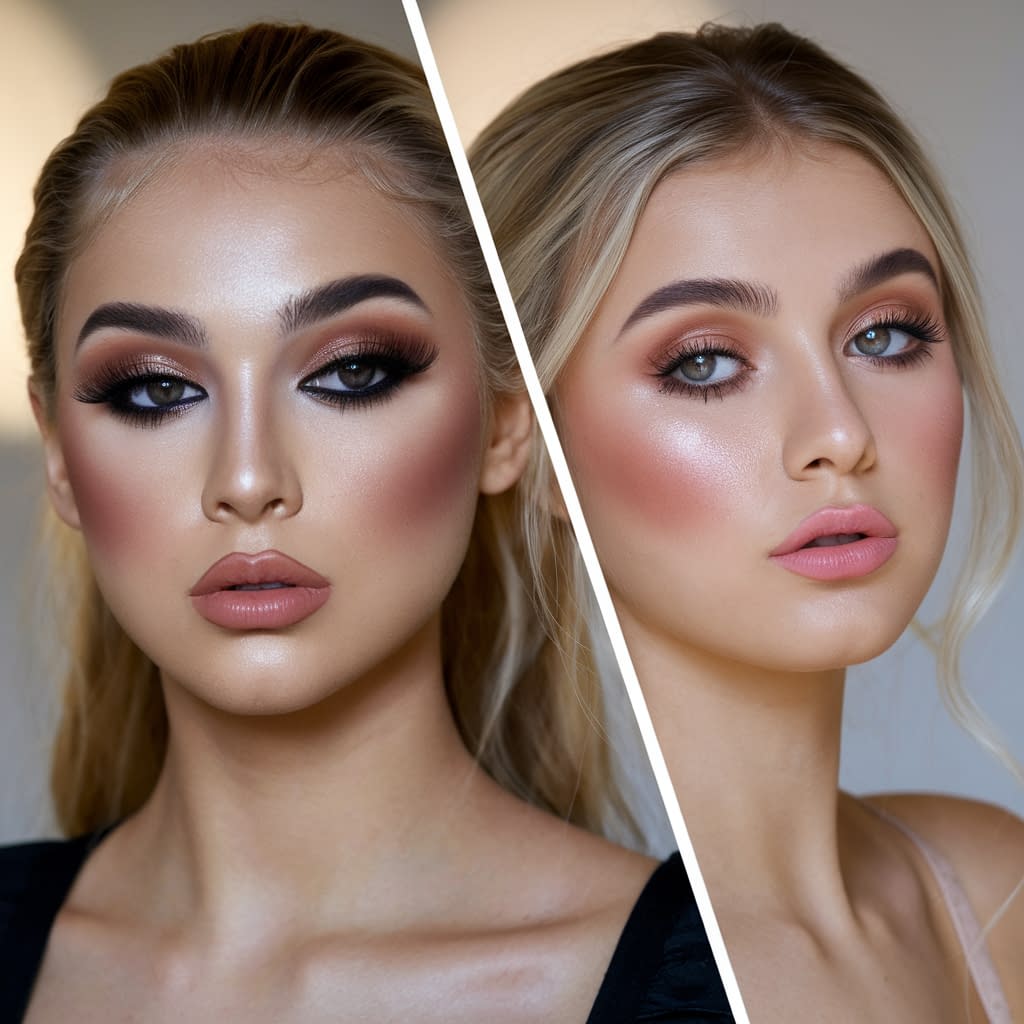
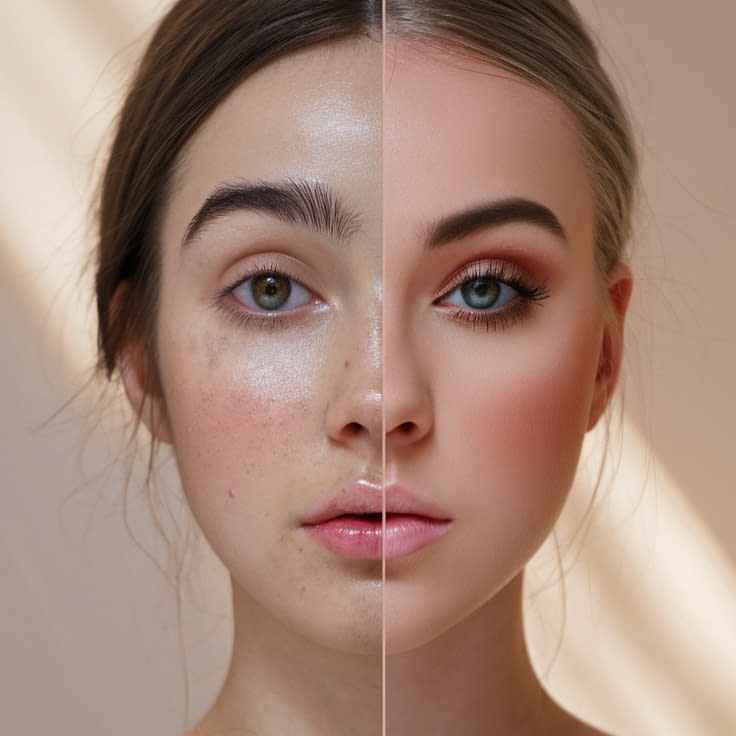
Soft glam is about enhancing features in a subtle, elegant way. Think: skin that glows rather than shines, eyes that are defined but not smoky-black, and lips that complement without screaming. It flatters nearly every face because it emphasizes balance and natural proportions instead of drastic transformations.
Who it suits:
- Everyone — you can adapt intensity and color to your skin tone, eye color, and personal style.
- Especially great for photographs (bridal, pro headshots) because it reads as polished on-camera without looking heavy in person.
Why it works for day or night:
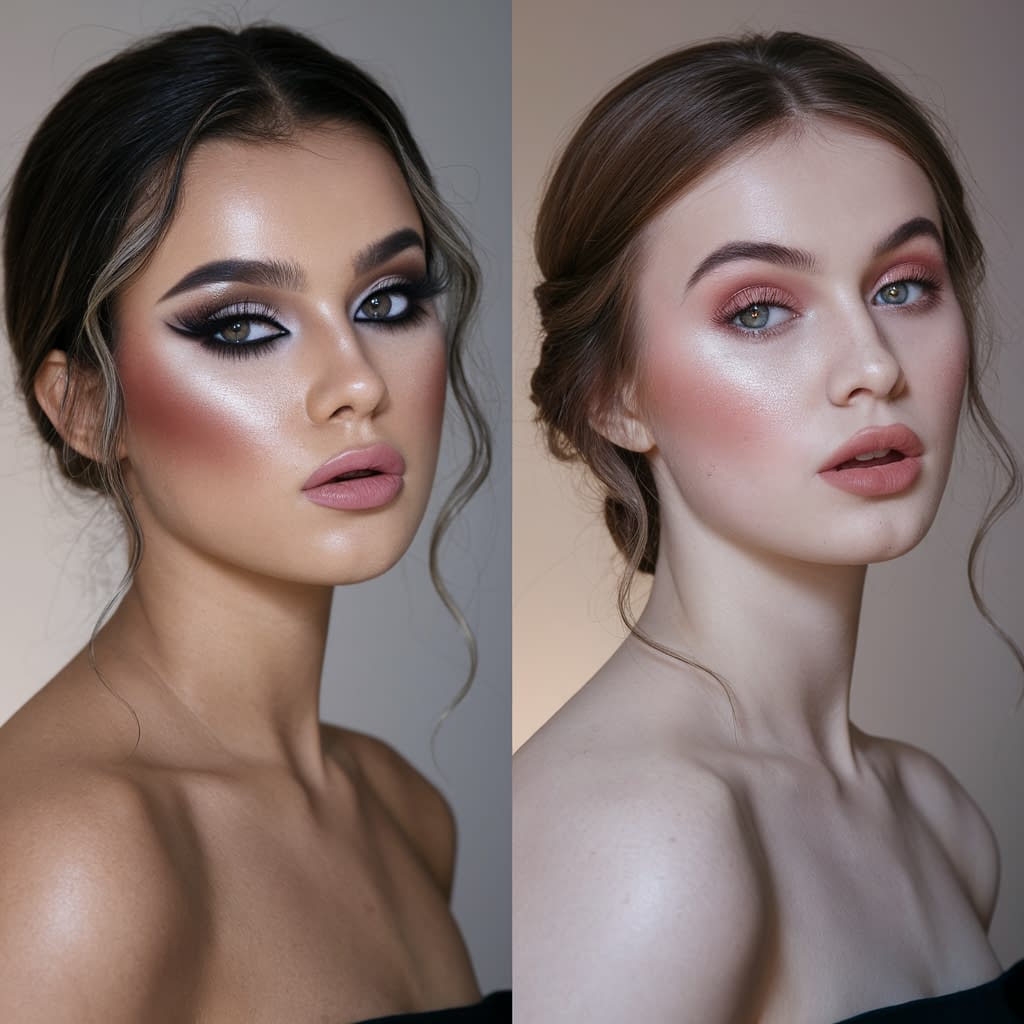
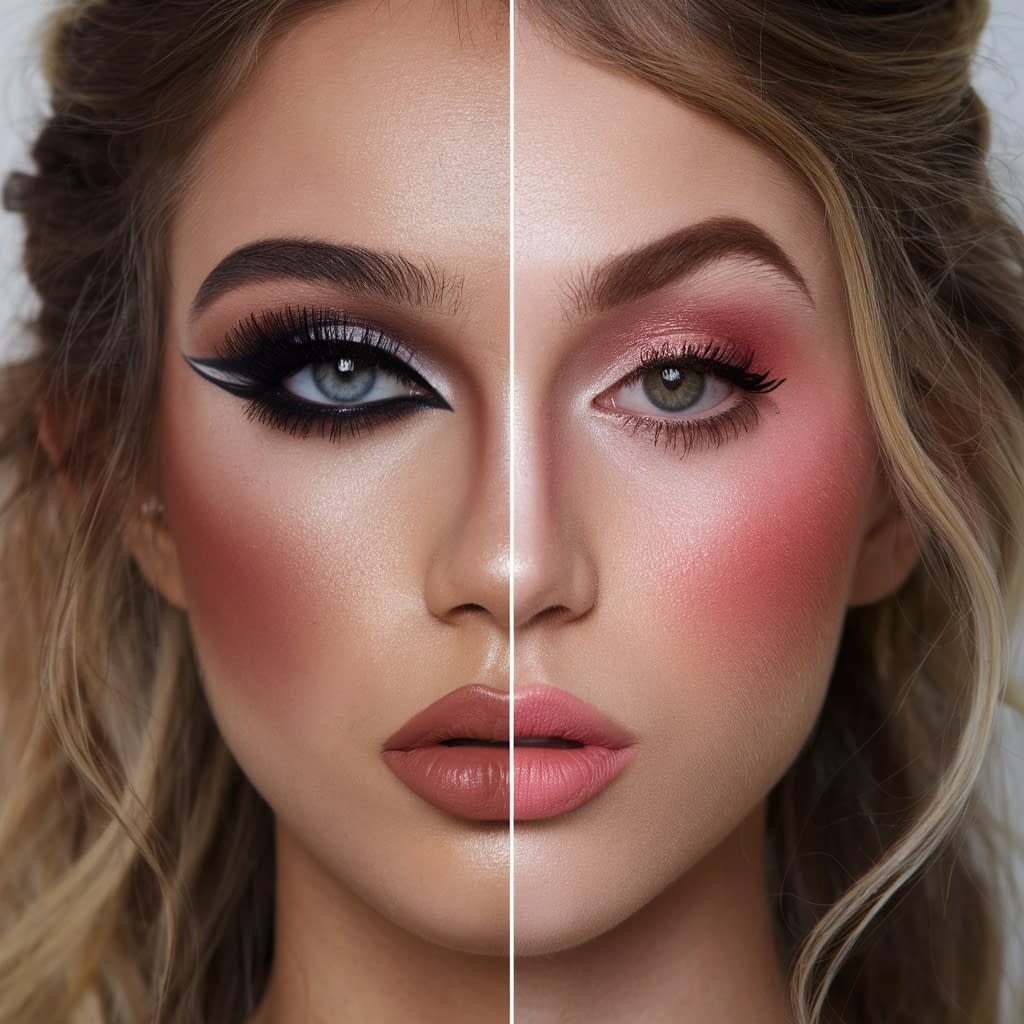
- For daytime: keep tones neutral and finish dewy, tone down contour and lashes.
- For evening: deepen outer corner shadow, add a slightly stronger liner, and swap a glossy lip for a satin or matte finish.
Key principles:
- Blend, blend, blend. Soft edges are everything.
- Use thin layers and build color slowly.
- Mix matte and luminous textures for dimension.
Prep Your Skin: Skincare and Primer Essentials
Good makeup starts with great skin prep. The goal: a hydrated, smooth base that helps foundation go on evenly and last.
Step-by-step skin prep (10–15 minutes)
- Cleanse — remove oils and residue with a gentle cleanser suited to your skin type (gel or foaming for oily, creamy for dry).
- Tone or mist (optional) — hydrating toner or thermal water helps rebalance pH and add a light layer of moisture.
- Treat — if you use serums (vitamin C AM, niacinamide PM, hyaluronic acid for hydration), apply thinly now. Let each layer sink in.
- Moisturize — choose a moisturizer appropriate for your skin: lightweight gel for oily, richer cream for dry. Pat (don’t rub) to preserve skin texture.
- Eye cream — a small dab to hydrate and help concealer glide; avoid heavy, greasy formulas that can cause creasing.
- Sunscreen — if daytime, apply SPF. Let it set 2–3 minutes before primer.
- Prime — choose primer by need: mattifying for oily skin, hydrating/illumination for dry skin, pore-filling primer for enlarged pores, or a silicone-based smoothing primer for long-wear.
Practical tips
- Wait 60–90 seconds after moisturizer or primer before foundation so surfaces aren’t slippery.
- For textured or acne-prone skin, use a lightweight primer with smoothing properties, and follow with a hydrating mist after foundation to avoid a powdered finish.
Flawless Foundation: Choosing and Applying the Right Formula
Foundation should match both your undertone (cool, warm, neutral) and depth (light to deep). For soft glam, choose a medium-coverage formula you can sheer out.
Choosing a formula
- Skin type & finish
- Oily: oil-free liquid or matte long-wear foundation.
- Dry: hydrating liquid or tinted serum with radiant finish.
- Combination: buildable medium-coverage foundation; set T-zone lightly.
- Coverage: medium coverage is ideal — it evens skin without masking texture.
- Undertone test: swatch jawline in natural light; the right shade disappears into skin.
Tools to apply
- Dense rounded brush (buffing brush) for medium to full coverage.
- Damp sponge (Beautyblender style) for dewy, skin-like finish.
- Synthetic flat-top brush for more coverage and faster application.
Step-by-step foundation application
- Prime spot-check: apply small dots of foundation across forehead, cheeks, nose, and chin (or apply a thin layer to the back of the hand and pick up product).
- Start sheer: blend outward with a damp sponge using bouncing motions for an airbrushed look, or buff with circular motions if using a brush.
- Build coverage only where needed: apply more in thin layers to redness, scars, or under-eye (to help conceal).
- Check in natural light: especially along jaw and hairline to avoid mismatched edges.
- Blend down the neck lightly to avoid harsh lines.
Common mistakes to avoid
- Using foundation only on problem areas — it can look patchy. Try a light overall veil then spot-build.
- Applying too much at once — layer slowly.
Concealer Techniques: Brighten and Correct Imperfections
Concealer brightens dark circles and covers imperfections. For soft glam, aim for natural brightness — not chalky white.
Types of concealers
- Full-coverage, thicker concealer for blemishes and scars.
- Hydrating, slightly luminous concealer for under-eye brightening.
Shade selection
- Under-eye: choose 1 shade lighter than foundation for a subtle lift (avoid too light — that causes flashback).
- Blemishes: choose exact match to foundation.
Step-by-step concealer application
- Spot-conceal blemishes first: use a small precise brush or clean fingertip; press gently and pat edges. Set with a tiny amount of translucent powder.
- Under-eye brighten: apply a triangular shape under the eye (base at lower lash line, point toward cheek) to lift and blend downwards. Use a damp sponge to diffuse edges for seamless finish.
- Highlight & correct: avoid heavy highlighting on textured areas. Use a light-reflecting concealer only in small amounts at high points.
- Set selectively: lightly set the T-zone and under-eyes with a finely milled powder; leave cheeks slightly dewy unless you’re oily.
Pro tip
- Use color correctors sparingly (peach/orange for dark blue under-eyes, green for redness). Apply under concealer and blend.
Setting the Base: Powder and Long-Lasting Tips
Setting helps keep makeup from creasing and controls shine where needed without flattening skin.
Powders to consider
- Translucent loose powder (finely milled) for under-eye and T-zone.
- Pressed finishing powder for touch-ups on the go.
- Setting spray to meld layers and reduce a cakey look.
Step-by-step setting
- Press-set under eyes: use a small puff or sponge, press a light amount of translucent powder under eyes immediately after concealer. Tap off excess.
- T-zone dusting: lightly dust only where oil builds (forehead, nose, chin). Avoid slathering powder on cheeks if you want dewy finish.
- Baking option (optional): for long-wear or event makeup, lightly bake under-eye with more powder for 5–8 minutes, then dust off. Use this sparingly — it can look heavy in photographs if overdone.
- Finish with setting spray: a few mists at arm’s length lock product in and melt powders down to skin for a natural finish.
Long-wear tips
- Use products with building-block formulas (don’t mix oil-based and heavy silicone-based products that repel each other).
- Blot — don’t reapply powder continuously; blot first then powder.
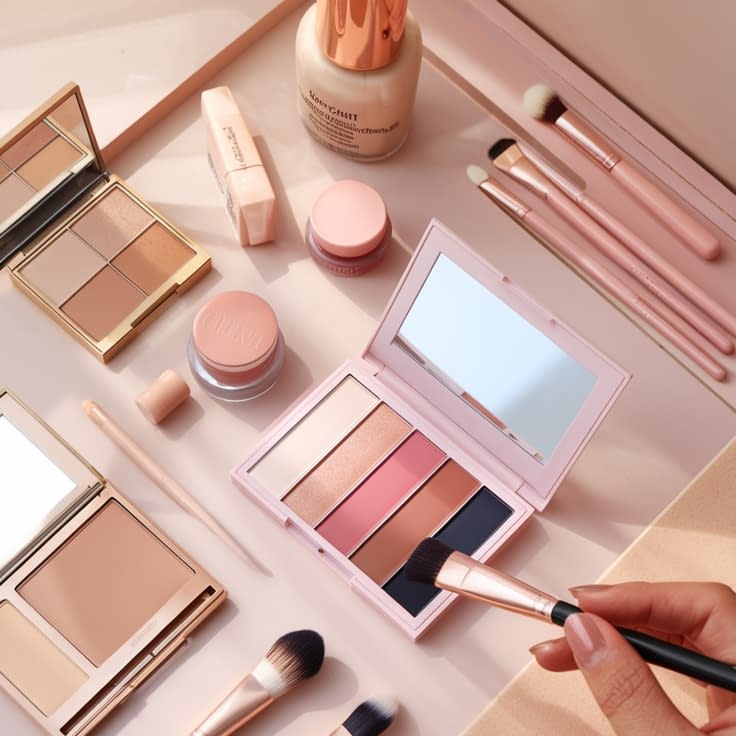
Contour, Bronzer, and Blush: Subtle Definition
Dimension makes faces look alive on camera. Soft glam favors soft, diffused contour with peachy or rose blushes.
Order & purpose
- Bronzer: warms and creates a healthy glow (apply before contour on some faces for warmth-first approach).
- Contour: creates shadow under cheekbones and jawline for subtle sculpting. Use a matte contour shade 1–2 shades darker than skin and blend.
- Blush: adds a fresh flush on apples of cheeks or slightly higher on the cheekbone for a lifted look.
Tools
- Angled contour brush for cheeks and jaw.
- Large fluffy brush for bronzer.
- Rouge or stippling brush for blush.
Step-by-step
- Bronze: sweep bronzer where the sun naturally hits — forehead near hairline, temples, cheek hollows, and along jaw. Lightly on nose if desired.
- Contour: apply matte contour under cheekbones (suck cheeks to find hollows), blending upward to avoid stripes. Lightly contour sides of nose if desired (soft, blended strokes).
- Blush: smile and place blush on the apples, blend slightly back along cheekbones toward the ear for a lifted finish.
- Blend everything for no harsh lines. If you used cream products under powder, lightly press powder over to lock in.
Color guidance
- Fair skin: soft peach or muted pinks.
- Medium skin: warm coral or rosy tones.
- Deep skin: rich berry, deep coral, or terracotta.
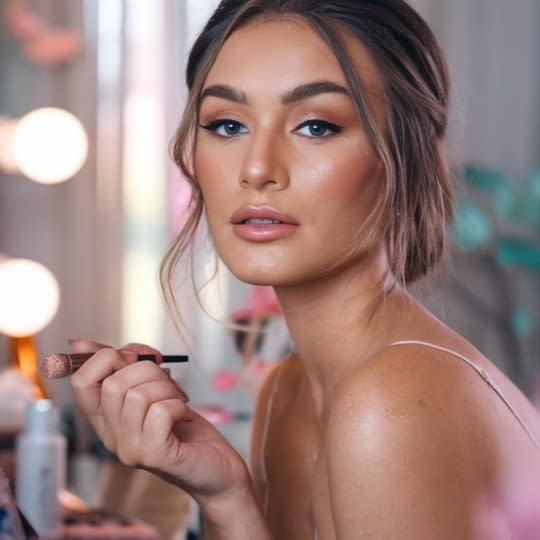
Highlighting: Add Radiance Without Overdoing It
Glowy skin is a hallmark of soft glam, but keeping highlight soft is crucial.
Product choices
- Liquid/cream highlighters for natural dewy glow (apply before powder or layer under powder highlight).
- Powder highlighters for controlled glow — choose finely milled formula to avoid glittery finish.
Step-by-step
- Apply sparingly on high planes: tops of cheekbones, bridge of nose (lightly), brow bone, and cupid’s bow.
- Blend edges with a clean brush or sponge to ensure glow looks like skin, not product.
- Avoid placing highlight on porous or textured areas (pore-prone cheeks) — it draws attention to texture.
Pro hack
- Mix a drop of liquid highlighter into your foundation or primer for an all-over luminous base that reads subtle and natural in photos.
Eyeshadow: Soft Glam Eye Look Step-by-Step
Aim for neutral, layered shadows with a softly defined crease and a deeper outer corner to add depth.
Palette & brushes
- Neutral palette: mattes, satin mid-tones, and one or two deeper browns + one shimmery lid shade.
- Brushes: fluffy crease brush, flat shader brush, smaller pencil brush for lower lashline, clean blending brush.
Step-by-step eye look
- Prime eyelids with a long-wear primer or thin layer of concealer; set with translucent powder.
- Transition shade (matte): with a fluffy brush, sweep a warm matte shade slightly above the crease and blend it out. This softens later edges.
- Define crease: pick a slightly deeper matte shade; blend into outer V and crease to create depth. Keep blending for a diffused edge.
- Lid shade: pat a satin or soft shimmer shade on the mobile lid (center & inner lid) with a flat brush or fingertip for subtle brightness.
- Deepen outer corner: use a darker matte brown in the outer V to add more dimension but blend well to keep it soft.
- Lower lashline: smoke the crease color along the lower lashline with a pencil brush, blend. Add a touch of the shimmer in the inner lower lash to open the eye.
- Inner corner & brow bone highlight: tiny touch of a light shimmer on inner corner and under arch of brow for lift.
Soft glam eye tips
- Keep all layers light and build gradually. Harsh pigment lines ruin soft glam.
- For hooded eyes: keep transition shades slightly above the natural crease so depth shows when eyes open.
Eyeliner and Lashes: Enhance Without Overpowering
Eyeliner should define but not dominate. Lashes add polish — pick the intensity you want.
Eyeliner options
- Soft pencil smudged along top lashline for natural depth.
- Gel liner for a soft wing if desired (blend with a tiny smudger).
- Tightline (optional): line waterline under upper lashes with a waterproof pencil for a lush lash base.
Step-by-step eyeliner
- Tightline: use a waterproof pencil to line the upper waterline for fuller appearing lashes.
- Top lashline: draw a thin line as close as possible to lashes; smudge slightly with a small brush or cotton bud for softness. For a wing, extend slightly and keep angle soft.
- Lower lashline: avoid heavy liner; use shadow to softly smoke under the lashes instead.
Lashes — mascara & falsies
- Mascara: choose volumizing or lengthening based on lashes; wiggle wand at base and pull through to help coat. Use a lash primer if you need more hold.
- Falsies: for soft glam, choose natural, wispy strip lashes or individual clusters focusing on outer corners.
- Application: trim falsies to fit, apply thin lash glue, place as close to natural lashline as possible. Allow glue to get tacky (~20–30 sec) for easier placement.
Pro tip
- If you add false lashes, skip heavy eyeliner — the lash band already creates definition. Finish with a light coat of mascara to blend natural and false lashes.
Perfect Brows: Shape, Fill, and Set Naturally
Brows frame the face — soft glam calls for defined but natural brows.
Tools & products
- Brow pencil or microbrow pen for hair-like strokes.
- Brow powder to fill sparse areas softly.
- Clear or tinted brow gel to set.
Step-by-step
- Brush brows upward with spoolie.
- Map start, arch, and tail using three-point method (align vertically with nose, diagonally with pupil, and nose to outer eye).
- Fill sparingly: use pencil to create hairlike strokes in sparse areas; use powder for diffuse fullness.
- Define underside lightly to create shape; avoid harsh block fills.
- Set with tinted or clear gel to keep hairs in place and add slight sheen.
Shape suggestions
- Keep the brow’s natural shape but enhance symmetry. Softer arches look more flattering for a soft glam aesthetic.
Lips: Prep and Apply the Ideal Shade
Lips complete the look. Soft glam favors flattering neutrals, mauves, or soft rosy tones.
Lip prep (quick)
- Exfoliate gently with a lip scrub or soft toothbrush.
- Hydrate with a balm; blot off excess before lip color.
- Prime: optional lip primer or a little concealer to even tone.
Choosing color
- Neutral pinks, rosy mauves, and soft browns are universally flattering. For evening, choose a deeper mauve or muted berry.
- Consider complexion and overall look: warmer tones for warm complexions, cooler tones for cool complexions.
Step-by-step lip application
- Line lips with a shade close to your natural lip or to the lipstick color — slightly overline only if desired, not dramatically.
- Fill with lipstick (satin or creamy) using a brush for precision.
- Blot & layer: blot with tissue and apply a second thin layer for wear.
- Gloss (optional): dab on center of lower lip for a plump effect; keep it subtle to match soft glam’s understated elegance.
Long-wear trick
- After lining, apply a thin layer of powder over lips (via tissue) and top with lipstick — this makes color last longer without heavy matte texture.
Finishing Touches: Setting Spray and Final Adjustments
Lock the look and make micro-adjustments.
Step-by-step finish
- Set with spray: Hold 8–10 inches away and mist 2–3 times across the face. Choose luminous spray for glow or matte spray if you need oil control.
- Check balance in natural light — fix any uneven blush, continuity between eyeshadow or brows.
- Small fixes: use a clean brush or sponge to soften any edges that look too strong.
Quick on-the-go kit
- Translucent powder blotting papers, small brush, mini setting spray, and lipstick for touch-ups.
Pro Tips for a Long-Lasting Soft Glam Look
- Layer textures: matte in the crease, satin/shimmer on lid, cream blush under powder for dimension.
- Less is more: build slowly. It’s easier to add than remove.
- Blend brush hierarchy: use large brushes for diffuse blending, small brushes for detail. Clean your blending brush between different eyeshadow families to avoid muddy colors.
- Color harmony: pick one focal point (eyes or lips) and keep the other softer. For soft glam, the focus is usually the eyes.
- Use a light touch with highlight — avoid glitter.
- Match undertones across products: warm bronze eyes should pair with warm-toned blush/lip for cohesion.
- Test for flashback: avoid overly silica-rich brightening powders which can flash white in photos.
- Set strategically: powder only where necessary. Melt it in with setting spray for natural finish.
- Use camera-friendly finishes: satin and luminous textures look great on and off camera; high-shine glitter can reflect harshly.
Troubleshooting Common Soft Glam Problems
- Foundation looks cakey: you used too much powder; spritz setting spray and gently buff with damp sponge.
- Concealer creases: use less product, hydrate under-eye, and set very lightly with a tiny dusting of powder.
- Eyeshadow muddy: clean your crease brush and re-blend the transition shade with a clean, dry brush.
- Lashes droop with falsies: curl natural lashes first, trim falsies to fit, and let glue get tacky before placing.
- Highlight emphasizes pores: move highlight slightly upward or mix with foundation/primer for sheerer effect.
Final Thoughts
Soft glam is about flattering enhancement. It’s polished, versatile, and forgiving — perfect for everyday elegance or special occasions. The keys are skin prep, seamless blending, restraint, and harmony across color choices. Start with the steps above, adapt them to your features and preferences, and practice — soft glam becomes quicker and more intuitive with every look.


