Curly hair is beautiful, lively, and wonderfully varied — but it also has its own needs. Curls are drier, more fragile, and more easily disrupted than straight hair, so the right techniques and products make an enormous difference. This guide walks you through everything: how curls work, how to pick products for your curl type, exact wash-day steps, gentle detangling, styling methods like plopping and scrunching, sleep care, trimming, and mistakes to avoid. Follow these habits consistently and your curls will reward you with definition, bounce, and shine.
Why Curly Hair Needs Special Care
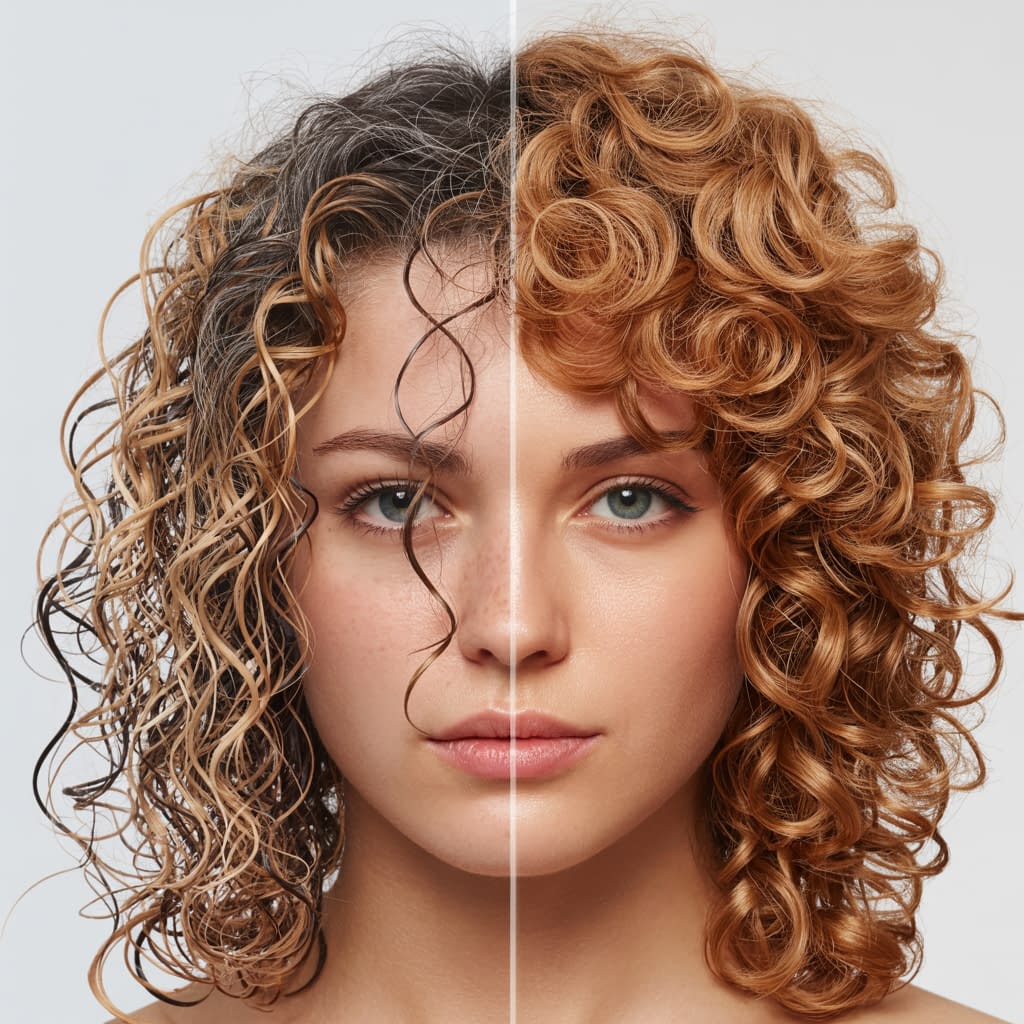
Curly hair’s shape means natural oils (sebum) from the scalp have a harder time traveling down the shaft, so curls tend to be drier. The twists and bends in the strand also make curls more prone to breakage, frizz, and uneven texture. Add chemical treatments, heat, rough handling, or the wrong products and curls can quickly lose definition and become brittle.
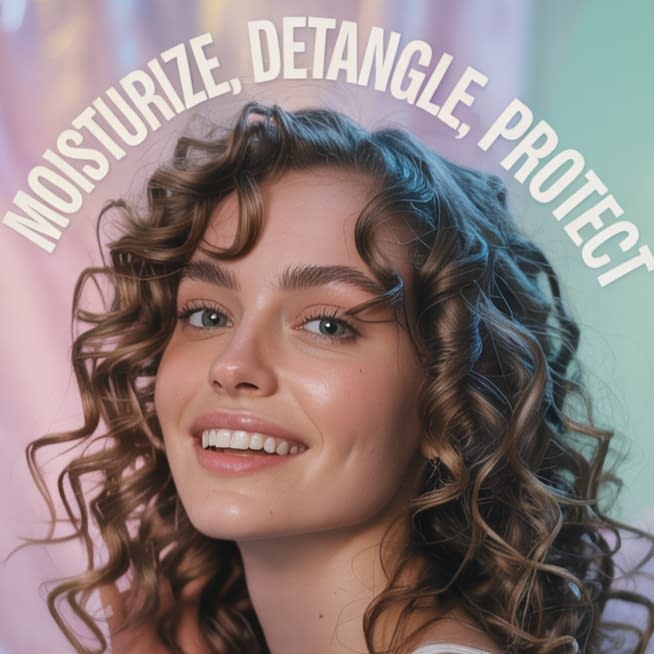
Goal of care: moisture + gentle handling + protection. When you supply hydration, minimize mechanical stress, and use supportive styling techniques, curls keep their pattern and look healthier for longer.
Know Your Curl Type Before Starting Any Routine
Curl care is easier if you know roughly where your hair fits on the curl spectrum — 2A through 4C — because porosity, thickness, and product needs vary.
Quick curl-type guide
- 2A–2C (Wavy) — loose S-shaped waves; lighter products, light gels/creams, low-hold styling.
- 3A–3C (Curly) — defined spirals of varying widths; needs medium hydration, creams and light gels.
- 4A–4C (Coily/Kinky) — tight coils, often more fragile and very dry; richer creams, butters, and low-manipulation methods.
Also consider
- Porosity (how your hair absorbs water): low, normal, or high porosity affects how quickly products penetrate and how often you need protein vs moisture.
- Thickness vs density: fine strands vs thick strands respond differently to weights of product.
How to test quickly: drop a clean hair strand into a glass of water — if it sinks quickly it’s high porosity; if it floats, low porosity.
Knowing your type helps you choose the lighter gels and sprays for wavy hair and richer creams and oils for coils.
Use a Gentle, Sulfate-Free Shampoo
Sulfates strip natural oils and rough up the cuticle — that’s usually bad news for curls.
Shampooing tips
- Frequency: most curlies do best cleansing 1–3× per week. Coily hair often benefits from less frequent shampooing and more co-washes.
- Sulfate-free formulas: look for shampoos labeled “sulfate-free,” “gentle,” or “for curly hair.” They remove dirt without denuding the hair.
- Pre-shampoo treatment (optional): apply a lightweight oil or conditioner to the lengths if hair is dry — helps prevent excess stripping.
- Scalp focus: use fingertips (not nails) to massage the scalp gently to lift oils and product buildup; let shampoo rinse through the lengths to cleanse without extra friction.
- Rinse well with lukewarm water, cooler at the end to smooth cuticles.
Co-wash option: on non-shampoo days a cleansing conditioner (co-wash) refreshes and detangles without stripping.
Condition Deeply to Keep Curls Hydrated
Conditioner is the workhorse for curl health — detangling, softening, and sealing moisture.
Daily conditioner routine
- After shampooing, apply a generous amount of conditioner from mid-lengths to ends. Use a wide-tooth comb or fingers to distribute it and detangle gently.
- Leave on 2–5 minutes for standard conditioners; rinse lightly if you prefer more definition.
Deep-conditioning (weekly or biweekly)
- Use a deep conditioner or hair mask once a week (or every 1–2 weeks for very dry/coily hair).
- Apply to clean, damp hair from root to ends (or concentrate on mid-lengths/ends).
- Add heat for 15–30 minutes (steam cap, warm towel, or low-heat hooded dryer) to help penetration.
- Rinse with cool/lukewarm water to seal cuticles.
Look for ingredients
- Humectants: glycerin, hyaluronic acid (draws moisture in).
- Emollients: oils like jojoba, argan, coconut (soften).
- Occlusives: shea butter, petrolatum (seal moisture).
- Protein (occasionally): hydrolyzed proteins if your hair is limp or brittle — don’t overuse protein on hair that’s not protein-deficient.
Detangle Your Hair the Right Way
Detangling carefully prevents breakage and preserves curl shape.
Step-by-step detangling
- Detangle when wet and coated with conditioner — the hair is at its strongest when saturated and lubricated.
- Section hair into 4–8 manageable parts with clips.
- Start at the ends and work up toward the roots, using fingers or a wide-tooth comb. For more definition, a Denman brush (used gently) works well for many curl types.
- Take your time — forceful brushing rips hair and creates frizz.
- Rinse (if you’re in a wash routine) or leave the conditioner in if you’re styling with the LOC/LCO method (below).
Tools to use
- Wide-tooth comb, fingers first, then gentle brush if needed.
- Soft paddle brush for scalp area only, not on stretched curls.
Apply Leave-In Conditioner for All-Day Moisture
Leave-in conditioners form the foundation of daily curl hydration and help hold definition.
How to apply
- After rinsing your rinse-out or deep conditioner, blot hair gently with a microfiber towel or cotton T-shirt — hair should be damp, not dripping.
- Section hair and apply leave-in evenly from mid-lengths to ends; use fingers or a wide-tooth comb to distribute.
- Use more on the ends and less near the roots to avoid weighed-down hair.
- If using styling products after, apply them while hair is still damp to lock in moisture.
Why they matter: leave-ins add slip for detangling, humectants to draw moisture, and base-level nourishment to prevent frizz and dryness throughout the day.
Choose the Best Styling Products for Your Curl Pattern
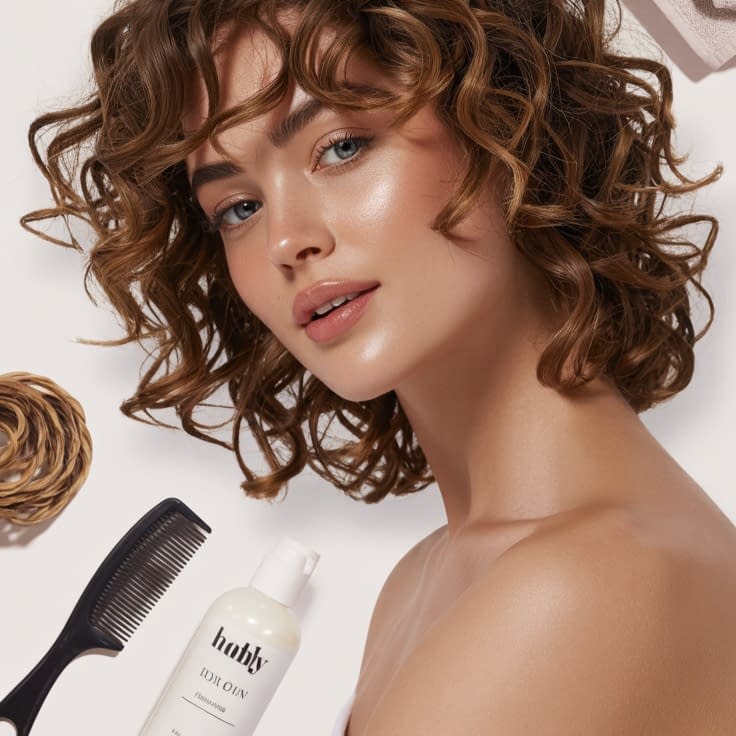
Products sculpt and hold curl shape. Pick based on curl type and desired finish.
Product types & when to use them
- Creams / moisturizers — best for thick or dry curls that need softness and definition. Use on 3A–4C depending on formula weight.
- Gels — provide hold and cast (good for clumping and definition). Lightweight gels suit 2–3A; stronger gels for 3B–4C.
- Mousses — add volume and light hold for wavy to curly hair without heavy cast.
- Oils / serums — finishing touch for shine and frizz control; use sparingly.
- Curl custards / stylers — combine moisture + hold for defined clumps.
How to layer (general)
- Leave-in conditioner (base).
- Cream (if using for moisture/softness).
- Gel or mousse for hold.
- Oil or serum as finish to seal and add shine (very small amount).
Tip: Start with 25–50% of the product recommended on the bottle — you can always add more to avoid weighing curls down. Experiment in small sections.
Use Heat Sparingly and Protect Hair When You Do
Curly hair burns moisture quickly with heat; minimize use and protect thoroughly.
When you must use heat
- Blow-drying for volume or to stretch roots: use a diffuser on low heat/low speed or use the “cool shot” technique to set shape.
- Straightening or thermal styling: use a heat protectant spray/serum and keep temperature as low as effective (300–350°F / 150–180°C for fine hair; 350–420°F for very coarse hair but try to stay lower).
- Always apply a heat protectant and avoid multiple passes over the same section.
Heatless alternatives
- Twist-outs, braid-outs, banding, or flexi-rods overnight produce shape without heat.
- For volume, try root clipping and air-drying with light product.
Master the “Plopping” and “Scrunching” Methods
These are cornerstone techniques for defining curls and minimizing frizz.
Plopping (step-by-step)
- After styling products are applied to wet hair, lay a cotton T-shirt or microfiber towel on a flat surface.
- Flip hair forward into the center of the shirt/towel so curls pile up on top of your head.
- Gather the fabric edges and tie at the nape/secure with a knot so the hair is gently wrapped and compressed.
- Leave for 10–20 minutes (or up to an hour) to encourage clumping and reduce dripping.
- Unwrap gently and allow hair to air-dry the rest of the way, or diffuse on low heat.
Scrunching (step-by-step)
- With product on damp hair, cup a section in your hands near the ends and push (scrunch) upward toward the roots to encourage curl formation.
- Repeat section by section across the head.
- Scrunch out the crunch (SOTC) after the hair is completely dry: gently squeeze and push to break the gel cast to reveal soft defined curls.
Key points
- Both techniques encourage curl clumping and reduce frizz.
- Avoid touching hair repeatedly while it dries; that causes frizz and breaks clumps.
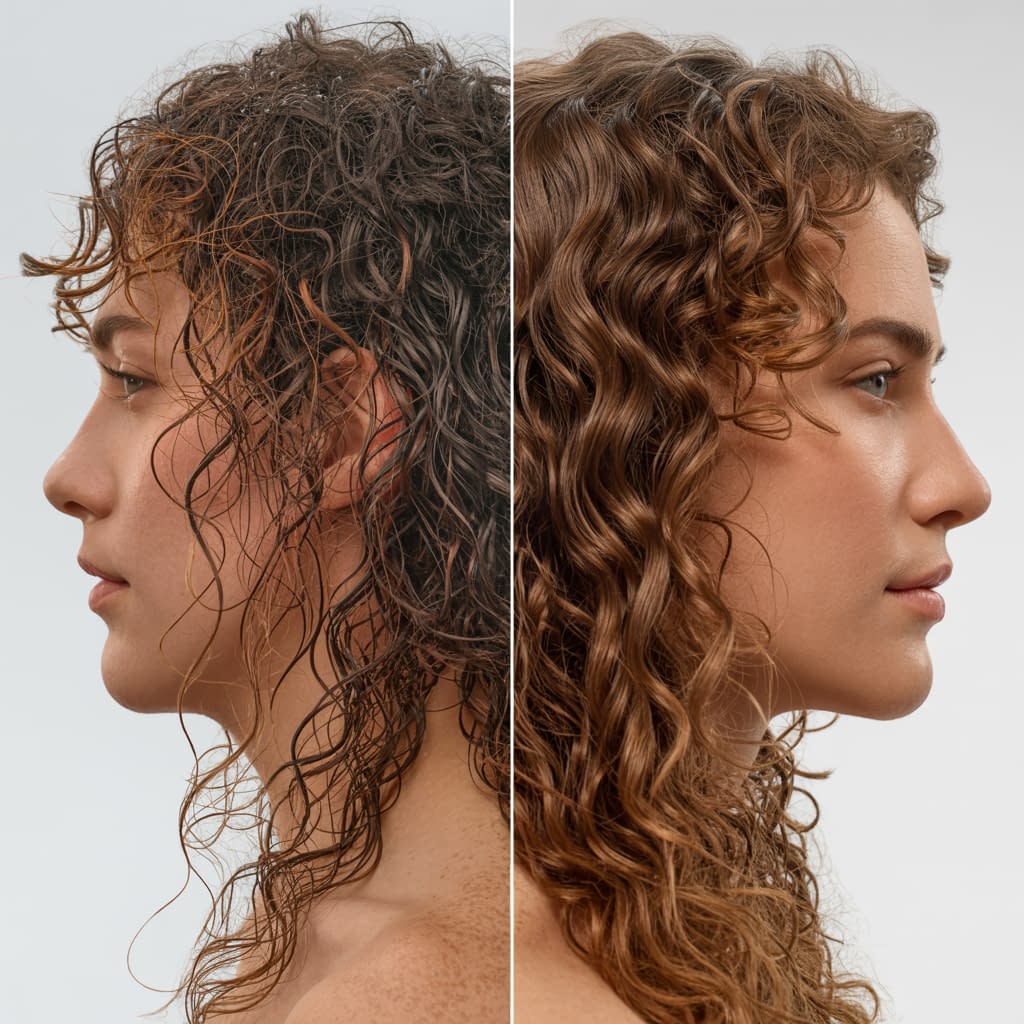
Dry Your Hair Without Ruining Your Curl Pattern
Drying technique dictates a lot of the final look.
Microfiber / T-shirt dry
- Use a microfiber towel or cotton T-shirt to blot and scrunch water out gently — never rub.
Diffuser method
- Attach diffuser to blow dryer. Set to low heat and low airflow.
- Cup sections of hair into the diffuser and gently press up toward your scalp for 5–10 seconds per area.
- Rotate and lift the diffuser but avoid high-speed blasting which creates frizz.
- Finish with a cool shot to set the curls.
Air-drying
- Let hair dry naturally when time allows. Apply products while damp and plop/scrunch; resist touching until dry.
Avoid
- Rough towel drying, high heat, and constant touching.
Refresh Your Curls Between Wash Days
You don’t need to wash hair to revive curls. Refreshers preserve moisture and extend styles.
Simple between-wash refresh
- Water + leave-in: spray dampen hair lightly with water or a water + leave-in mix (spritz bottle with water + 1–2 pumps leave-in).
- Scrunch or finger-reshape curls into place.
- Add a tiny bit of gel or cream to areas that need redefinition.
- Diffuse briefly on low if you want faster revive, or air-dry.
Dry shampoo / scalp refresh
- For roots, use a light dry shampoo or scalp powder — avoid getting it on the lengths which need moisture.
Refresh sprays
- There are many curl-refresh sprays on the market. Choose one with hydrating glycerin or panthenol and little alcohol.
Sleep the Right Way to Protect Your Curls Overnight
How you sleep hugely affects morning curl shape.
Night routine
- Pineapple method: gather hair loosely on top of the head into a high, soft ponytail using a silk scrunchie — protects curls without kinks.
- Silk or satin pillowcase: reduces friction and moisture loss.
- Silk bonnet or scarf: secure curls in a loose wrap or bonnet for extra protection (especially helpful for 3–4 type hair).
- Refresh in the morning: spray lightly with water/leave-in, scrunch, and redefine problem spots.
Pro tip: For textured styles (twist-outs), you can re-twist a few sections before bed to preserve shape.
Trim Regularly to Prevent Split Ends and Maintain Shape
Curls respond to shape — a strategic trim keeps bounce and definition.
Trimming guide
- Frequency: every 8–12 weeks for most curl types; 12–16 weeks may work for slower-growing hair if ends are healthy.
- Dusting: small snips of split ends every 6–8 weeks preserves length while removing damage.
- Shape vs length: get a stylist experienced with curly hair — they cut with the curl in mind (dry cuts can be useful to see natural fall).
- Preventative trims: remove ¼–½ inch to freshen shape and prevent splits traveling up the shaft.
Why it matters: healthy ends reduce tangling and make styling easier.
Avoid Common Curly Hair Mistakes
A few frequent mistakes sabotage great curls — avoid them.
Mistakes to stop
- Brushing dry curls — instantly destroys clumps and creates frizz.
- Over-washing — strips oils; find a frequency that balances scalp health and curl moisture.
- Using heavy silicones or waxy build-upers without clarifying occasionally — build-up weighs hair down and dulls curls. Use a gentle clarifying shampoo or clay rinse monthly if needed.
- Rubbing with a terry towel — switch to microfiber or a T-shirt.
- Layering incompatible products (too many oils over heavy creams) — leads to limp, greasy hair.
- Heat overuse — causes long-term dryness and melted curl pattern.
- Ignoring porosity — using heavy oils on low-porosity hair can cause product sit-on and residue.
Practice patience — try one routine for 4–6 weeks before switching products; curls respond to consistent care.
Final Words
Curly hair thrives on moisture, gentle handling, smart products, and protective habits. Start by identifying your curl type and porosity, build a consistent wash-day routine (cleanse gently, condition deeply, leave-in + styling), master plopping and scrunching, protect hair at night, refresh between washes, and trim regularly. Avoid common mistakes like over-brushing, excessive heat, and harsh sulfates. With thoughtful, repeatable steps, your curls will become more defined, less frizzy, and healthier over time.


