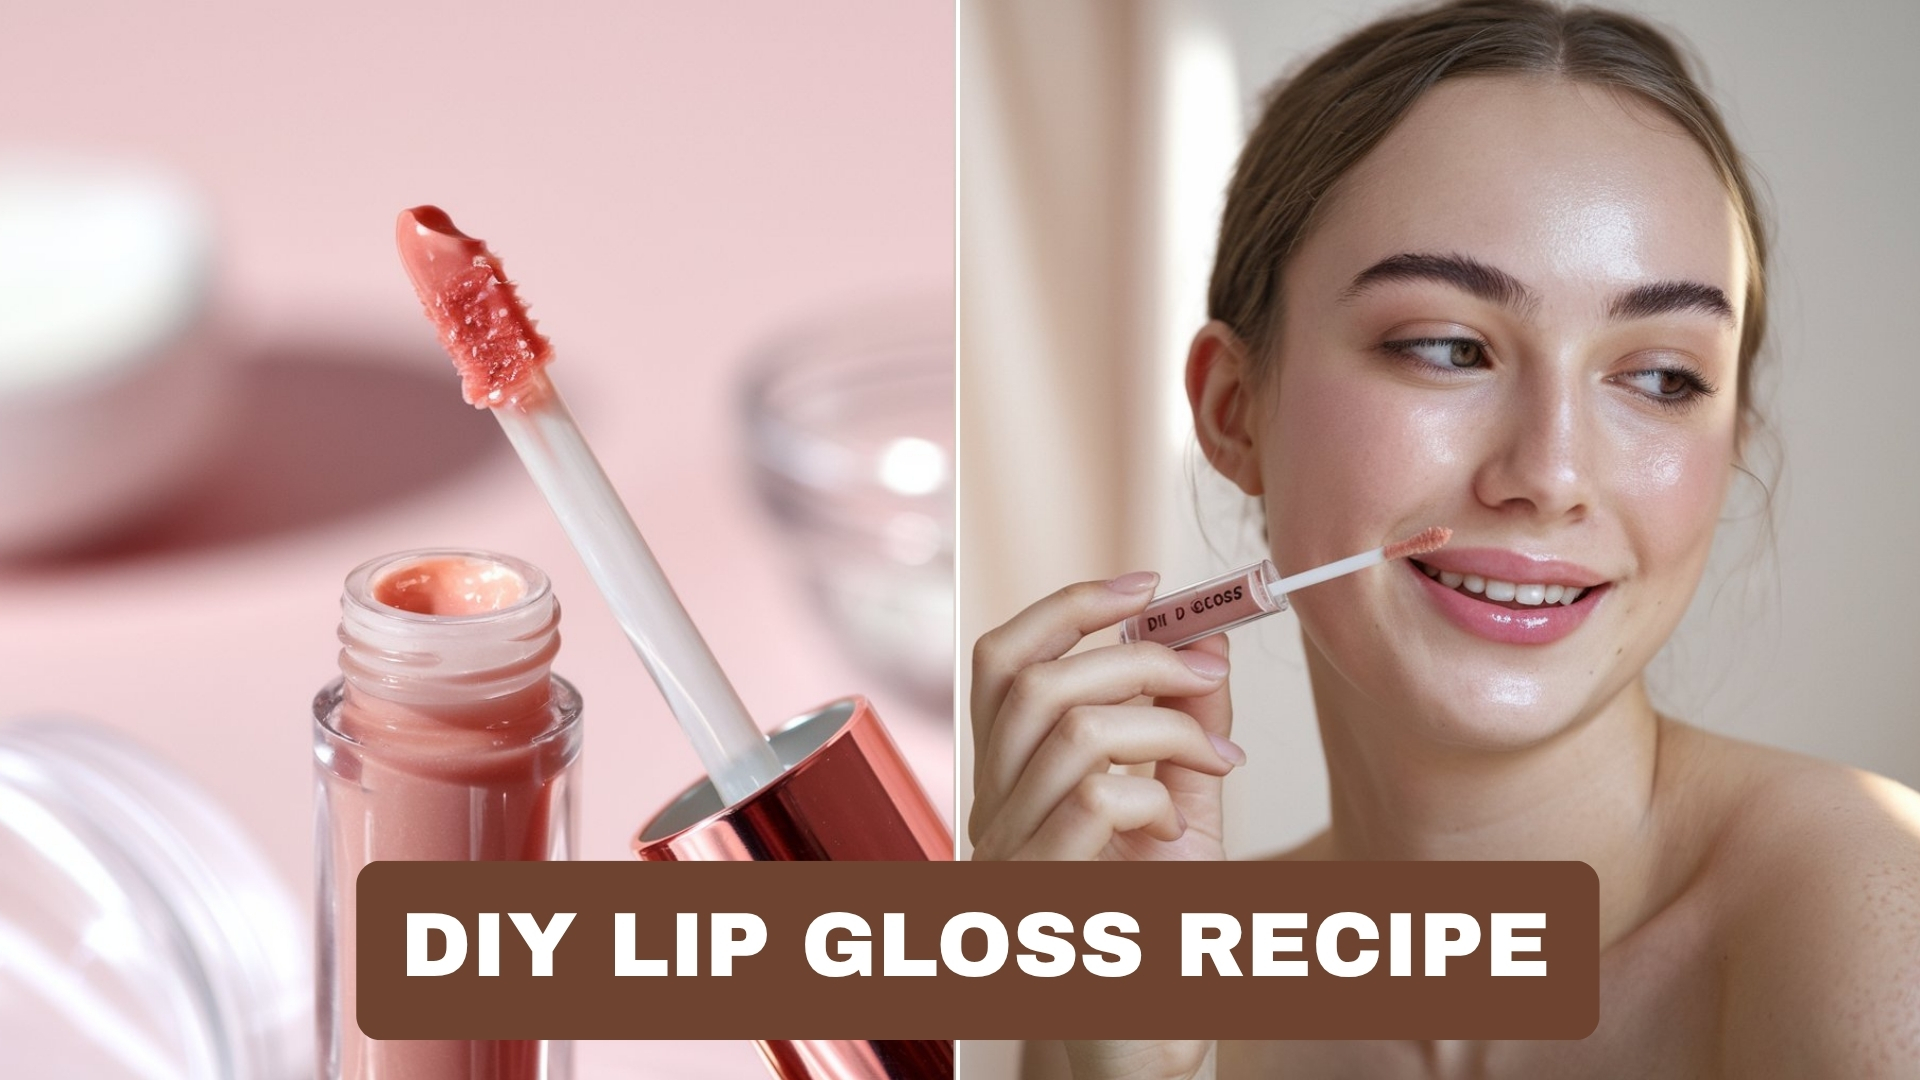
Homemade lip gloss is fun, economical, and lets you control every ingredient that touches your lips. Whether you want a clear, shiny gloss, a tinted balm, or a glittery summer tube, you can make it with simple kitchen-friendly tools and natural ingredients. Below you’ll find a friendly but detailed guide — ingredient science, exact step-by-step recipes, safety notes, troubleshooting, storage, and creative variations so you can make gloss like a pro at home.
Why Make Your Own Lip Gloss?
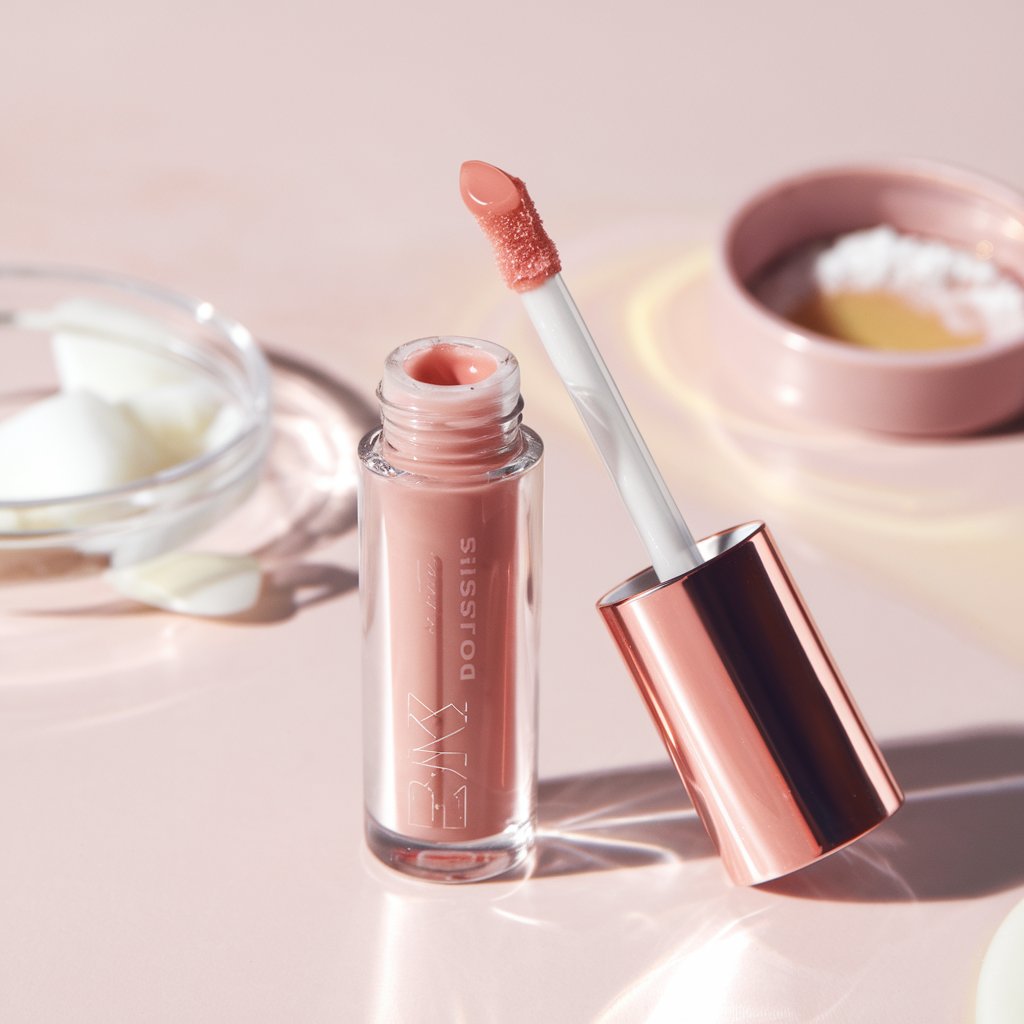
Making your own lip gloss means:
- You know every ingredient (no mystery fillers, parabens, or unwanted fragrances).
- You can customize texture, scent, and color.
- You save money — small commercial luxury glosses can be pricey.
- You can cater to sensitivities (fragrance-free, vegan, nut-free, etc.).
Homemade glosses are generally simple oil/wax/butter blends — water-free formulas that are less likely to grow bacteria when handled hygienically. They deliver hydration, shine, and a smooth feel — and they’re very forgiving to tinker with once you understand the base ratios.
What You’ll Need: Essential Ingredients and Tools
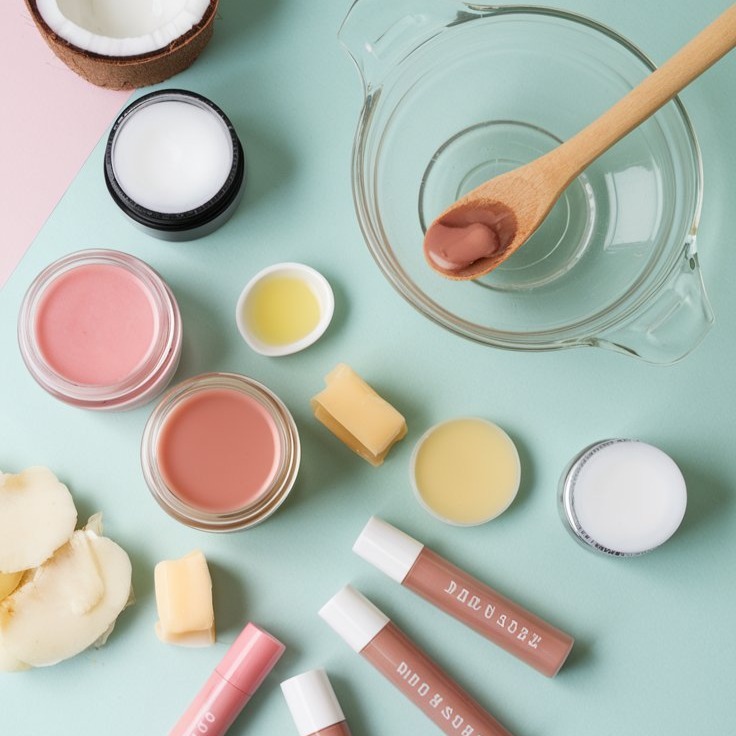
Ingredients (basic)
- Wax (structure & staying power): beeswax (classic) or candelilla wax (vegan, slightly firmer).
- Base oils (texture & glide): coconut oil, jojoba oil, sweet almond oil, fractionated coconut oil (MCT), grapeseed.
- Butters (moisture & creaminess): shea butter, cocoa butter, mango butter (optional).
- Pigments (color): cosmetic mica powders, lipstick shavings, beetroot powder (natural), oxides (cosmetic grade).
- Sweetener/flavor (optional): food-grade flavor oils or lip-safe essential oils (peppermint, orange) — dilute very low for lips.
- Antioxidant: Vitamin E (tocopherol) — prolongs shelf life by slowing oil rancidity.
- Optional: cosmetic-grade mica for shimmer; non-nano zinc oxide only with caution if attempting SPF (see note).
Tools
- Small heatproof glass or stainless steel bowls (double boiler setup) or a dedicated small double boiler.
- Digital scale (grams) — highly recommended for consistent results.
- Measuring spoons (if no scale) — but scale = better results.
- Small whisk or silicone spatula.
- Pipette/dropper for pouring into tubes.
- Small funnel (for lip gloss tubes).
- Containers: lip gloss tubes (twist or doe-foot), small jars (5–15 g), or lip balm tins.
- Gloves and clean work surface.
- Small pot of hot water (for double boiler) or microwave (brief bursts).
Choosing the Right Base Oils for Nourished Lips
Oils affect slip, shine, and how long moisture lasts:
- Coconut oil — very shiny and solid at room temp in cooler climates; gives smooth glide but can feel heavy and may clog very acne-prone skin.
- Jojoba oil — actually a liquid wax; very stable, lightweight, close to skin’s natural sebum; great choice for gloss.
- Sweet almond oil — nourishing, light, with good spreadability.
- Fractionated coconut oil (MCT) — very light, non-greasy, long shelf life — commonly used in gloss for a silky finish.
- Grapeseed oil — light and slightly drying (use in small amounts if you want less greasy finish).
Recommended strategy: combine a heavier oil for emollience (jojoba or sweet almond) with a lighter oil (fractionated coconut) for glide. Example oil ratio (of total formula): 60–80% oils.
Add Butters for Extra Moisture and Shine
Butters add body and nourishing properties:
- Shea butter — very moisturizing and creamy; good for dry lips.
- Cocoa butter — firm and adds gloss; can be more solid.
- Mango butter — creamy and lighter than cocoa.
Butters are optional; too much butter = thicker, balm-like texture. If you want a glossy, non-waxy finish, keep butter 0–15% of the formula.
How to Add Color Naturally
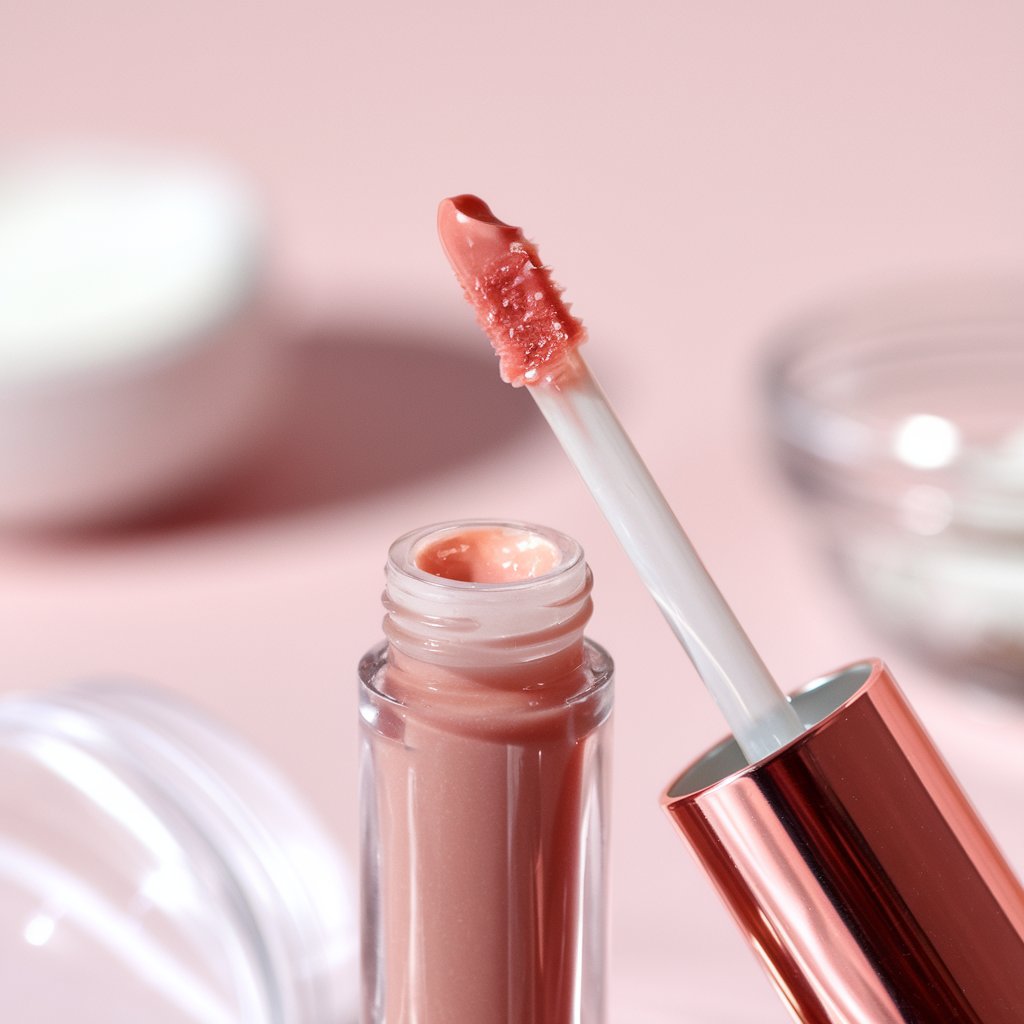
Safe colorants:
- Beetroot powder — natural pink/red tint; start very small (staining possible).
- Lipstick shavings — melt a tiny bit of an old lipstick into the base for guaranteed lip-safe color.
- Cosmetic mica powders — available in many shades and sparkle; ensure cosmetic-grade.
- Iron oxides — provide stable earthy pigments; pick cosmetic grade.
Tips:
- Pigments are potent — add a little at a time to reach desired shade. Mix thoroughly and test on wrist/lip.
- For very natural stains, use concentrated beetroot or hibiscus infusions (but water-based additions shorten shelf life—avoid unless using a preservative).
Add Flavor and Scent for a Fun Touch
Use lip-safe flavor oils (designed for lip/food use) or essential oils with caution.
Safety:
- Essential oils are potent. For lip products keep EO to ≤0.5% of total formula (ideally 0.1–0.3%). For a 30 g batch, 0.5% ≈ 0.15 g (roughly 2–3 drops depending on drop size) — start with 1 drop and patch test.
- Peppermint/cinnamon can feel plumping but can irritate — use extremely sparingly and patch test.
- Vanilla flavor oils made for cosmetics are usually safe at low dilution and give a pleasant scent.
Always check that any flavor/oil is lip-safe, food-grade, and free of known allergens for you.
Step-by-Step: How to Make Your Lip Gloss at Home
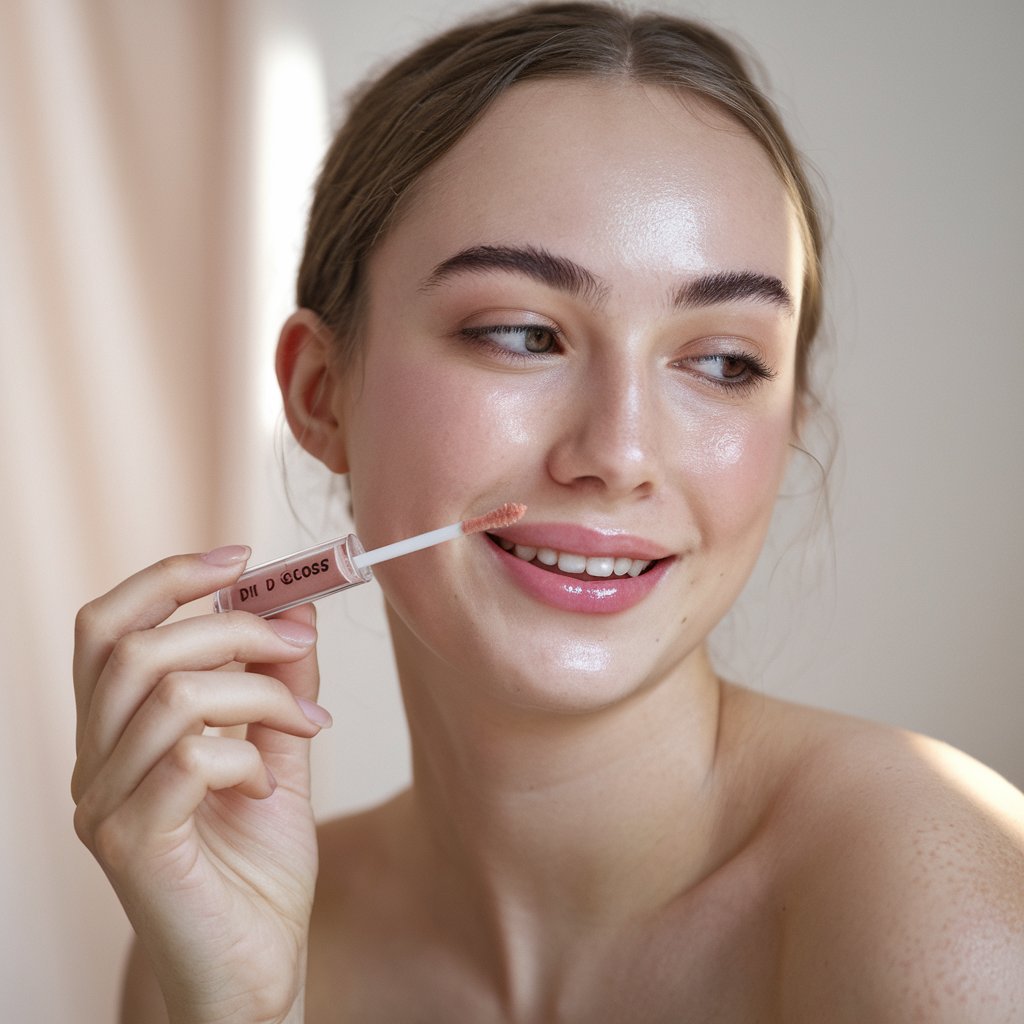
Below are two reliable small-batch recipes (clear gloss and tinted gloss). Each makes roughly 30 g of lip gloss — enough for one or two tubes and ideal for experimenting.
Basic Clear Gloss (shiny, hydrating) — 30 g batch
Ingredients
- Beeswax (or candelilla for vegan): 4 g (≈ 13% by weight)
- Shea butter (soft butter; optional): 2 g (≈ 7%)
- Jojoba oil: 18 g (≈ 60%)
- Fractionated coconut oil: 5 g (≈ 17%)
- Vitamin E: 0.3 g (≈ 1%) — 1–2 drops
- Flavor oil (lip-safe): 0.1–0.2 g (1–2 drops) — optional
Method
- Clean & sanitize your tools and containers (boil or use high temp dishwasher where possible; wipe surfaces with alcohol).
- Set up a double boiler (heatproof bowl over gently simmering water). Do not let water touch the bottom of the bowl.
- Add beeswax and shea butter to bowl and gently melt until liquid.
- Remove from heat and stir in jojoba and fractionated coconut oil until fully combined.
- Add vitamin E and flavor oil. Stir thoroughly.
- While still liquid, use a pipette or small funnel to pour into lip gloss tubes or jars. Work quickly before it begins to thicken.
- Let cool undisturbed until solid — about 20–40 minutes at room temperature.
- Cap and label with date.
Texture adjustments
- Too runny? Add 0.5–1 g more beeswax and remelt.
- Too thick? Remelt and add 1–2 g more oil.
Tinted Berry Gloss (sheen + light color) — 30 g batch
Ingredients
- Beeswax: 3.5 g
- Cocoa butter: 1.5 g
- Jojoba oil: 16 g
- Fractionated coconut oil: 7 g
- Lipstick shaving (small piece, melted) or 1/8 tsp beetroot powder (sifted)
- Cosmetic mica (pearlescent) 0.2–0.5 g for shimmer (optional)
- Vitamin E: 0.3 g
- Flavor oil: 0.1 g (1 drop)
Method
- Sanitize gear and containers.
- Melt beeswax + cocoa butter in a double boiler.
- Add oils, stir until melted and homogeneous.
- Add lipstick shavings or sifted beetroot and mica; whisk until fully blended. If using beetroot, you may need to heat slightly more to fully incorporate (avoid burning powders).
- Add vitamin E and flavor. Mix, then pour into containers.
- Cool fully before capping.
Note: Beetroot provides a natural tint but can stain fabric; test carefully.
Optional Add-Ins: Customizing Your Gloss
- Shimmer: cosmetic mica — add 0.1–0.5% depending on sparkle preference.
- Plumping effect: tiny amount of lip-safe peppermint or cinnamon oil — very small dose and patch test (see safety).
- SPF: do not rely on DIY gloss as your sole SPF. Adding non-nano zinc oxide can be tricky (texture/grit) and SPF claims require lab testing — for reliable protection, use a commercial lip SPF product.
- Vitamins: Vitamin E (antioxidant) 0.5–1% helps extend freshness.
- Glossy shine boost: a little fractionated coconut oil increases shine but decreases staying power.
Storage Tips: Keeping Your Lip Gloss Fresh Longer
- Water-free formulas (oil + wax + butter) are the most stable. Avoid adding aloe/water without a preservative.
- Containers: airtight tubes or jars. Tubes are more hygienic for lips.
- Temperature: store at cool room temperature. Avoid direct sunlight and heat (melting); too-cold may make gloss firmer.
- Shelf life:
- Oil-only or oil/wax blends: 6–12 months depending on oils used and presence of vitamin E.
- If you added water or fresh ingredients: refrigerate and use within 2–3 weeks, or better: avoid water entirely.
- Signs it’s gone bad: off or rancid smell, visible mold, color change — discard immediately.
Make small batches (30 g) you can use in a couple months — fresher gloss and more variety to experiment with.
Troubleshooting: Fixing Common Lip Gloss Mistakes
- Grainy texture: often pigment or mica clumping, or oils cooling too quickly. Fix: remelt gently, whisk thoroughly, pour while still fluid. If mica is clumpy, sift before adding.
- Separation (oil floating on top): too little wax/butter for the oil amount. Remelt and add a small amount (0.5–1 g) beeswax or 0.5–1 g cocoa butter to stabilize.
- Too runny: increase wax by 0.5–1 g and remelt.
- Too thick/pasty: remelt and add 1–2 g more oil (jojoba or fractionated coconut).
- Irritation/tingling: you likely used too much essential oil or a sensitizing ingredient. Stop using immediately, wash off, and treat with plain moisturizer. For persistent reaction seek medical advice.
- Stains on fabric: natural pigments (beetroot, turmeric) can stain — use with caution and label accordingly.
- Rancid smell: oils have oxidized. Discard and make a fresh small batch; add vitamin E next time.
Fun Variations to Try
- Clear glossy balm — basic clear recipe for an everyday gloss.
- Tinted sheer — add small lipstick shaving for tinted sheen.
- Plumping gloss — add 1 drop peppermint EO per 10 g batch (test first); expect mild tingle.
- Glitter gloss — cosmetic-grade glitter or sparkle mica for festival looks (avoid craft glitter — it’s not skin safe).
- Matte glossy hybrid — add a touch of arrowroot powder (very small amount) to reduce shine while retaining pigment — glassy finish will be less intense; mix well and test.
- Vegan gloss — use candelilla wax + mango butter + jojoba oil.
- Tinted stain + gloss duo — make a concentrated tinted oil (lipstick shavings in oil), apply small amount for stain, top with clear gloss.
Final Words
Making lip gloss at home is satisfying and creative: you control ingredients, customize color and scent, and tailor textures for your personal preferences. Start with a small, tested recipe (try the 30 g clear gloss), always sanitise tools, do a patch test for new ingredients, and make small batches to keep your gloss fresh.


