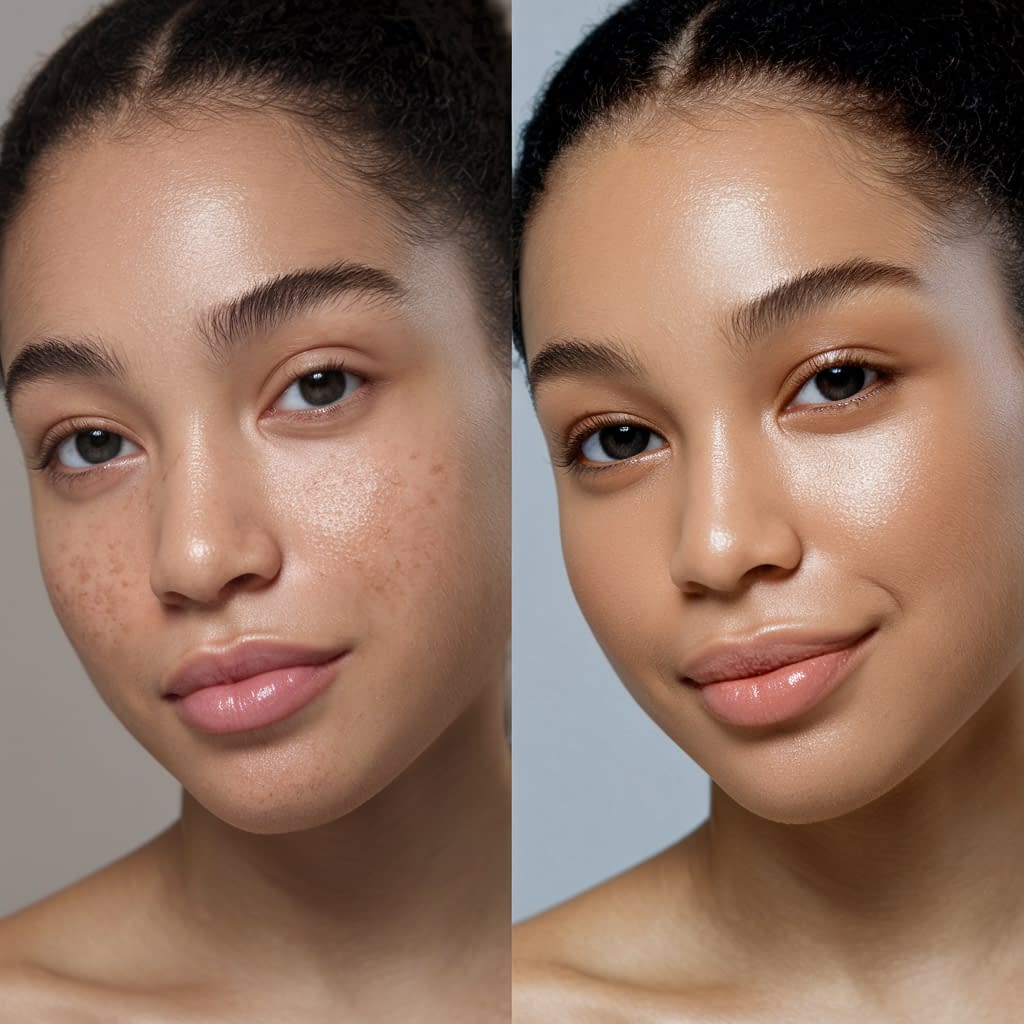
Big pores don’t mean you’re doing skin care wrong forever. Usually they’re a combo of genetics, oil production, sun damage, and bad habits. Good news: you can shrink their appearance a lot with smart, consistent care — not overnight miracles, but real, visible improvement. Below is a full, practical guide for each step: why pores look big, what to do in the morning and evening, DIY fixes that actually work, and the exact how-to so you don’t waste time trying every random trick on the internet.
Why Do Pores Appear Larger? Understanding the Causes
Short version: pores don’t “grow.” They look bigger when they’re stretched open, clogged, or the surrounding skin loses firmness.
Key causes (plain and useful)
- Excess sebum and clogs. Oil + dead skin = visible widening.
- Sun damage and collagen loss. Thinner, looser skin makes pore openings more obvious.
- Genetics and skin type. Oily, combination skin usually shows pores more.
- Aging and loss of elasticity. Pores stay open when skin can’t spring back.
- Blackheads and debris. These accentuate the opening and make pores darker/noticeable.
- Wrong products or over-stripping. Harsh drying can cause rebound oiliness and bigger-looking pores.
How to identify your main drivers (step-by-step)
- Check oiliness: Blot a clean T-zone after 3–4 hours. Noticeable shine = oil-driven.
- Look for blackheads: Dark dots suggest clogged pores — treat with salicylic acid and extraction (gentle).
- Assess skin texture: Crepey or thin skin suggests sun/collagen loss — prioritize sun protection and collagen-supporting actives.
- Ask family: If relatives have large pores, genetics matter — you can still improve appearance, just set realistic expectations.
- Track changes: If pores got worse after a product or birth control change, that’s a clue.
Practical takeaway: treat clogs + control oil + protect collagen. That three-pronged plan shrinks how noticeable pores are.
Cleanse Right: How Proper Face Washing Minimizes Pores
Cleansing is not glamour — it’s damage control. Do it correctly and pores will behave. Do it wrong and you’ll make them worse.
Daily cleansing routine (step-by-step)
- Morning — gentle rinse or light cleanser: Use a creamy or gel cleanser tailored to your skin type. If you’re oily, a gentle foaming cleanser is fine. Rinse with lukewarm water.
- Evening — double cleanse if you wear makeup or sunscreen: First, use an oil-based cleanser or micellar water to dissolve sunscreen/makeup and the day’s grime. Second, follow with a water-based cleanser to remove residue.
- Technique: Use fingertips, not a washcloth. Massage 30–60 seconds, focusing on T-zone or congested areas. Don’t scrub.
- Avoid over-washing: Twice daily is enough; over-washing strips moisture and causes rebound oil.
- Rinse temperature: Lukewarm. Hot water dilates pores and irritates skin; cold water doesn’t “shrink” pores long-term.
Product notes & quick wins
- Look for non-comedogenic on labels.
- If you have oily or acne-prone skin, use a cleanser with salicylic acid (0.5–2%) a few times a week — it dissolves oil inside the pore.
- If skin is dry/sensitive, favor a gentle cream cleanser and focus on later exfoliation to clear flares.
- Replace your sponge/washcloth weekly to avoid bacterial buildup.
Bottom line: clean well, don’t freak out about cleanliness, and use targeted cleansers when needed.
Exfoliation Secrets: Slough Off Dead Skin to Shrink Pores
Exfoliation is the single most effective non-prescription way to reduce pore appearance: it clears the gunk that stretches pore openings.
Types & when to use them
- Chemical exfoliants (recommended): AHAs like glycolic/lactic for surface texture; BHA (salicylic acid) for oil/clogged pores. Use leave-on serums or pads.
- Physical exfoliants (use sparingly): scrubs and brushes — risk of irritation and microtears if overused.
Step-by-step exfoliation plan
- Start with BHA for blackheads/oily skin: Use a 1–2% salicylic acid leave-on product 2–3x/week at night. Apply after cleansing, before moisturizer. Build tolerance: every other night → nightly if tolerated.
- Add an AHA for texture & brightness: Use glycolic/lactic 5–10% 1–3x/week (not on the same night as BHA until you know your tolerance). AHAs help with collagen stimulation over time.
- Weekly deeper treatment: A clay mask or a peel-equivalent mask (AHA/BHA mask) once weekly can draw out sebum and smooth texture. Rinse as instructed.
- Physical scrub caution: If you prefer scrubs, limit to once weekly and choose a gentle grain (no crushed shells). Use with light pressure.
Safety & tips
- Patch test any active product. Stop if stinging, burning, or rash occurs.
- Do not mix strong AHAs, BHAs, and retinoids on the same night unless you know how your skin behaves — that’s a fast track to irritation.
- Expect a transition period: some purge may occur with BHAs/retinoids as clogged pores clear. That’s temporary if not severe.
- Hydrate after exfoliation. Don’t leave skin stripped.
Result expectation: consistent chemical exfoliation over 4–12 weeks reduces visible pore size by clearing internal debris and smoothing the surrounding skin.
Toning Tips: The Best Natural Astringents for Pore Tightening
“Toner” used to mean alcohol and a squeaky face. Now it’s a functional layer: pH balancing, hydrating, or gentle astringent. Choose based on skin type.
Good-for-pores toners & how to use them
- Salicylic acid toners/pads for oily/congested skin — targeted, leave-on.
- Niacinamide toners/serums (2–5%) to reduce oil production and improve skin texture. Niacinamide also strengthens the skin barrier and refines pores over time.
- Natural astringents (gentle): diluted witch hazel (alcohol-free) or green tea rinse for antioxidant support — mild tightening without harsh drying.
- Apple cider vinegar (ACV): often recommended but risky — always dilute heavily (1 part ACV to 8–10 parts water) and patch test. Not ideal for sensitive skin.
Step-by-step toner routine
- After cleansing and optional exfoliant, apply toner with your palms (pressing it in) or a cotton pad for targeted areas.
- Frequency: once daily for most toners; for stronger BHA toners, start 2–3x/week at night.
- Follow with serum & moisturiser while skin is slightly damp to trap hydration.
- Use niacinamide in the morning or night; it’s stable and safe with most other ingredients (including vitamin C in many cases).
Warnings & real talk
- Avoid toners with denatured alcohol — they strip, dry, and increase oil rebound.
- Natural doesn’t mean safe — astringent plants can irritate. Patch test.
Toner takeaway: pick a gentle acid or niacinamide toner for measurable improvement; use natural astringents only if your skin tolerates them.
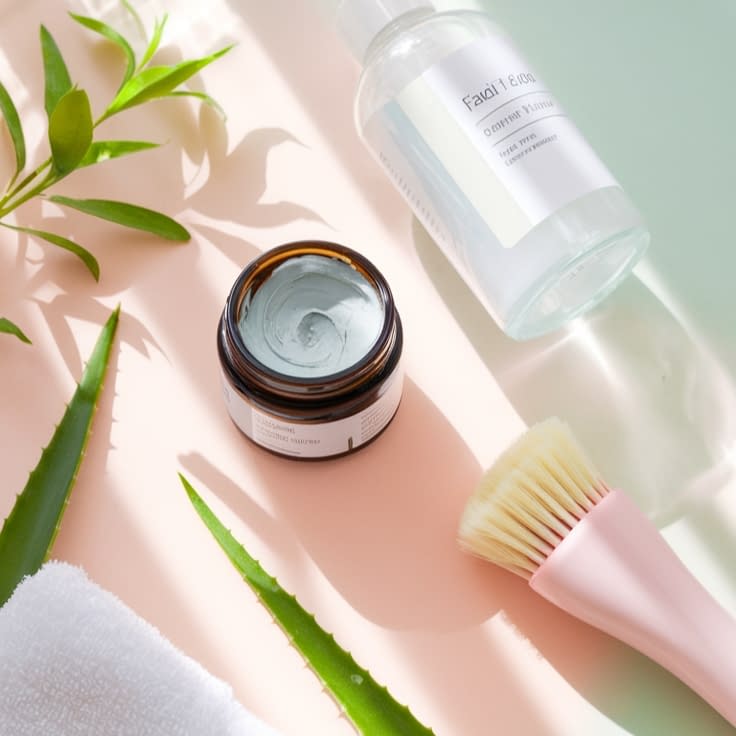
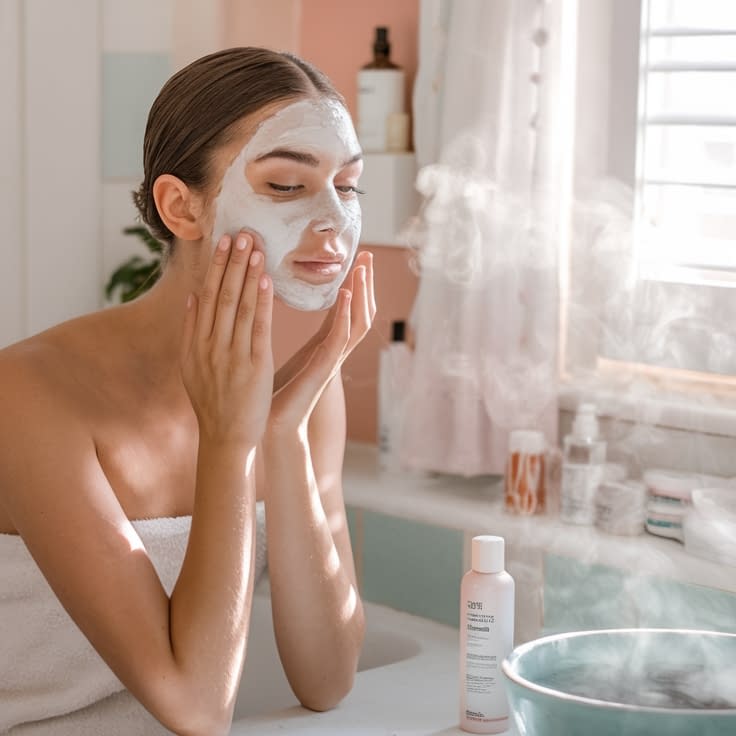
DIY Face Masks That Help Reduce Pores at Home
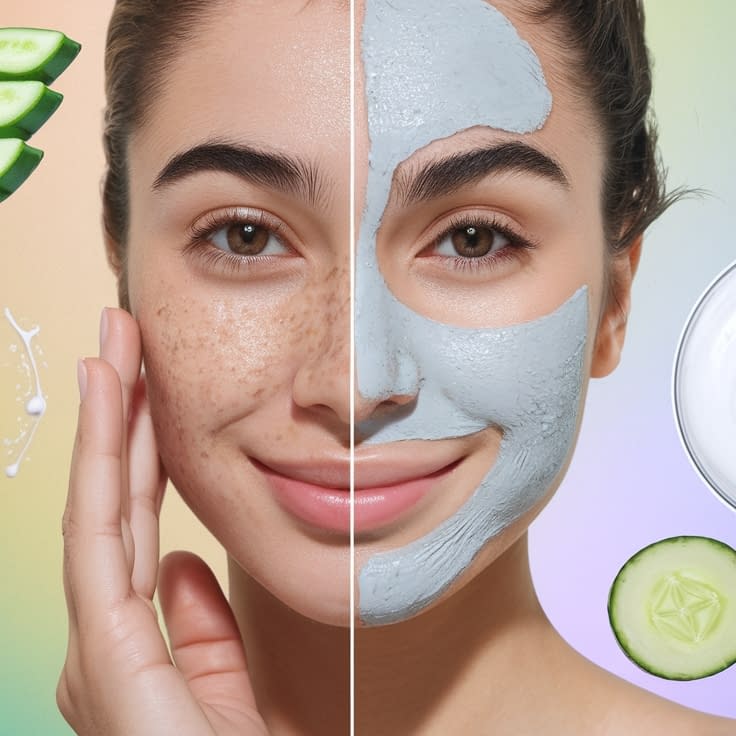
Masks can decongest pores, absorb excess oil, and calm inflammation. Useful treats, not cures. Do them smart.
Five effective DIY mask recipes (with steps & frequency)
- Classic Bentonite Clay + Apple Cider (for oily/congested skin)
- Mix 1 tbsp bentonite clay with enough water or green tea to form a paste. Add 1 tsp apple cider vinegar if you tolerate it (optional).
- Apply thinly to T-zone, leave until almost dry (10–12 minutes), rinse with lukewarm water.
- Use once weekly. Patch test first.
- Charcoal + Kaolin Clay (gentle detox)
- Mix 1 tsp activated charcoal powder + 1 tbsp kaolin clay + water to paste.
- Apply 8–10 minutes, rinse. Great for blackhead-prone skin. Once weekly.
- Honey + Cinnamon (antimicrobial; use cautiously)
- Mix 1 tbsp raw honey + 1/4 tsp cinnamon. Apply 8–10 minutes, rinse.
- Skip if sensitive or inflamed; cinnamon can irritate. Use sparingly (every 2 weeks).
- Aloe + Niacinamide + Hyaluronic booster (soothing & hydrating)
- Mix pure aloe vera gel with a drop of niacinamide serum and hyaluronic acid (leave-on mask) or apply aloe as a cooling mask.
- Use 2–3x weekly or daily as needed for calm, hydrated skin that makes pores less obvious.
- Yogurt + Oatmeal (gentle exfoliate + polish)
- Blend 1 tbsp yogurt + 1 tsp finely ground oats. Apply 7–10 minutes, massage gently, rinse.
- Use 1–2x weekly.
DIY safety rules
- Patch test. Don’t slather unknown mixes all over your face.
- Do not use acidic fruit peels raw (citric acids) without dilution — they can burn.
- Clay masks dry and pull oil; if your skin gets flaky, cut back or add a hydrating layer afterward.
Masks are a targeted tool. Combine with your daily regimen for best results.
Hydration Matters: Moisturizing to Prevent Enlarged Pores
This is the part people skip because they think moisturiser = more oil. Wrong. A balanced moisturizer reduces oil overproduction and plumps skin so pores appear smaller.
Morning & evening moisturiser routine (step-by-step)
- After toning/serum, apply a lightweight, non-comedogenic moisturizer while skin is damp. This traps hydration.
- For oily skin: choose gel or water-based moisturizers with hyaluronic acid, niacinamide, or low % glycerin.
- For dry skin: pick a richer cream with ceramides and fatty acids.
- If you use retinoids or acids, a moisturizer helps prevent irritation. Apply moisturizer after actives (or mix a bit with your retinoid on initial nights to reduce sting).
- Consider overnight sleeping masks once a week if skin is dehydrated (thin layer).
Ingredient cheat-sheet
- Hyaluronic acid: draws water and plumps skin (temporary tightening effect).
- Niacinamide: controls sebum and strengthens barrier over weeks.
- Ceramides & fatty acids: restore barrier and prevent water loss.
- Avoid heavy comedogenic oils if you’re prone to clogging (e.g., coconut oil) on the face.
Hydration takeaway: well-hydrated skin = firmer-looking tissue around pores. Don’t skip it.
Sun Protection: How Sunscreen Keeps Pores Healthy
This is non-negotiable. Sun damage thins and degrades collagen — and thinner skin = more visible pores. Use sunscreen like your face depends on it, because it does.
Sunscreen basics & how to apply (step-by-step)
- Choose broad-spectrum SPF 30+ every single day, even when cloudy or indoors near windows. SPF 50 if you burn easily or want extra protection.
- Apply enough: ~1/4 teaspoon for face and neck each application (about a nickel-sized dollop). Don’t be stingy.
- Apply as last step of morning routine (after moisturizer, before makeup). If using chemical sunscreen, let it absorb a minute; for mineral sunscreen, blend gently.
- Reapply every 2 hours if outdoors, after sweating, or swimming (use water-resistant options when needed).
- Combine with physical protection: hats, shade, and UPF clothing for long exposures.
Why sunscreen helps pores
- Prevents loss of collagen and elastin so pores stay supported.
- Reduces texture changes and hyperpigmentation around pore openings.
- Works synergistically with retinoids and acids (which make skin more sun-sensitive) — you must use sunscreen if you use those active ingredients.
No excuses: sunscreen is the single best anti-aging and pore-preserving routine element.
Lifestyle Habits That Naturally Minimize Pores
Skin care is only half the story. Daily habits determine whether your pores look neat or permanently aggravated.
Practical lifestyle checklist (step-by-step)
- Sleep 7–9 hours: poor sleep raises cortisol and oil production; also slows repair.
- Manage stress: short breathing breaks, movement, or quick meditations lower cortisol and reduce breakouts.
- Diet basics: a balanced diet with whole foods, low refined sugar, and adequate protein supports skin repair. Omega-3s (fatty fish, flax) help inflammation.
- Hydration: drink water regularly; hydration helps skin elasticity (not a miracle but necessary).
- Avoid smoking: nicotine and smoke damage collagen and accelerate pore visibility.
- Limit alcohol that dehydrates and can worsen texture.
- Exercise & sweat: good circulation is helpful — always cleanse after sweating.
- Clean phone & pillowcases: oils and bacteria from surfaces transfer to skin and clog pores — wash pillowcases weekly and wipe phones daily.
- Don’t pick at blackheads: extraction done badly increases inflammation and scarring, making pores look worse. If you must extract, steam and use gentle technique; consider pro extraction from a licensed esthetician.
Lifestyle tagline: treat your body well, and your skin will do most of the rest.
Quick Fixes: Home Remedies for Instantly Smaller-Looking Pores
Want instant (temporary) improvement? These tricks tighten or visually blur pores for hours — not permanent solutions, but useful before photos or events.
Immediate shrink-and-blur tactics (step-by-step)
- Cold compress or ice: wrap ice in a soft cloth, press for 15–20 seconds — repeat across T-zone. Cold temporarily constricts vessels and makes pores look smaller. Don’t hold directly on skin for long.
- Pore-minimizing primer: silicone-based primers (dimethicone) fill and blur open pores. Apply a thin layer before makeup.
- Clay spot treatment: a quick 5–10 minute kaolin clay on an oily T-zone soaks up excess oil and tightens temporarily.
- Witch hazel splash: alcohol-free witch hazel on a cotton pad pressed for 20–30 seconds can tighten skin briefly.
- Mattifying sheets or blotting paper: remove shine without over-washing. Less shine = less visible pore.
- Temporary tightening sprays: some facial mists include polymers that make skin feel tighter for an hour or two.
Don’t overuse these: frequent aggressive tightening or alcohol-based products increase dryness or rebound oil.
Consistency is Key: Building a Daily Routine for Smooth Skin
You will not get lasting results from a weekend binge of masks and wishful thinking. A routine, followed for months, is what works.
Simple, realistic routine templates
Morning (everyday)
- Cleanse with gentle cleanser (or rinse if skin’s dry).
- Tone (niacinamide or mild hydrating toner).
- Serum: vitamin C (optional) or niacinamide for oil control.
- Moisturizer.
- Sunscreen SPF 30+ (non-negotiable).
Evening
- Cleanse (double if you wore makeup/sunscreen).
- Exfoliant nights: alternate BHA and AHA nights ideally (BHA 2–3x/week; AHA 1–2x/week) depending on tolerance.
- Retinoid: use 2–3x/week initially if using — increases collagen and tightens over months (not for everyone; patch test and start low).
- Moisturizer or oil if needed.
How to build and stick to it (step-by-step)
- Pick one new active at a time (start with a BHA or niacinamide). Use for 4–8 weeks to see how your skin responds.
- Introduce retinoids slowly (once or twice weekly at first). They’re excellent long-term but irritating if you overdo it.
- Track progress with photos every 2–4 weeks — pores change slowly.
- Adjust seasonally: heavier moisturizer in winter; lighter gel in summer.
- Be patient: 8–12 weeks of consistent care is often where real change shows.
Final routine rule: fewer disciplined steps beat 12 products used inconsistently.
Final Words
Pores don’t shrink to nothing, but they become a lot less obvious when you clear clogs, control oil, rebuild skin quality, and protect from sun damage. The practical plan: clean correctly, exfoliate intelligently (BHA/AHA), hydrate, use niacinamide and sunscreen, and fix lifestyle leaks like sleep and smoking. Add targeted treatments (retinoids, professional peels) if you want faster or stronger change — but start slow and be consistent.
Pick the small set of steps you’ll actually do morning and night — and stick with them for 8–12 weeks. That’s when the payoff shows. Do the sensible, boring things well, and your skin will quietly stop making your pores such a drama.Think


