You want to look like you woke up looking fresh, not like a human Snapchat filter. Good — natural makeup is about subtlety, skin that reads healthy, and a few clever short-cuts so you don’t spend an hour getting “no makeup” makeup right. Below is a clear, practical, step-by-step guide for each stage: prep, base, brows, eyes, cheeks, glow, lips, setting, and a final cheat-sheet of tips you’ll actually use. No gimmicks. Just results.
Why Natural Makeup is Perfect for Everyday Wear
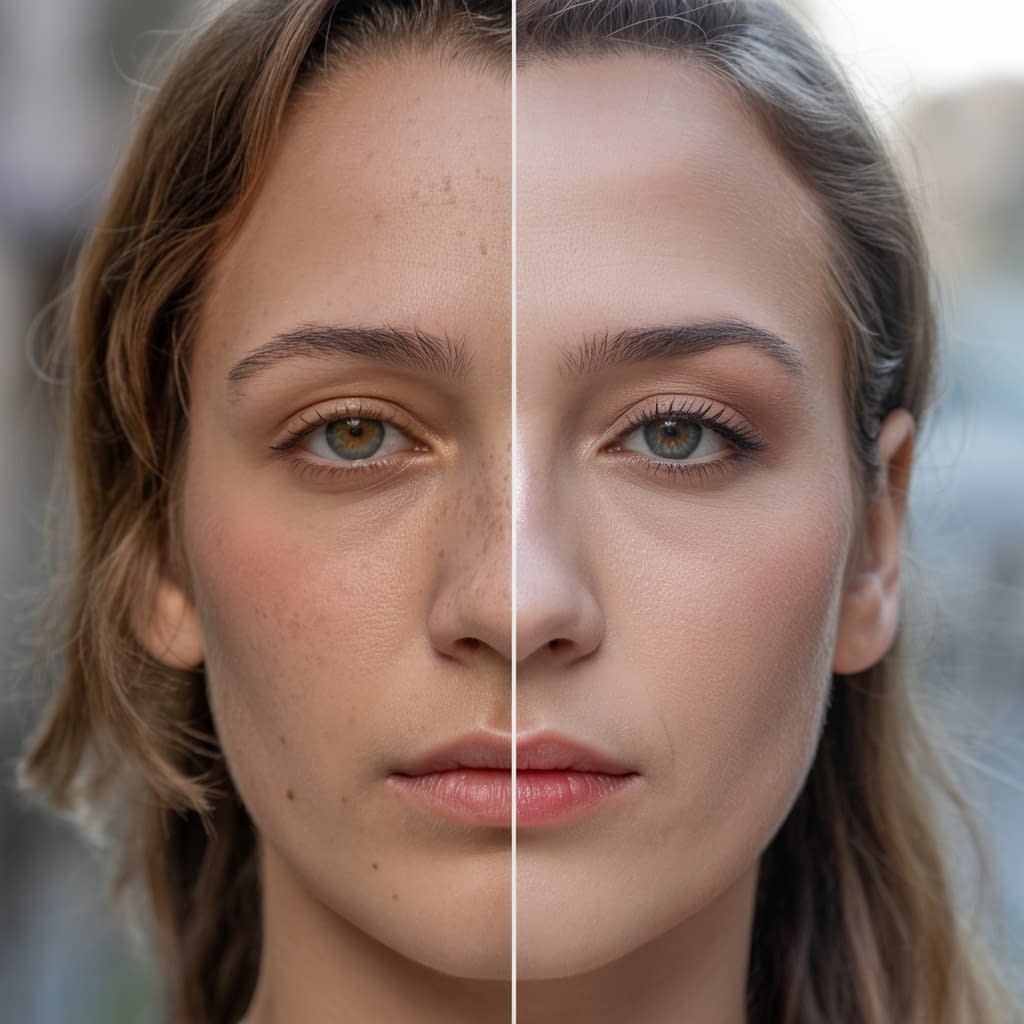
Natural makeup is useful because it enhances, not hides. It saves time, is flattering in most lighting, and plays nicely with any outfit. More importantly: it’s forgiving. It masks tiredness, evens skin tone, and makes your features readable on camera without looking overdone.
Practical benefits (short and useful)
- Quick to apply — fewer steps, less fuss.
- Versatile — works for work, errands, coffee dates.
- Photo-friendly — avoids heavy flashback and chalky lines when done correctly.
- Skin-friendly — easier to breathe for your skin when layers are light.
Mindset: aim for skin that looks like skin, not a cake layer. If you’re trying to hide everything, you’re doing it wrong. Cover what you must, enhance the rest.
Step 1: Prep Your Skin for a Flawless Base
Great makeup starts with the right canvas. Skip this and the rest of your effort will look like a band-aid.
Step-by-step prep routine
- Cleanse — remove oils and residue. Use a gentle cleanser matched to your skin type (gel for oily, cream for dry).
- Tone (optional) — if you use one, pick a hydrating/niacinamide toner to smooth texture and control oil. Apply while skin is damp.
- Treat — apply targeted serums if part of your routine (vitamin C in the morning, light hyaluronic acid for hydration). Let absorb 30–60 seconds.
- Moisturize — light gel for oily skin; cream for dry. Apply while skin is slightly damp to lock in moisture.
- Eye cream — press a pea-sized amount under the eyes to soften fine lines and hydrate for concealer application.
- Prime — use a lightweight primer if you have visible texture, large pores, or want extra longevity. Pick silicone-based fillers for smoothing or hydrating primers for a dewier finish. Apply sparingly only where needed (T-zone, cheeks).
- Optional color corrector — if you have pronounced darkness under eyes or redness, apply a small amount before concealer (peach/orange for dark under-eyes on medium-to-deep skin, green for redness).
Pro tip: less product, better blending. Your tools (sponge vs brush vs fingers) matter — fingers for warmth and subtle blending, sponge for natural skin finish, brush for more coverage.
Step 2: Choose the Right Foundation or Tinted Moisturizer
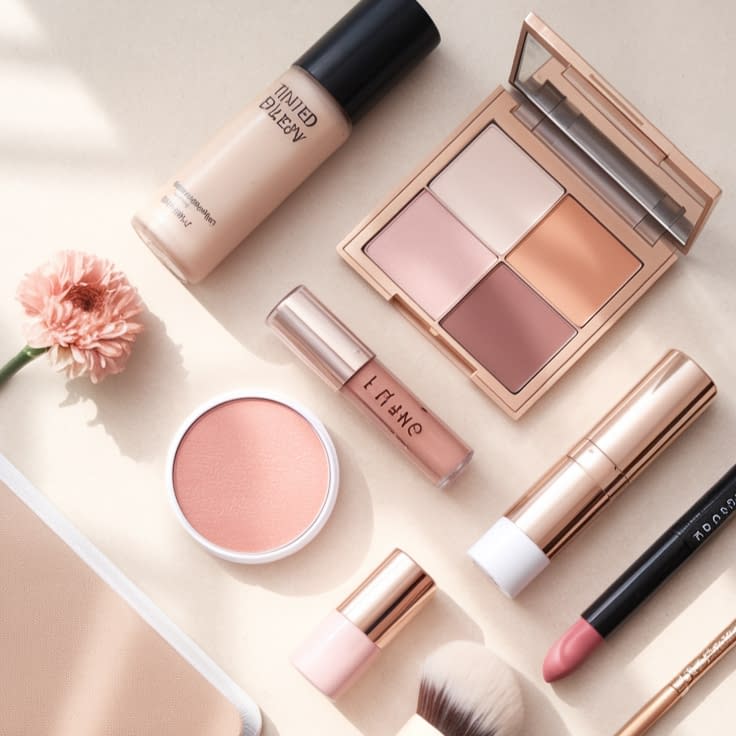
Pick a base product that matches your goals: coverage level, finish (matte vs dewy), and skin type.
How to choose and apply (step-by-step)
- Decide coverage:
- Tinted moisturizer / BB / CC cream — gives light coverage, hydrating, best for minimal looks.
- Light foundation / serum foundation — more even coverage while still breathable.
- Medium coverage — only if you need it; blend well at edges.
- Shade match: test on jawline in natural light. The right shade disappears into your skin. If between shades, choose the lighter one in winter, slightly warmer in summer.
- Finish: for natural everyday, aim for a skin-like finish (natural satin). Avoid heavy matte powders unless your skin is very oily.
- Application:
- Warm a small amount on back of hand.
- Use a damp beauty sponge for a sheer, skin-like finish: dot foundation, bounce sponge outward.
- For more control, use a dense flat-top brush and buff in small circular motions.
- If using tinted moisturizer, apply thin layer all over and build coverage only where needed.
- Conceal strategically: only conceal where needed: under-eye (triangle method for lifting), around nose, and on active blemishes. Use a concealer one shade lighter under the eye for brightness; match exactly for spot concealment. Blend edges.
- Set lightly: if you’re oily or use cream products, press a very light dusting of translucent powder only where things crease or get shiny (under eyes, T-zone).
Dos and don’ts: Don’t cake product everywhere “just in case.” Do blend to jawline, hairline, and ears so there’s no line of demarcation.
Step 3: Define Your Brows Naturally
Brows frame your face. Natural doesn’t mean invisible — it means hair-like and tidy.
Step-by-step brow routine
- Brush: Use a spoolie to brush hairs up and out. This reveals gaps and shows natural shape.
- Fill sparingly: Use a pencil or microbrow pen that matches hair color (not black unless you’re raven-haired). Make short, hair-like strokes in sparse areas only.
- Define arch lightly: A tiny shadow under the arch (soft powder or pencil) lifts the brow visually. Don’t overdraw the tail.
- Set: Use a clear or tinted brow gel to keep hairs in place. Brush upward and outward for a feathery finish.
- Clean edges: If you prefer precise edges, use a tiny amount of concealer on a flat brush to sharpen the underside, but blend well.
Tip: Less is better. Brows that look like brows, not tendrils of marker.
Step 4: Enhance Your Eyes Subtly
You want definition, not drama. The trick: neutral shadows, a tight lashline, and tidy lashes.
Step-by-step eye routine
- Prime lids (optional): A light layer of primer or concealer smooths veins and gives shadow something to cling to.
- Neutral wash: Choose a neutral matte close to your skin tone. Sweep it across the lid to even tone and make blending easier.
- Slight depth: Use a medium-toned matte in the outer corner and crease — blend well. This creates subtle dimension.
- Lashline definition: Use a dark brown or soft black pencil to tightline the upper waterline or to smudge along upper lash roots. This makes lashes look thicker without obvious liner.
- Lower lash trick (optional): Lightly run a neutral matte or a smudged brown pencil along the outer third of the lower lashes for balance. Keep it soft.
- Lashes: Curl lashes and apply one coat of lengthening mascara. Wiggle at the base and sweep up to avoid clumps. If you want more but still natural, use a brown mascara for daytime.
- Inner corner & brow bone (tiny highlight): Dab a teeny bit of champagne shimmer at inner corners or brow bone for awake eyes — keep it subtle.
Avoid winged liner and heavy smoky looks for a natural everyday approach. The idea is definition, not statement.
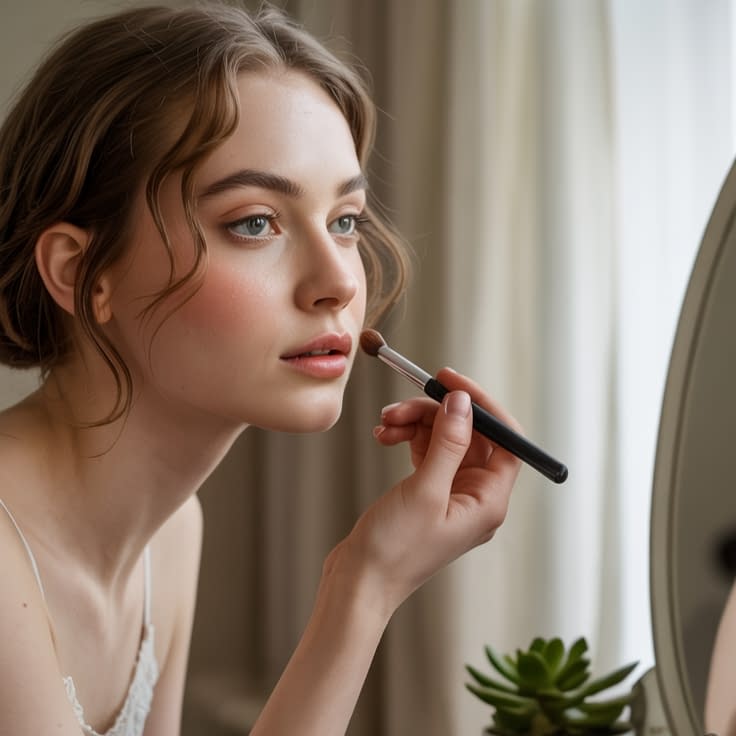
Step 5: Add a Healthy Flush with Blush and Bronzer
Cheeks are where natural glow and dimension live. Use color to replicate a healthy blood flow and soft sculpt.
Step-by-step cheek sculpting
- Choose shades:
- Blush: pick a shade that mimics natural flush — soft pinks, peach, or warm mauve depending on skin tone.
- Bronzer: choose matte or barely satin bronzer one to two shades deeper than your skin; avoid orange tones.
- Bronze first (subtle): Using a fluffy angled brush, lightly apply bronzer where the sun naturally hits: forehead edge, temples, hollows of cheeks, and jawline — very soft strokes.
- Apply blush: Smile or press cheeks to find apples, then sweep blush slightly upward toward the temple to lift. For cream blush, use fingers or a sponge and pat to blend. For powder, use a medium-density brush and build slowly.
- Balance: If you overdo blush, diffuse it with a clean fluffy brush or a tiny bit of setting powder.
- Optional contouring: For natural looks, skip heavy contour. If you must sculpt, use a matte bronzer and blend thoroughly.
Guideline: light layers, blended edges. The goal is that someone thinks you look well-rested, not contoured for a runway.
Step 6: Highlight for a Natural Glow
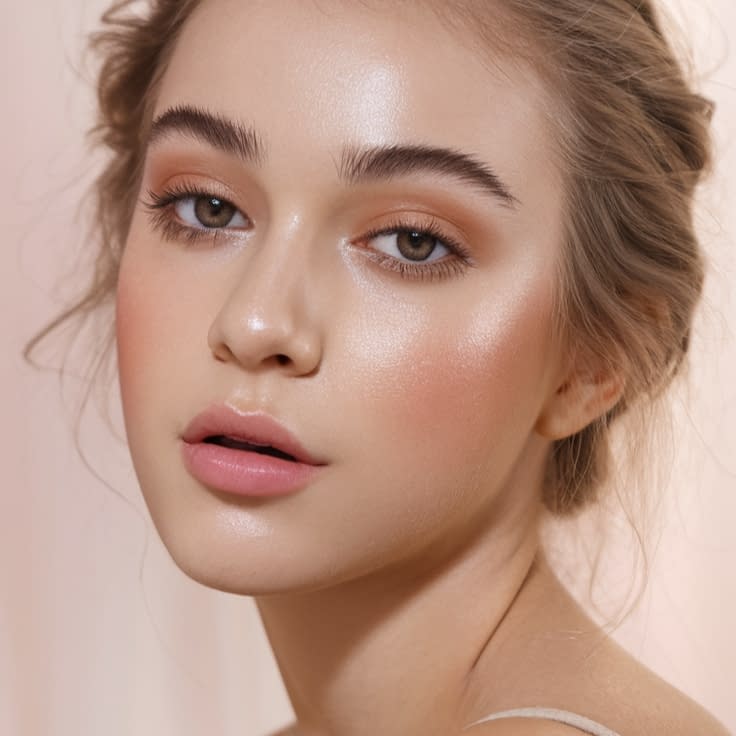
Highlight gives the illusion of healthy skin — use it sparingly and in the right places.
Where and how (step-by-step)
- Product choice: pick a cream or liquid highlighter for skin-like luminosity or a finely-milled powder if you prefer. Avoid chunky glitter.
- Placement: apply a dot on the high points of the face: tops of cheekbones, bridge of nose (tiny amount), cupid’s bow, and inner corner of eyes. Skip the forehead center unless you want dewy skin.
- Blend: tap with a finger or damp sponge. The glow should look lit-from-within, not reflective.
- Less is more: if your skin is already dewy, you may not need additional highlight.
Pro tip: cream highlighters layered under powder blush create the most natural glow.
Step 7: Perfect Your Lips with Soft, Natural Shades
For natural makeup, lips should enhance, not dominate.
Step-by-step lip routine
- Prep: exfoliate gently with a sugar scrub or toothbrush and hydrate with balm. Let balm sink in, then blot excess.
- Tint vs lipstick: choose a tinted balm, sheer lipstick, or stain in a shade slightly deeper or rosier than your natural lip color.
- Application: press color in with finger or apply straight from bullet and blot for a softer look. For more precision, use a lip brush to press color into center and feather outward.
- Finish: top with a clear balm or a small dab of gloss in center for a plump look. Avoid heavy formulas that migrate.
Choice cues: If you wear bold eye makeup, keep lips neutral. For minimal eye makeup, a natural rosy lip polishes the look.
Step 8: Set Your Makeup to Last All Day
You want the “natural” to stay natural for hours, not melt into a patchy mask.
Step-by-step setting routine
- Powder strategically: press a translucent powder with a damp sponge only on oily zones (T-zone, under eyes if creasing). Avoid powdering all over — it flattens skin.
- Setting spray: use a light mist to melt powders and creams into skin. Hold 8–12 inches away and spray in an X and T motion. Matte or dewy finish based on preference.
- Blot, don’t powder mid-day: if oil appears, use blotting papers. Powder mid-day can look cakey.
- Touch-ups: keep a lipstick/tinted balm and mini blotting papers in your bag. Reapply blush sparingly by dabbing fingers into cheek color and patting for a quick revive.
Rule: Set enough to last but avoid the over-sprayed, mask-like look. Your skin should still move.
Tips and Tricks for Effortless Natural Makeup Every Day
A shortlist of habits and hacks that actually make life easier.
Quick practical hacks
- Work in thin layers. It’s easier to build coverage than remove it.
- Warm your products. Rub a bit of foundation or cream blush between fingers to make it blend seamlessly.
- Match textures. If your base is dewy, pick cream blush/highlighter for coherence. Matte base? Powder blush will sit better.
- Use multi-use products. A tinted balm that doubles as cream blush saves time and matches tones exactly.
- Lighting test: check your final look in natural light before leaving. Bathroom lights lie.
- Keep tools clean. Dirty brushes = patchy makeup and breakouts. Weekly washing keeps application smooth.
- Don’t skip blending your jawline and hairline. That’s the most common giveaway.
- Use brown instead of black for brows and liner for a softer, more natural outcome.
- If unsure, step back. Take a quick photo — if it reads natural on camera, it likely looks natural in person.
Make it personal: find two signature moves (a lash curl + tinted balm, or soft brow + cream blush) that feel quick and flattering — then do those every day.
Final Words
Natural everyday makeup is about being deliberate, not lazy. It’s shorter, smarter, and more flattering than heavy looks because it focuses on enhancing structure and skin, not erasing personality. The recipe: prep skin, pick a light base, define brows and lashes, add a healthy cheek and lip, and set lightly. Most importantly, practice two things: blending and restraint. Do that and you’ll save time, look awake, and still feel like yourself — which, frankly, is the whole point.
Now go put your face on, not like you’re hiding something, but like you’re stepping into better lighting.


