
A softly sculpted jawline can make a huge difference on camera. It can sharpen your features, add dimension to your face, and create a cleaner overall look without making your makeup obvious. The key is subtlety. On camera, too much contour can look muddy, harsh, or overly made up, while a light, well-placed contour can make your jawline look naturally defined in both photos and video.
That is why jawline contour for camera work is less about dramatic shaping and more about believable enhancement. Different lighting, angles, and camera lenses can change how your face appears, so the goal is not to transform your features completely. Instead, you want to support your natural structure in a way that reads well through the lens.
In this guide, you will learn how to contour the jawline softly and effectively for photos and video. You will see how lighting affects the result, how to choose the right shade, where to place contour, how to blend it well, and how to avoid the mistakes that can make contour look obvious on camera. Each section breaks the process down step by step so you can create a polished, sculpted look that still feels natural.
Why Subtle Jawline Contour Looks Better on Camera
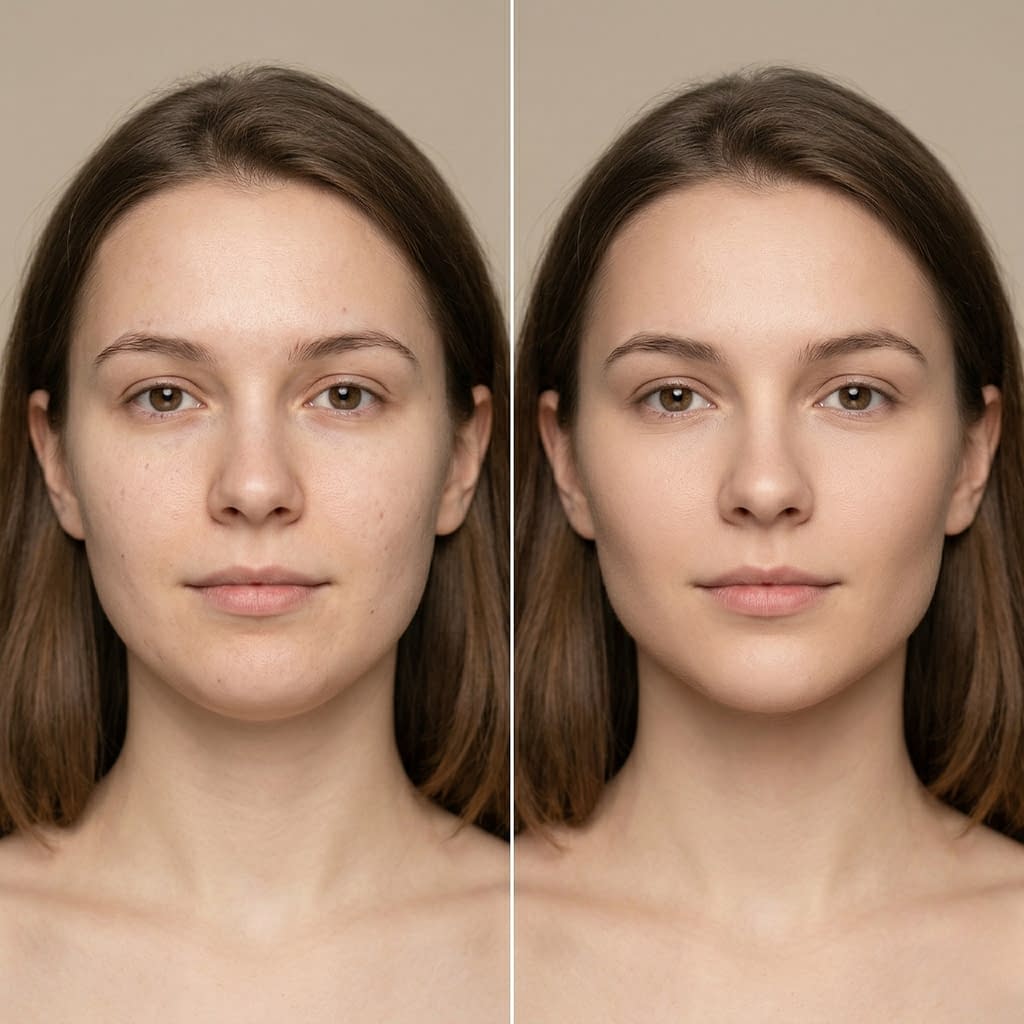
A subtle jawline contour usually looks better on camera because cameras tend to exaggerate texture, shadow, and color. Heavy contour can look too dark or too sharply drawn, especially when exposed to bright lighting or high-resolution video. A softer contour creates believable depth without calling attention to the makeup itself.
The face also moves constantly on video, and strong contour can shift from flattering to obvious depending on the angle. A light contour blends into your skin and still looks natural whether you are facing the camera straight on, turning slightly to the side, or moving around.
Step by step: why subtle contour works better
- The camera captures shadows more strongly than the eye does in person.
- Heavy contour can look patchy or fake under bright light.
- Soft contour mimics natural facial shading.
- A subtle finish looks more flattering from different angles.
- The jawline appears defined without looking painted on.
When your goal is camera-ready definition, less often looks more refined.
How Lighting and Angles Affect Jawline Definition
Lighting and angles have a massive effect on how your jawline appears. A contour that looks perfect in one light may disappear or look too harsh in another. That is why understanding light is just as important as applying the product itself.
How lighting changes the look
- Soft light can blur contour edges
- Bright front-facing light can flatten shadows
- Side lighting can make contour more visible
- Overhead lighting can emphasize the jawline and neck shadows
How angles matter
- A straight-on camera angle often softens the jawline
- A slight tilt or turn can sharpen facial structure
- Looking slightly downward may create a softer jawline
- Looking slightly upward can emphasize the neck and chin area
Step by step: how to assess your face in light
- Stand near a window or bright light source.
- Turn your head slightly left and right.
- Check how the jawline changes in each position.
- Note where the natural shadows already appear.
- Place contour where the face needs a little extra shape, not where the shadow already does enough work.
The best contour is one that supports your face in the lighting you will actually be seen in.
Choosing the Right Contour Shade for a Natural Look
The right contour shade should look like a natural shadow, not bronzer or muddy color. For a jawline, this is especially important because the area is easy to overdo.
What to look for
- A cool or neutral undertone
- A shade only slightly deeper than your skin tone
- A matte or soft-matte finish
- No orange, red, or overly warm tones
Step by step: how to choose the right shade
- Test the contour on your jaw or neck in natural light.
- Look for a color that blends into shadow rather than bronzer.
- Avoid shades that look warm or tan.
- Choose one that disappears smoothly when blended.
- If unsure, go lighter instead of darker.
A natural contour shade should create definition quietly, not dominate the face.
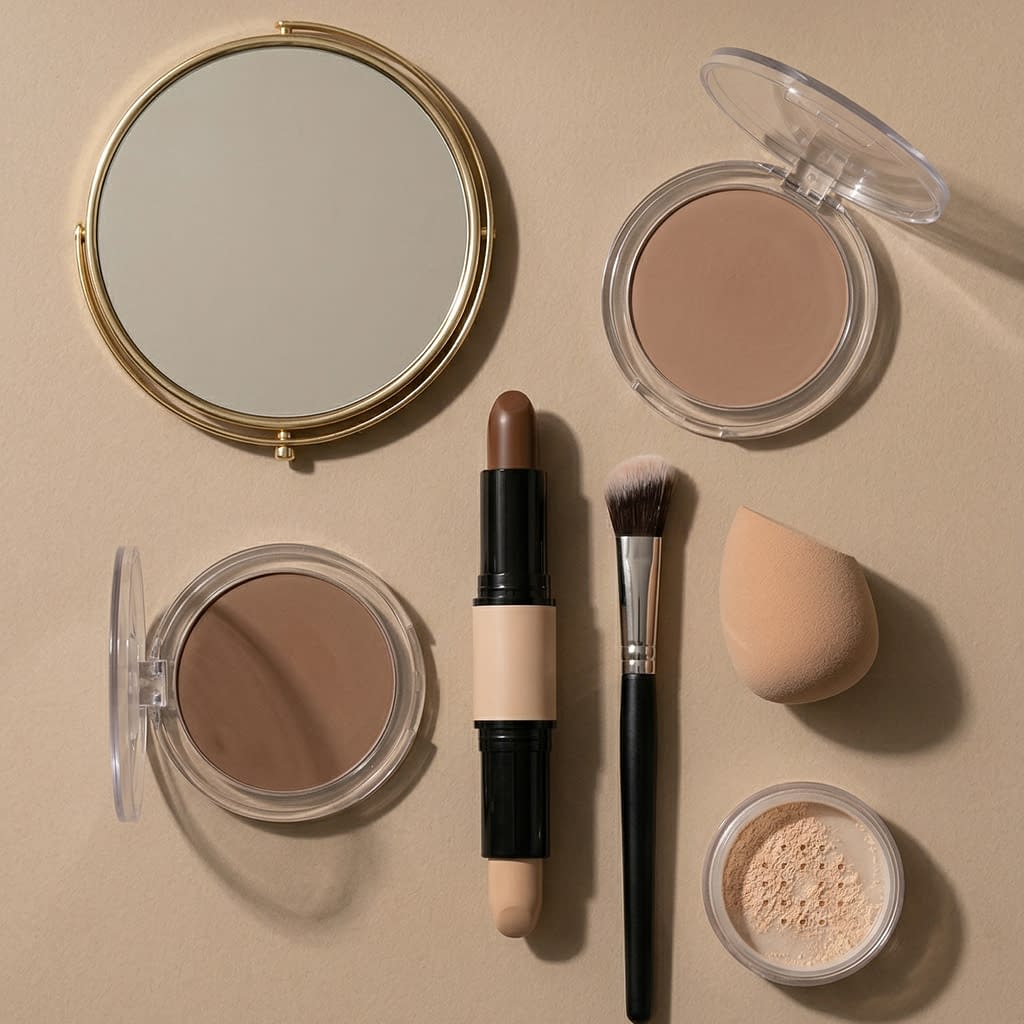
Cream vs Powder Contour for Photos and Video
Both cream and powder contour can work well, but they create slightly different effects. The best choice depends on your skin type, your makeup routine, and the lighting conditions.
Cream contour
Cream contour gives a softer, more skin-like finish. It blends beautifully and often looks great on camera if you want a natural sculpted effect.
Powder contour
Powder contour tends to look more matte and can hold up well under hot lights or oily skin. It is often easier to set and control for longer wear.
Step by step: how to choose
- Choose cream if you want a seamless, skin-like shadow.
- Choose powder if your skin gets oily or you need extra staying power.
- Use cream first, then lightly set with powder if you want both softness and longevity.
- Match the texture to the type of filming or photography you are doing.
- Test the result in the same lighting you plan to use.
For most people, cream creates a softer jawline, while powder offers more control.
Prepping Your Skin for a Smooth, Sculpted Finish
Good skin prep helps contour blend better and look more natural. If the skin is dry, rough, or oily in the wrong places, contour can become patchy or uneven.
Step by step: skin prep routine
- Cleanse your skin gently.
- Apply a lightweight moisturizer.
- Use a primer if your makeup tends to slip or separate.
- Let skincare absorb fully before applying makeup.
- Make sure the jawline area is smooth and comfortable.
Helpful tips
- Hydration helps contour blend without catching on dry patches
- Avoid too much oily product if you want a sharper result
- If you use SPF, let it settle before makeup application
A smooth base makes contour easier to place and much easier to blend.
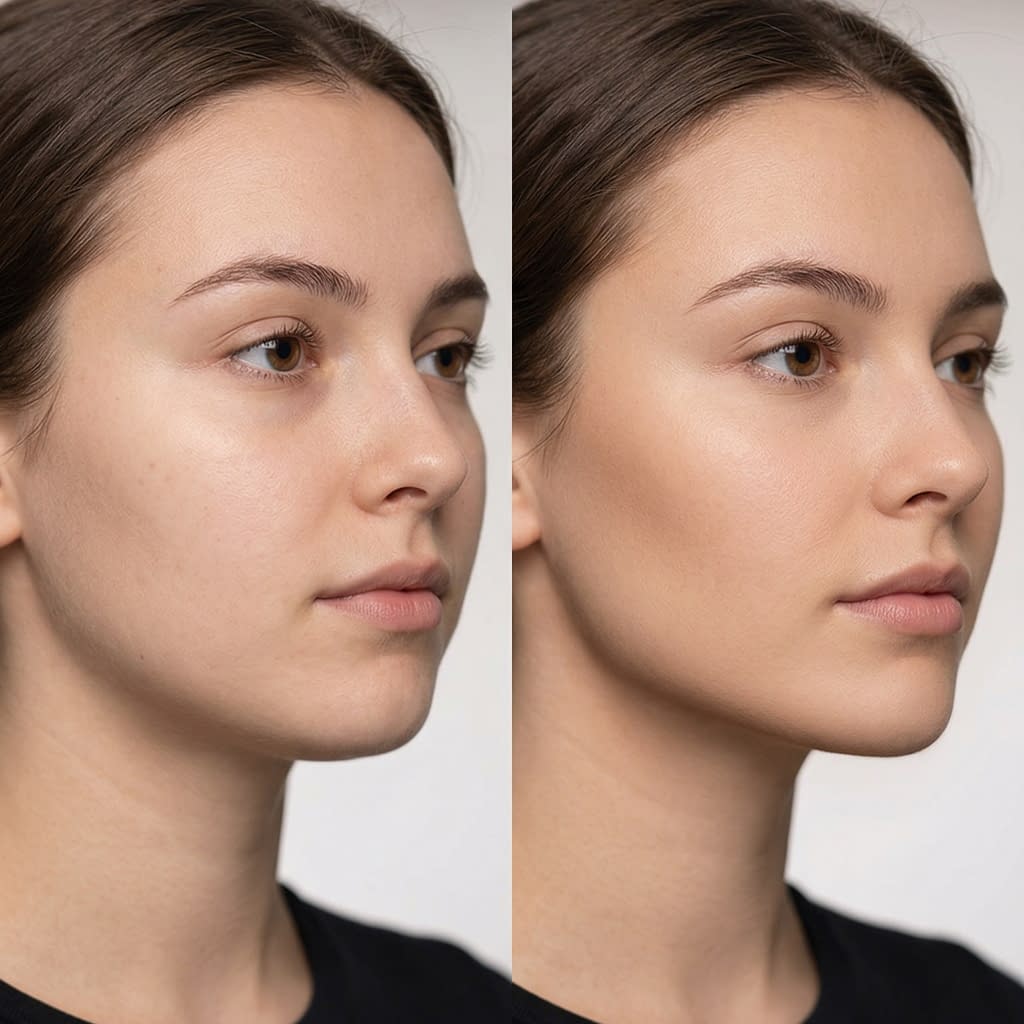
Where to Place Contour for a Soft Jawline Effect
Jawline contour works best when it follows the natural shape of your face. The point is to create the look of a deeper shadow under the jaw, not to draw a line across the face.
Step by step: placement guide
- Apply contour just under the jawline, not on top of it.
- Trace the shadow area from behind the ear toward the chin.
- Keep the line soft and slightly diffused.
- Add a small amount under the chin if needed to reduce roundness.
- Blend downward into the neck so there is no hard edge.
What to avoid
- Placing the contour too low
- Drawing a dark stripe directly under the jaw
- Making the contour too narrow or too sharp
The contour should look like a natural shadow beneath your face, not a visible makeup line.
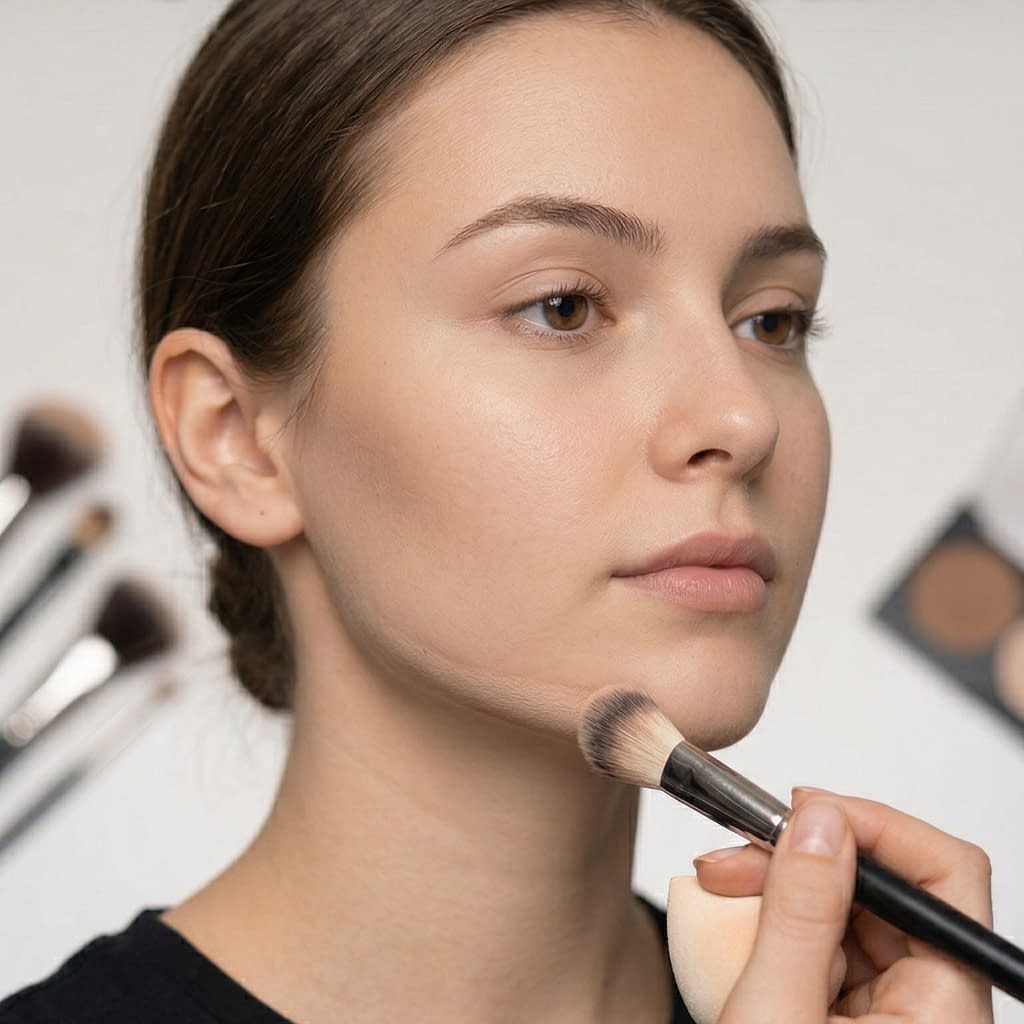
How to Blend Contour Without Harsh Lines
Blending is what turns contour into a believable shadow. On camera, harsh lines are especially obvious, so this step matters a lot.
Step by step: blending technique
- Apply a small amount of contour first.
- Use a dense brush, sponge, or fingertips depending on texture.
- Blend with small tapping or buffing motions.
- Move the product downward slightly into the neck.
- Check the contour from multiple angles.
Helpful tips
- Blend before the product fully sets if using cream
- Use a light hand and build slowly
- Stop when the contour is visible only as soft depth
Blending should soften the edges while keeping the shadow effect intact.
Using Highlight to Enhance Jawline Definition
Highlight can make contour look even more effective by emphasizing the areas around the jawline. It does not need to be strong or shimmery. Often, a subtle light-reflecting finish is enough.
Where to use highlight
- Tops of cheekbones
- Center of the chin
- Slightly on the upper part of the face to balance the lower contour
- Small touches near the jawline if needed
Step by step: using highlight with contour
- Apply contour first.
- Add highlight only to areas you want to bring forward.
- Keep the shine soft rather than metallic.
- Blend the edges carefully.
- Make sure the highlight supports the sculpted look instead of competing with it.
A little light in the right place makes the jawline appear more defined by contrast.
Contour Mistakes That Look Obvious on Camera
Camera lighting and resolution can make contour mistakes more noticeable than they would be in person. The most common issues are too much product, the wrong shade, or poor blending.
Common mistakes
- Using a contour shade that is too warm or orange
- Applying too much product at once
- Leaving harsh lines under the jaw
- Forgetting to blend into the neck
- Putting contour too low on the face
- Using too much shimmer near the jawline
Step by step: avoid these mistakes
- Start with a light application.
- Check the contour in camera lighting.
- Blend until the product looks like natural shadow.
- Remove any excess before adding more.
- Step back and review the full face, not just the jawline.
A contour that looks subtle in person usually photographs much better.
How to Adjust Jawline Contour for Different Face Shapes
Different face shapes benefit from slightly different jawline contour placement. The goal is always to enhance the natural structure, not fight it.
Round face
Place contour a little more under the jaw and slightly around the lower cheeks to create a more sculpted outline.
Square face
Keep the contour softer and more diffused along the jaw so the shape looks refined rather than overly sharp.
Oval face
Use light contour just under the jawline for subtle definition, since the natural proportions are already balanced.
Heart-shaped face
Focus on soft contour under the chin and along the jaw to create more visual balance with a narrower lower face.
Long face
Use horizontal blending more than vertical lengthening to avoid making the face appear even longer.
Step by step: adjust by face shape
- Identify your face shape.
- Choose placement that balances width and length.
- Keep the contour softer where the face is already angular.
- Add more shape only where the jawline needs definition.
- Review in the same type of lighting you will be photographed in.
The best contour flatters the structure you already have.
Tips for Jawline Contour in Natural Light vs Studio Light
Different lighting environments change everything. What looks subtle in daylight may disappear under studio lights, and what looks fine under warm indoor light may appear too dark in high-definition video.
Natural light
Natural light is less forgiving than many people think because it reveals texture and color differences very clearly. In this setting, softer contour and better blending are usually best.
Studio light
Studio lighting can flatten the face and reduce natural shadows. In that case, a slightly stronger but still subtle contour may be needed.
Step by step: how to adjust
- Test your contour in the same lighting you’ll be seen in.
- Use less product in bright daylight.
- Build slightly more depth under strong studio lighting.
- Keep transitions smooth in both settings.
- Check your face from a camera view, not just a mirror.
Lighting can either help your contour or expose it, so always test before you finish.
How to Set Contour So It Stays Subtle All Day
Setting contour helps keep it in place, but over-setting can make it look dusty or heavy. The goal is to lock it down while preserving the natural finish.
Step by step: setting the contour
- Let cream products settle before adding powder.
- Use a small amount of setting powder if needed.
- Press or lightly dust the powder over the contour area.
- Avoid over-layering, especially on dry skin.
- Recheck the finish in natural light.
Helpful tips
- Use a finely milled powder
- Keep the jawline finish soft, not chalky
- Set more lightly if the contour is meant for video or close-up photos
A subtle set helps the contour last without making it look obvious.
Final Words
A softly defined jawline can look incredibly polished on camera when the contour is subtle, well-placed, and matched to the lighting. The goal is not to create a dramatic line, but to enhance the natural shape of your face so it reads beautifully in photos and video. When contour is done well, it becomes part of your features instead of something the camera notices first.
The best results come from choosing the right shade, placing it where the jaw naturally shadows, and blending carefully until the effect looks seamless. Lighting, angle, and finish all matter, so testing your contour in the environment where you will be seen is one of the smartest things you can do. A little highlight can help too, as long as it stays soft and balanced.
Subtle contour is often the most flattering contour. When you keep the effect light and believable, your jawline looks naturally sculpted, your face looks more refined, and the overall result feels clean, modern, and camera-ready.


