Keratin treatments smooth frizz, strengthen strands, and give hair a glossy, healthy look — but salon keratin often uses strong chemicals and heat. If you want similar benefits without harsh formulas, you can support your hair’s keratin and seal in smoothness using natural ingredients and safe home techniques. This guide explains what keratin does, how hair loses it, the difference between natural and chemical treatments, who should avoid DIY, and — most importantly — a very detailed, safe, step-by-step natural keratin-style treatment you can try at home. I also cover aftercare, how often to repeat the treatment, common mistakes to avoid, and realistic expectations.
What Keratin Treatment Really Does for Hair

Keratin is the main structural protein in hair. Salon keratin treatments aim to restore or temporarily smooth the hair surface, reducing frizz and improving shine and manageability. A natural at-home approach won’t permanently “replace” lost keratin the way lab-made formulas promise, but it can:
- Smooth the hair cuticle so hair looks sleeker and reflects light better.
- Temporarily fill small gaps in damaged cuticles using proteins, oils, and humectants, giving the appearance of stronger hair.
- Reduce frizz and make styling easier for days to weeks depending on hair type and aftercare.
- Improve manageability and reduce breakage by increasing moisture and surface slip.
Think of a natural keratin treatment as a restorative, protective “dress” for your hair that tames surface problems and supports the hair’s own protein structure.
Understanding Keratin: Why Hair Loses It Over Time
Hair loses keratin function (and appears dull or brittle) because of cumulative damage:
- Heat styling and chemical processing break protein bonds and lift the cuticle.
- Mechanical stress (tight hairstyles, rough brushing) causes surface abrasion.
- Environmental exposure (sun, wind, chlorine) degrades the cuticle and proteins.
- Aging and nutrition: lower protein intake or certain deficiencies reduce hair quality over time.
Hair itself is dead tissue past the follicle; you can’t “re-grow” keratin into an existing strand permanently — but you can restore surface integrity, reduce protein loss, and protect the cuticle so hair behaves as if it’s stronger.
Natural vs. Chemical Keratin Treatments: Key Differences
Chemical (salon) keratin treatments
- Use concentrated protein blends plus aldehydes or formaldehyde-releasing agents and high heat to bond smoothness into hair.
- Can produce dramatic, long-lasting smoothing (weeks to months) but carry health risks if misapplied (respiratory irritation, strong fumes, potential cuticle weakening over time).
- Usually require professional application and careful heat sealing.
Natural keratin-style treatments at home
- Use protein-rich ingredients (eggs, yogurt), plant proteins (rice, quinoa), oils (argan, coconut), and smoothing humectants (aloe, glycerin).
- Improve surface smoothness, add shine, and reduce frizz safely and gradually.
- Safer for regular use; results are subtler and often shorter-lived (days to a few weeks) depending on hair porosity, how you seal and care for hair, and product strength.
If you want dramatic, months-long straightening, salon options are more effective — but they come with tradeoffs. Natural methods give safer, healthier-looking results over time.
Who Should (and Shouldn’t) Do Keratin Treatment at Home
Do a natural DIY if:
- You want a gentle, maintenance-focused smoothing boost.
- Your hair is dry, frizzy, or slightly damaged and you want healthier shine.
- You prefer non-chemical, food-based or plant-based ingredients.
- You’re comfortable with careful, stepwise application and realistic results.
Avoid DIY natural keratin if:
- Your hair is severely chemically processed (recent relaxer/bleach) — fragile hair can snap if handled roughly or repeatedly heated.
- You have scalp wounds, infections, or allergies to any ingredients (eggs, nuts).
- You expect salon-level, months-long straightening — natural home methods won’t permanently change hair structure.
- You’re not willing to do a patch test or follow safety precautions.
If in doubt, consult a professional stylist or a dermatologist before trying a new home protein treatment, especially for very fragile hair.
Preparing Your Hair Before a Keratin Treatment
Good prep improves results and reduces risk.
Step-by-step prep
- Assess hair condition. If it’s very brittle, do a 2–4 week conditioning recovery (gentle sulfate-free shampoo, weekly deep conditioning) before attempting a protein treatment.
- Clarify once. Use a mild clarifying rinse or a clarifying shampoo to remove heavy product buildup that blocks ingredient penetration. Don’t over-clarify — one wash is enough.
- Trim split ends. Cut split or severely damaged ends so they don’t undermine smoothing.
- Detangle gently. Use a wide-tooth comb on damp hair to reduce breakage during treatment.
- Patch test. Mix a small amount of your chosen natural formula and apply it to a 1-2 inch section near the nape for 24–48 hours to check for allergic reaction or unwanted stiffness.
- Gather tools: mixing bowl, applicator brush, wide-tooth comb, plastic shower cap, microfiber towel, a blow dryer (optional), flat iron (optional, low heat), and a timer.
Preparation matters more than special ingredients — a clean, healthy base accepts treatment better.
Natural Ingredients That Help Restore Keratin in Hair
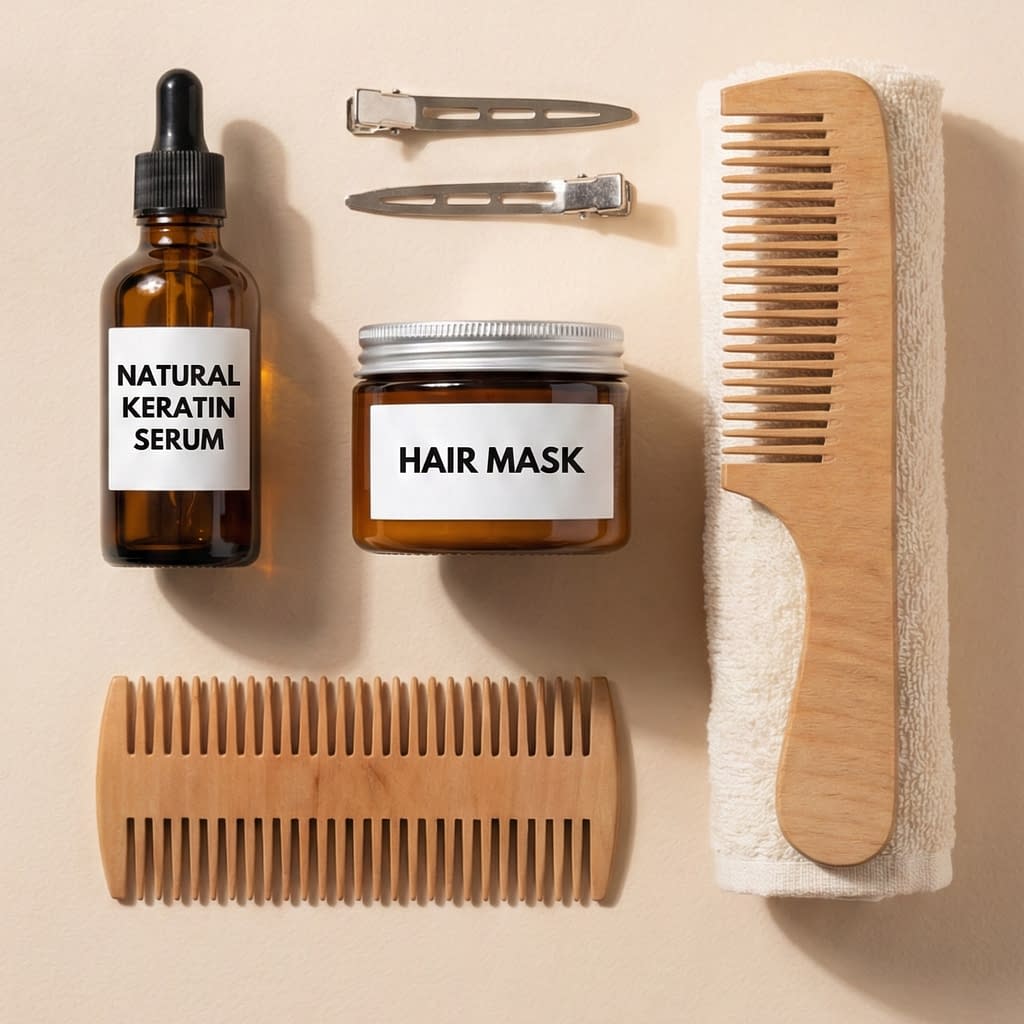
These ingredients supply protein, seal the cuticle, and add slip and hydration:
Protein sources (temporary bond/form a filling layer)
- Egg white (albumin): high in protein, helps coat and temporarily strengthen hair.
- Greek yogurt: contains proteins and lactic acid for mild cuticle smoothing.
- Cottage cheese: protein-rich, can be used diluted.
- Plant proteins: rice water, quinoa water, hydrolyzed plant protein powders (if you prefer non-animal). Rice/quinoa water can be made at home.
Moisture & slip
- Aloe vera gel: humectant and light film former that smooths cuticle.
- Glycerin (small amounts): draws moisture, good in humid climates only.
- Honey: humectant and mild antimicrobial; use sparingly.
Sealants & oils
- Coconut oil: penetrates the shaft and reduces protein loss when used pre-wash or as a light post-treatment seal.
- Argan oil / jojoba / squalane: surface smoothing without heavy residue.
- Shea butter (small amount): richer sealant for very dry ends.
Supportive actives
- Apple cider vinegar (diluted rinse): closes the cuticle and adds shine after protein application (1–2 tbsp ACV in 1L water).
- Chamomile or green tea rinse: gentle antioxidants and shine.
Avoid leaving strong citrus, undiluted essential oils, or undiluted alcohols on hair for long. Balance protein with moisture — too much protein causes stiffness; too much oil gives limpness.
Step-by-Step Guide to Doing Keratin Treatment at Home
Below is a full, safe natural keratin-style treatment you can do at home using protein + smoothing ingredients. This method focuses on restoring surface protein, hydrating, and sealing — without harsh chemicals.
Preparation time: 10–20 minutes. Treatment time: 30–60 minutes. Tools: mixing bowl, applicator brush, wide-tooth comb, shower cap, blow dryer (optional), flat iron (optional, low setting), microfiber towel.
Natural keratin-style mask recipe (moderate-protein, balanced)
- 1 egg white (or 2 tbsp hydrolyzed plant protein for vegan option)
- 2 tbsp plain Greek yogurt
- 1 tbsp aloe vera gel (pure)
- 1 tsp honey (optional, for moisture)
- 1 tsp argan oil or coconut oil (optional — add only if hair is dry)
Mix until smooth.
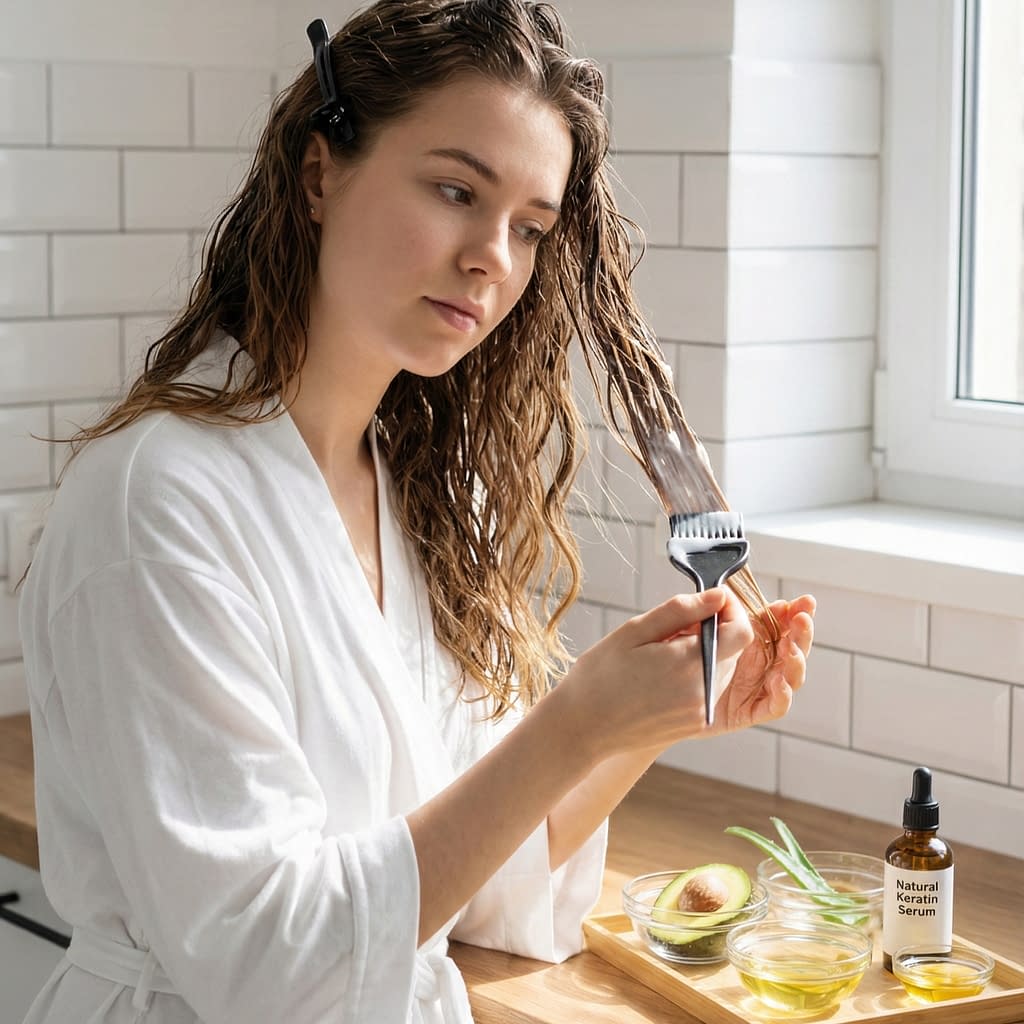
Step-by-step application
- Start with clean, towel-damp hair. Shampoo once with a gentle, sulfate-free cleanser and towel-dry to remove excess water (hair should be damp, not dripping).
- Section your hair. Divide into 4–6 horizontal sections and clip. Work methodically.
- Apply the mask from mid-lengths to ends first. Use an applicator brush to avoid heavy product at the roots (which can weigh hair down). If your scalp is dry, you can lightly apply near roots but avoid oily build-up.
- Comb through each section gently with a wide-tooth comb to distribute mask evenly and detangle.
- Cover with a plastic cap and let the mask sit 25–40 minutes. For extra penetration, wrap a warm towel around the cap (not hot) or sit in a warm room.
- Rinse thoroughly with cool-to-lukewarm water — protein can feel stiff if not rinsed well. If you used oils, you may want to co-wash lightly or use a very gentle conditioner.
- Finish with an apple-cider-vinegar rinse (optional): 1–2 tablespoons ACV in 1 liter of water poured over hair to help smooth the cuticle, then rinse with cool water.
- Dry gently: blot with a microfiber towel and let hair air-dry or use a blow dryer on low. For extra smoothing, you can finish with a low-heat flat iron pass (see heat guidance below).
- Style as usual, but avoid heavy products for 48 hours to let the treatment settle.
Safety notes: Do not use whole raw egg yolk if you have very oily hair (yolk adds oil). Always do patch test. Rinse thoroughly to avoid protein residue that can attract dirt or make hair look dull.
How to Apply Keratin Properly for Smooth Results
Technique matters as much as ingredients.
Application tips
- Thin, even layers perform better than thick globbed-on masks. Use a brush and combing step to distribute evenly.
- Work from mid-lengths to ends — these are usually most damaged and need protein + seal. Avoid saturating the roots unless scalp is dry.
- Comb after application — this ensures each strand gets product and prevents build-up spots that feel stiff.
- Time it right — 20–40 minutes is commonly enough for food-based protein masks; longer times risk over-drying or protein hardening.
- Rinse thoroughly and follow with a light conditioner or ACV rinse to close the cuticle and remove any residue.
Good technique = even smoothness + less heaviness.
Heat or No Heat? Sealing Keratin Safely at Home
Sealing the treatment with heat can increase smoothing, but heat must be used carefully.
Low-heat sealing approach (recommended)
- Air-dry until hair is about 70–80% dry. Avoid rough towel rubbing.
- Use a blow dryer with a nozzle on medium heat and a round brush to gently smooth cuticle direction — keep dryer moving and at least 6 inches from hair.
- Optional: one quick flat-iron pass on short, thin sections at low heat (260–300°F / 130–150°C) if your hair tolerates heat and you want a sleeker finish. Use a heat protectant spray first. Keep passes fast — one quick glide per section — do not overdo or repeatedly press the same area.
- For fragile or chemically processed hair: avoid flat-iron sealing; rely on air-dry + light oil seal instead.
Why be cautious: too much heat after protein application can cause strands to stiffen, crack, or become overly dry. Natural treatments are gentler, so low and slow is the safe motto.
Post-Treatment Care to Maintain Results Longer
How you treat hair after the mask determines how long it lasts.
Aftercare routine
- Use gentle, sulfate-free shampoo and condition regularly — harsh surfactants strip treatment faster.
- Avoid salt water and chlorinated pools for 48–72 hours after treatment if you used ACV rinse or protein mask. Rinse hair immediately after swimming.
- Limit daily heat styling; when you use heat, always apply heat protectant and use the lowest effective temperature.
- Use light oils or serums sparingly on damp ends to lock in smoothness — argan oil is great for shine without weighing hair down.
- Deep-condition weekly with a moisturizing mask to balance protein with hydration. Alternate a protein mask with a moisture mask every 3–4 weeks depending on hair needs.
- Protect hair while sleeping: silk/satin pillowcases or a loose silk scarf reduce friction and help maintain smoothness.
A balanced protein + moisture routine keeps hair flexible and shiny rather than stiff.
How Often You Can Do a Natural Keratin Treatment
Frequency depends on hair type and condition.
General guidelines
- Healthy hair: a natural protein mask every 3–6 weeks is sufficient.
- Dry, slightly damaged hair: repeat every 2–4 weeks until improvement, then extend intervals.
- Over-processed or fragile hair: do a single treatment, then focus on hydration and gentle care; consult a professional before repeating.
- If you sense stiffness or increased breakage after a protein treatment, pause protein and do moisturizing-only routines until hair recovers.
Balance is key — too much protein causes dryness and brittleness.
Common Mistakes That Damage Hair During Keratin Treatment
Avoid these pitfalls — they undo the benefits.
Mistakes to avoid
- Overloading with protein (doing protein masks weekly for months) — this makes hair hard and prone to snapping.
- Using high heat repeatedly after protein application — leads to dryness and breakage.
- Not rinsing thoroughly — protein residue attracts dirt and can make hair dull and sticky.
- Applying oil-heavy masks to roots — leads to oily scalp and weighed-down hair.
- Skipping patch tests — allergic reactions (to honey, eggs, essential oils) can cause scalp irritation.
- Mixing many active ingredients (strong acids + protein + essential oils) without understanding interactions.
If you suspect over-proteinization (hair feels straw-like or over-crispy), give hair a 2–4 week hydrating recovery with intensive conditioners and avoid protein masks.
Expected Results and How Long They Last
Be realistic about outcomes.
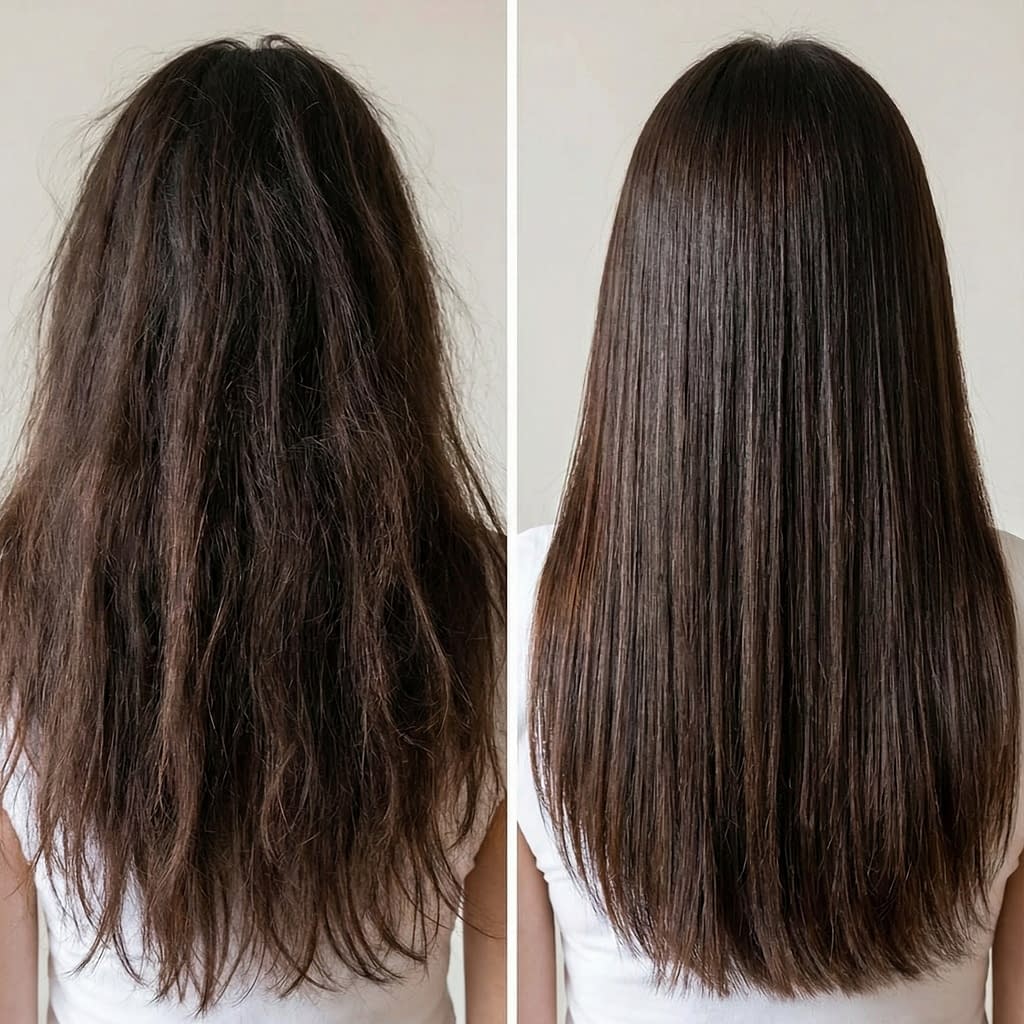
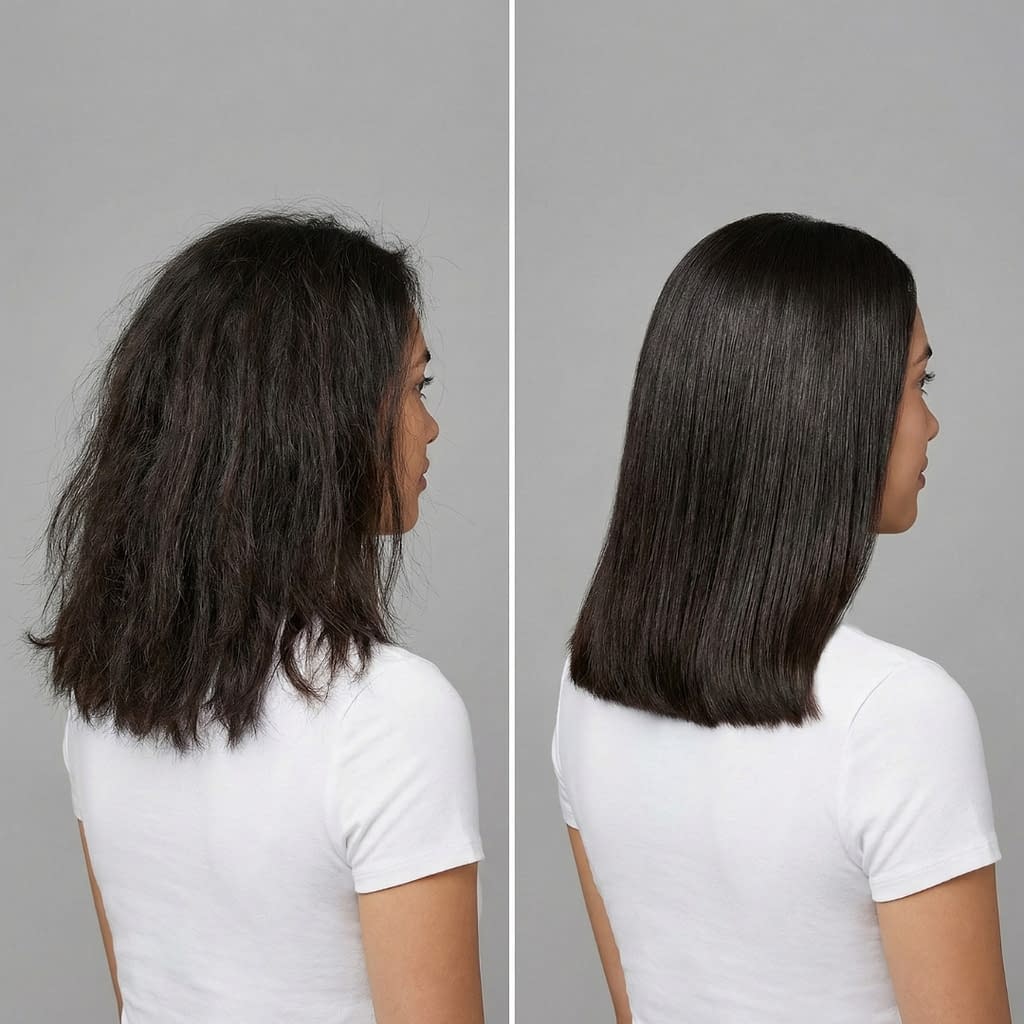
What to expect
- Immediate: smoother-feeling hair, improved shine, and less frizz for several days to a couple of weeks.
- Short-term (2–4 weeks): with good aftercare, many people see sustained smoothing and easier styling.
- Longer-term: natural treatments don’t permanently restructure hair; results fade with washes, sun exposure, and styling. Repeating the routine monthly-to-quarterly with hydration balance keeps hair looking better over time.
Individual results vary by hair porosity, thickness, prior damage, and how you care for hair afterward.
Final Words
A natural at-home keratin-style treatment can be a safe, effective way to smooth frizz, add shine, and temporarily strengthen hair without resorting to harsh salon chemicals. The best outcomes come from balanced protein + moisture recipes, careful application, sensible heat use, and consistent aftercare — not from overdoing any single step. Be realistic: expect subtle improvements that add up over time rather than instant, permanent straightening. If your hair is severely damaged or chemically treated, consult a pro before attempting protein treatments at home.


