Dark spots are common — from sun exposure, acne scars, or hormones — and makeup can be a fast, confidence-boosting solution when you want even-looking skin without a heavy, “made-up” finish. The trick is a skin-first approach: prep well, neutralize the spot’s color, and then conceal with thin, buildable layers that match your skin’s texture and undertone. Below you’ll find practical, step-by-step methods for every stage: prep, color correction, product choice, application technique, long-wear tricks, and quick routines for face and body.
Why a Natural Makeup Approach Works Best
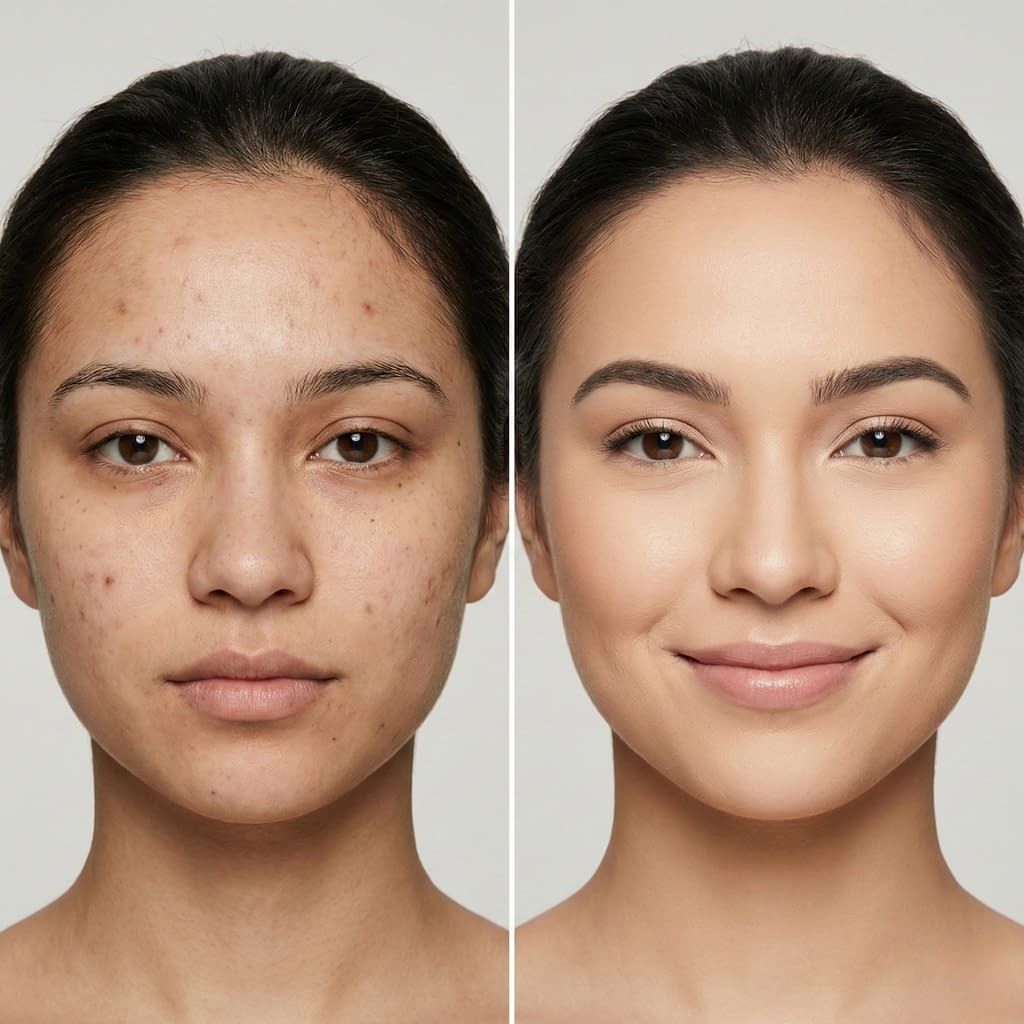
A natural approach keeps coverage believable in real life and in photos. Heavy, thick layers call attention to the spot rather than hiding it. Natural coverage focuses on three things: 1) matching skin texture, 2) correct undertone, and 3) invisible edges. When the makeup reads like skin, the spot disappears at a glance.
Benefits of natural coverage:
- Blends with surrounding skin in daylight and camera light.
- Moves with skin (less creasing and cracking).
- Looks fresh for longer and requires smaller touch-ups.
- Less product means lower risk of clogging pores or emphasizing texture.
Mindset: conceal to blend, not to paint — aim for just enough product in the exact zone you need.
Prep Your Skin: Cleanse, Hydrate, and Prime for Smooth Coverage
Good coverage starts with great prep. If skin is flaky, dry, or oily, concealers will either cling to flakes or slide off.
Step-by-step prep
- Cleanse gently with a formula suited to your skin type so the surface is clean of oil and residue.
- Hydrate: apply a light hydrating serum (hyaluronic acid or glycerin) if skin is dry; for oily skin use a lightweight gel moisturizer. Let it absorb ~1–2 minutes.
- Prime appropriately:
- Dry/normal skin → hydrating primer or silicone-light smoothing primer to fill fine lines.
- Oily skin → mattifying primer focused on T-zone but avoid over-matting on spot areas (you still want blend).
- Address texture: if the spot sits on raised or flaky skin, a very light physical exfoliation at night before application day (do not exfoliate morning-of unless you know your skin tolerates it) improves finish.
- Optional pore / line smoothing: press a tiny amount of silicone-based primer to the area if fine lines are making the concealer settle.
Timing tip: apply concealer to skin that is not too damp (it will slide) and not bone-dry (it will patch). Slightly hydrated, settled skin is ideal.
Choose the Right Concealer: Coverage, Undertone, and Formula

Not all concealers are created equal. Match three things: coverage level, undertone, and finish.
How to choose (step-by-step)
- Coverage:
- Sheer (tinted balm) — for very light discoloration or when you want the most natural look.
- Medium (creamy liquid or stick) — most versatile for everyday spot coverage.
- Full (cream, color corrector + cream concealer) — for deep PIH or stubborn dark spots.
- Undertone: pick a concealer that matches your skin’s undertone (warm, neutral, cool). For the final concealer layer, match your skin so it disappears.
- Formula by skin type:
- Dry or mature skin → cream or liquid with hydrating ingredients. Avoid heavy powders that emphasize texture.
- Oily skin → long-wear mattifying liquid or stick that sets and doesn’t move.
- Acne-prone → non-comedogenic formulas; consider a safflower/squalane-based concealer that’s breathable.
- Test shade on jawline in daylight — ideally it disappears. For spots, you may use a slightly fuller-coverage shade that matches once blended.
Small tool tip: use a tiny, stiff, flat concealer brush for precise placement and a damp sponge for patting/softening edges.
Color Correction 101: Neutralize Dark Spots Before Concealing
Color correction neutralizes the spot so your concealer needs less pigment to cover — that means more natural finish.
Color rules (simple guide)
- Peach / Salmon / Orange correctors neutralize blue-purple spots and work well on light to medium skin tones.
- Deep orange / red correctors are used for deeper brown or blue marks on medium-deep to deep skin tones.
- Yellow corrects mild purple/blue undertones (best for paler skin).
- Green corrects redness (not typically used for brown spots).
- Lavender neutralizes sallow/yellow cast (rare use for dark spots).
How to apply (step-by-step)
- Small amount of corrector with a small brush or fingertip right on the center of the spot (not surrounding skin).
- Tap, don’t rub, to blend edges into the spot only. You want the color to sit under the concealer, not replace it.
- Layer sparingly: the less corrector you need, the better — aim for color cancellation but not a heavy base layer.
- Wait a few seconds for product to set slightly before applying concealer.
Important: always match the corrector intensity to your skin tone depth — too bright an orange on fair skin looks obvious.
Layering Technique: Foundation, Concealer, and Blending Rules
The sequence and application method determines how natural the result will read.
Best layering workflow
- Foundation first? Two options:
- Foundation first: Apply a light, skin-matching base then spot-conceal over it — helps with uniform tone.
- Concealer first: If you only have a few spots, sometimes applying concealer first and then lightly buffing a skin tint around it gives the most natural finish.
Choose based on how much coverage you need overall.
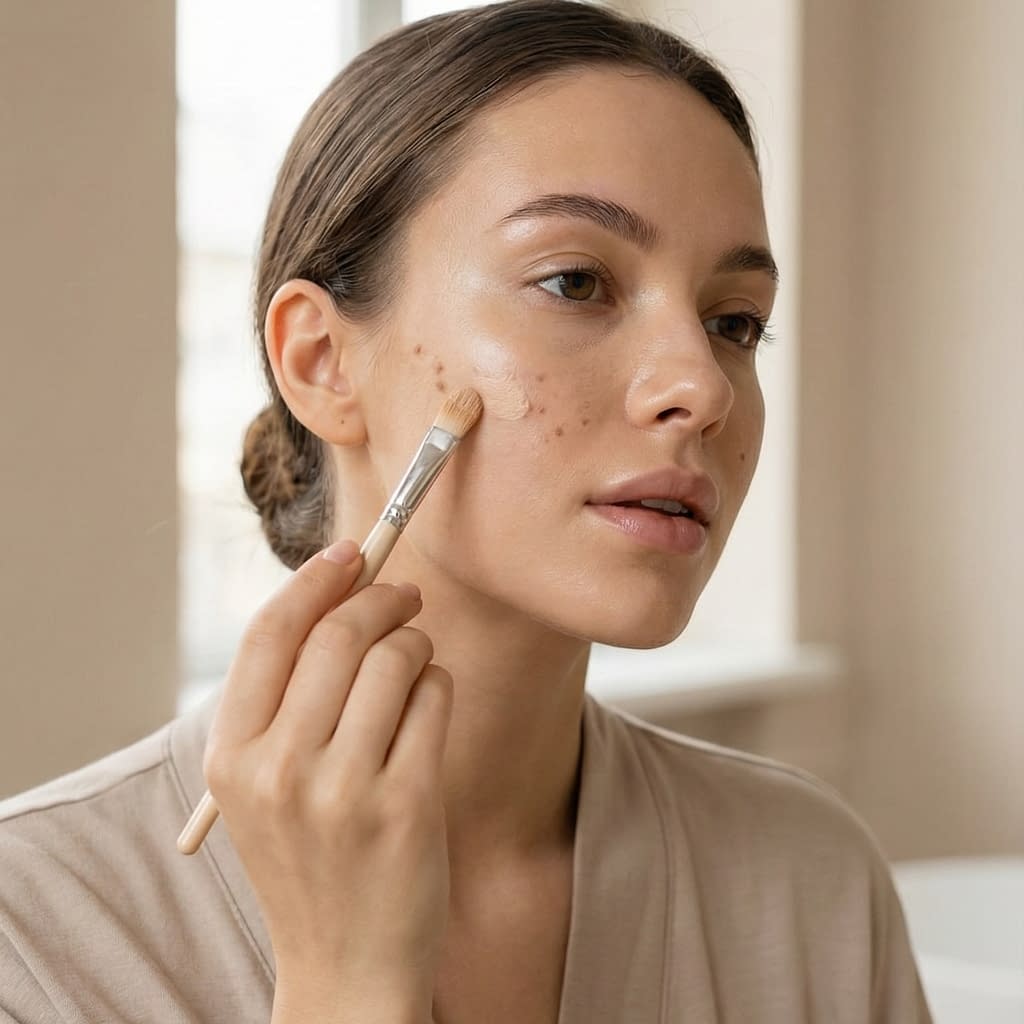
- Apply the corrector (if using) directly to the spot, pat to blend edges.
- Concealer layer: use a small, flat brush or a fingertip to dot concealer over the corrected spot. Use very thin layers; press (stipple) to set rather than sweeping motions that lift product.
- Blend edges: use a damp beauty sponge to gently bounce the concealer into the surrounding skin until edges vanish. Avoid dragging or buffing in circles over the spot.
- Build, don’t bake: if the first thin layer doesn’t fully cover, add another thin layer in the same method — multiple thin layers look more natural than one thick one.
Key technique: press to set pigment into skin rather than smear — pressing keeps coverage opaque but natural.
Spot-Covering Methods for Different Sizes and Depths
Different spot sizes need different tools and approaches.
Tiny spots (freckle, small PIH)
- Tool: tiny flat brush or fingertip.
- Method: dab a tiny dot of concealer (or corrector + concealer), press with a sponge to blend edges. Use translucent micro-powder to set.
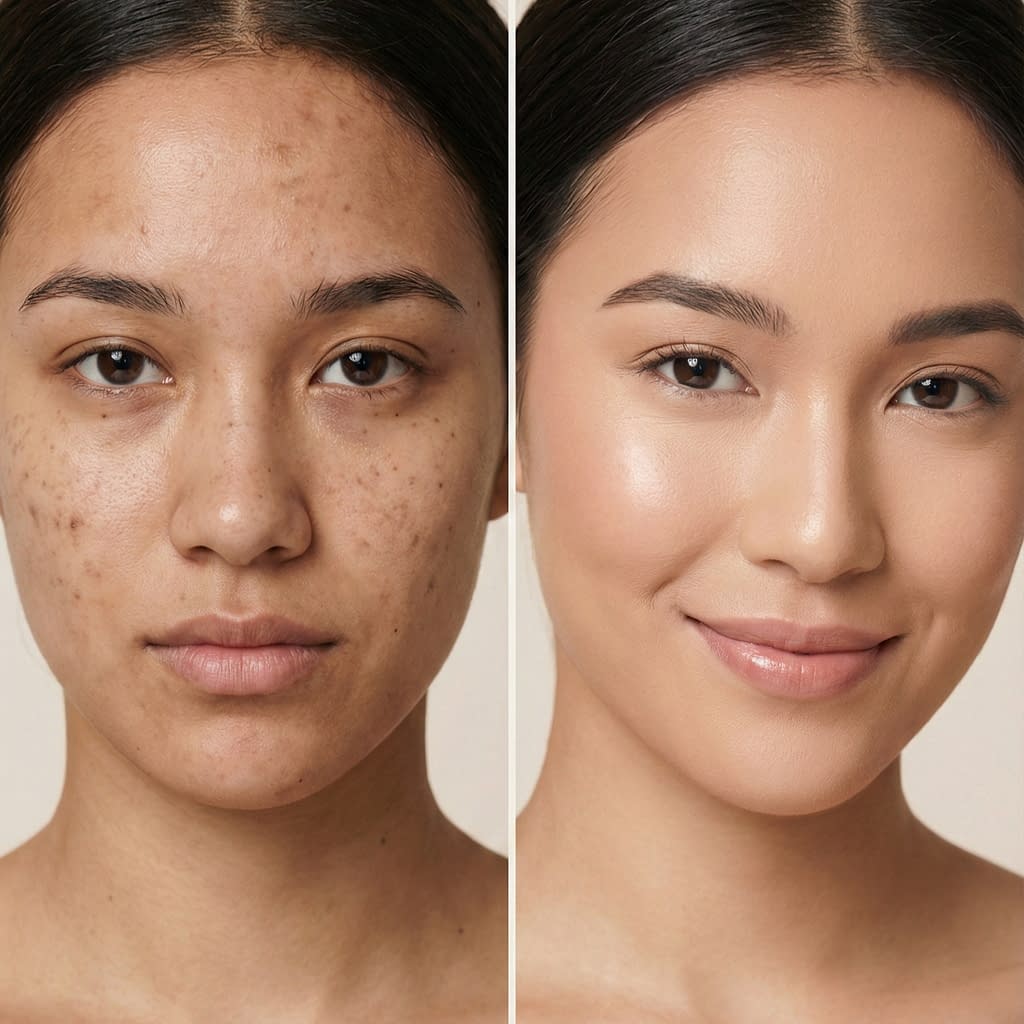
Medium spots (post-acne marks)
- Tool: small synthetic concealer brush + sponge.
- Method: color correct if blue/purple; apply concealer slightly larger than the spot, press and blend. For cratered scars, avoid heavy powdering into depressions.
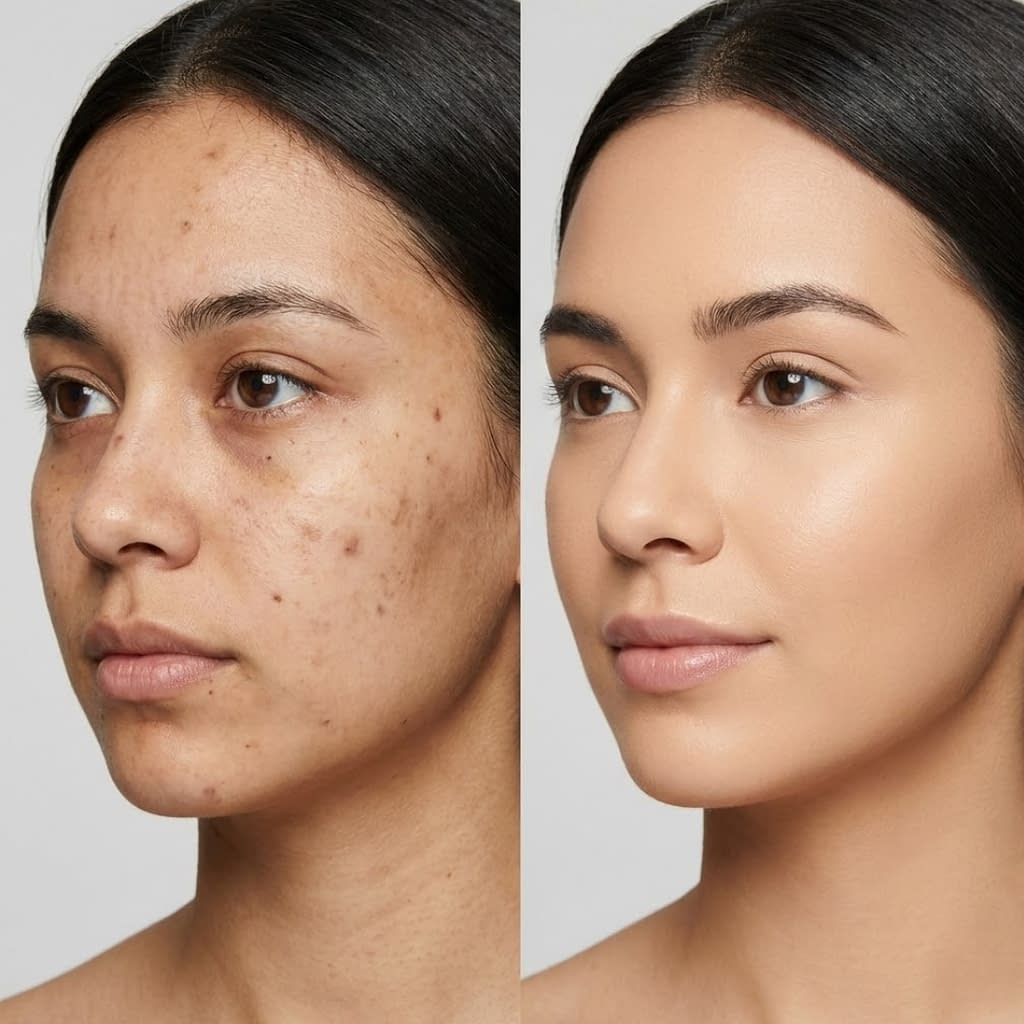
Large patches (melasma, large PIH)
- Tool: broader brush or sponge.
- Method: color-correct strategically (use larger peach/orange for depth), then apply thin layer of foundation or tinted moisturizer over entire area, and spot-conceal the darkest bits. Blending is crucial so the area transitions smoothly to surrounding skin.
Body spots (hands, chest)
- Tool: cream stick concealer or camouflage cream and a small sponge.
- Method: for body, thicker, longer-wear creams work best. Layer corrector if needed, then conceal and set with a light dusting of translucent powder. For hands, use products that transfer less and reapply via small travel compact if needed.
Pro tip: always tap to blend the edges and feather product outward to avoid a “circle of coverage” effect.
Buildable Coverage: How to Avoid a Cakey Finish
Cakey makeup happens when too much product sits on the skin’s surface. Build slowly and set strategically.
Step-by-step anti-cakey routine
- Apply tiny amounts. Less is more — a rice-grain sized concealer dot often covers a small spot.
- Press and wait. After tap-blending, wait ~10 seconds; product can settle and you’ll see if you need more.
- Thin layers: add another layer only if needed, pressing each time.
- Use a damp sponge for the final blend to melt edges into skin.
- Set only where necessary: lightly set with translucent powder only on the spot and immediate surrounding area; avoid powdering entire face unless you need oil control.
- Hydrating finish: for dry skin, spritz a hydrating mist after setting to remove any powdery look and bring back skin-like luminosity.
Remember: natural finish = skin that moves, not a mask.
Powder and Setting Tips to Lock Coverage Without Drying
Setting keeps coverage put but powders can dry or emphasize texture if misused.
Powdering rules
- Choose the right powder: finely milled translucent or a light skin-tone powder works best. For dry skin, prefer a luminous finely-milled powder or skip powder and use setting spray.
- Micro-setting technique: use a small, soft brush or a tiny puff to press powder only where you set concealer (not the whole face). Press, don’t sweep.
- Bake sparingly: baking (heavy powder application) is usually unnecessary for spot cover and can look heavy on close inspection.
- Setting spray: finish with a light mist to melt powders and set makeup into skin for a natural finish and improved wear.
- Touch-up: blotting paper removes oil without removing covering layers; if you must reapply concealer, first blot, then press a light new layer with a damp sponge.
For long events, carry a small pot of powder and a tiny brush or puff for discrete micro-touchups.
Long-Wear Tricks: Primer, Setting Spray, and Touch-Up Essentials
Make your spot-proof makeup last all day with a few professional tricks.
Long-wear checklist
- Primer choice: silicone primers create a smooth base for concealers and help adhesion; hydrating primers help dry skin hold product. Focus primer around the area you’ll conceal.
- Use long-wear formulas for foundation/concealer if you need full-day coverage.
- Layer smart: corrector → thin concealer → micro-powder → another thin concealer layer if needed, then final powder and setting spray.
- Setting spray: finish with a long-wear setting spray in 2 short mists from arm’s length. A mattifying spray for oily skin or a dewy spray for dry skin.
- Touch-up pack: carry a small dual-ended brush and a travel concealer stick (same shade) plus blotting papers. For a quick fix, blot first, then dot concealer and press.
Extra trick: apply concealer in very thin layers and set each layer — this builds opacity that resists movement and transfer.
Camouflage for Body Spots: Chest, Hands, and Arms
Body skin is different: thicker, more exposed, and often more textured. Use slightly different products and steps.
Body spot camouflage (step-by-step)
- Clean & hydrate the area. Slightly damp skin helps product adherence.
- Color correct with a cream corrector if needed (peach/neutral tones for brown marks). Use very small amounts.
- Use a long-wear cream concealer or body foundation (stick or pot) with full coverage. Apply with a small flat brush in thin layers.
- Blend edges with a damp sponge to feather out into surrounding skin.
- Set with a translucent or skin-tone powder — press with a sponge or puff, not a brush.
- Optional: light layer of body makeup spray over the area (some body makeup brands offer setting sprays) to lock and reduce transfer.
- Clothing caution: allow products to set before dressing to avoid transfer; use barrier clothing (silk or loose cotton) if sensitive.
For hands, choose transfer-resistant (matte) formulas and reapply as needed after washing.
Skincare Meets Makeup: Ingredients That Improve Spots Over Time
Makeup is camouflage — skincare improves the underlying issue. Combine gentle actives with daily sun protection.
Effective ingredients & how to use them
- Niacinamide: reduces pigment formation and calms skin — use in your daily moisturizer or serum.
- Vitamin C (topical): antioxidant + brightening effect; apply in AM under SPF.
- Azelaic acid: reduces drive to hyperpigment and calms inflammation — great for acne-related PIH.
- Lactic acid / mild AHAs: gentle exfoliation to speed surface turnover and fade superficial pigment.
- Retinoids: accelerate cell turnover and collagen remodeling (use at night and with sun protection).
- Sunscreen (daily): essential — no brightening routine works without SPF. Use broad-spectrum SPF 30+ every morning and reapply when outdoors.
Practical regimen idea:
- AM: cleanser → vitamin C serum → moisturizer with niacinamide → SPF.
- PM: gentle cleanser → lactic acid 2–3×/week or azelaic nightly → moisturizer → retinoid on alternating nights (build tolerance).
Caveat: always patch-test new actives and introduce slowly to avoid irritation that could worsen PIH.
Common Mistakes That Make Dark Spots More Noticeable
Avoid these pitfalls so your makeup hides spots — not highlights them.
Mistakes to avoid
- Using too thick one-step layers — heavy products cake and look obvious.
- Wrong color corrector for your skin tone — e.g., using a pale peach on deep skin — it will look ashy.
- Dragging product to blend — creates smudges and removes coverage. Always press/roll/tap.
- Over-powdering — dries and emphasizes texture.
- Skipping SPF — sun darkens spots and reverses your work.
- Not matching undertones — the concealer may match shade but not tone, creating a halo effect.
- Using expired or contaminated products — old makeup oxidizes and shifts color, making matching impossible.
Rule: test in natural light, and take photos to see how it reads off-screen.
Quick 5-Minute Routine for Natural, Spot-Free Skin
A short routine you can do on busy mornings that still looks planned.
5-minute step-by-step
- Prep: splash face, apply a lightweight moisturizer with SPF (or primer + SPF) — 30 sec.
- Correct if needed: tiny dot of color corrector on the darkest parts only — 30 sec.
- Conceal: small point-source dot of concealer, press with a damp sponge to blend — 60 sec.
- Set lightly: tap a small amount of translucent powder with a tiny fluffy brush or puff only on the concealed spot — 30 sec.
- Finish: quick spritz of setting spray and a touch of blush or lip balm to add life — 30 sec.
The result: believable coverage with minimal product and time.
Final Words
Hiding dark spots naturally is an art of restraint: prep the skin, neutralize the tone when needed, and build coverage with tiny, pressed layers so the finish reads like skin. Pair makeup camouflage with a consistent, gentle skincare routine (and daily SPF) and you’ll both conceal and improve spots over time. If a spot is new, changing, or concerning, consult a dermatologist — and if long-term clearing is your goal, combine the right actives with patience: pigment fades with steady care.


