Looking photogenic doesn’t have to be a mystery or a full-glam production. It’s mostly small habits — tiny posture tweaks, smart lighting, gentle skin prep, subtle makeup moves, and relaxed posing — that add up to photos that look effortless. Below is a full, practical guide you can use as a single post: a short opening, then clear, bold section headings with detailed, step-by-step advice for each topic so your readers can actually do it. No fluff — just useful, repeatable steps.
Why Some People Always Look Photogenic

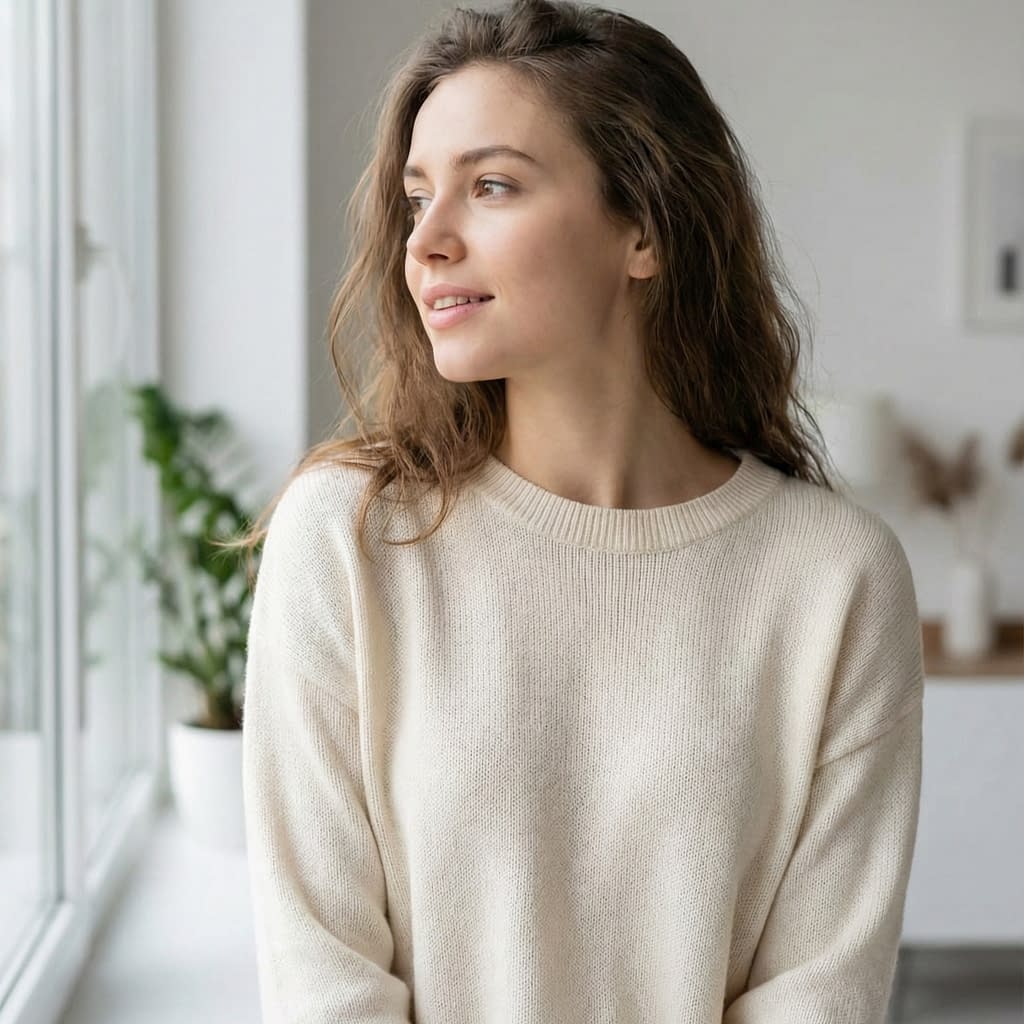
Being photogenic isn’t magic — it’s rhythm. People who “always” look good on camera have learned a few consistent things: they know their best angles, they move in ways that flatter their proportions, they control lighting or seek it out, and they relax their expression so the face reads alive on a still image. The trick: turn those instincts into repeatable habits so you get the same easy result every time.
Quick habits to adopt
- Practice a few poses and expressions in front of the mirror until they feel natural.
- Learn how light falls on your face and move to better light rather than relying on filters.
- Keep skin and hair maintained so small details don’t distract in close-ups.
- Build a short pre-photo routine (chin tuck + deep breath + tiny smile) you use every time.
Understanding Angles: How Face Shape Affects Photos
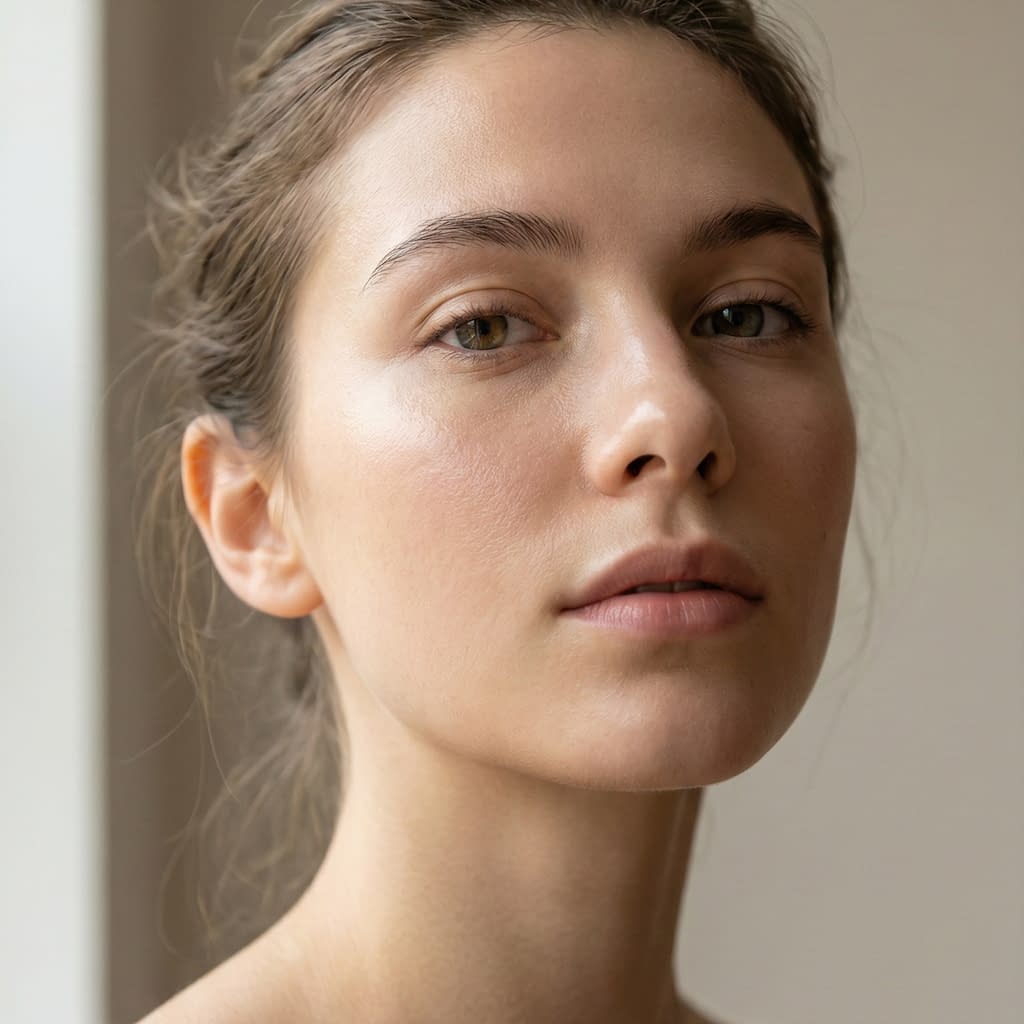
Angles change how light hits planes of the face and how camera perspective alters proportions.
Step-by-step angle experiment
- Stand in front of a mirror or use the front camera. Slowly rotate your head left and right in 5° increments and notice which side you prefer. Many people have a “better” side — use it.
- Tilt your chin slightly down for a slimmer jawline; tilt it slightly up for a longer neck look. Small changes are key.
- For round faces: slightly raise the chin and turn the head 10–15° to add dimension.
- For long faces: flatten the chin a touch and avoid full-profile shots that emphasize length.
- For square faces: angle the face to soften the jaw (turn a bit and drop the chin).
- For heart-shaped faces: soften forehead prominence by tilting slightly forward and emphasizing lower-face features with a small smile or head tilt.
Practice these in natural light and keep notes (or take quick test photos) to remember what works best.
The Role of Lighting in Effortless Photogenic Looks
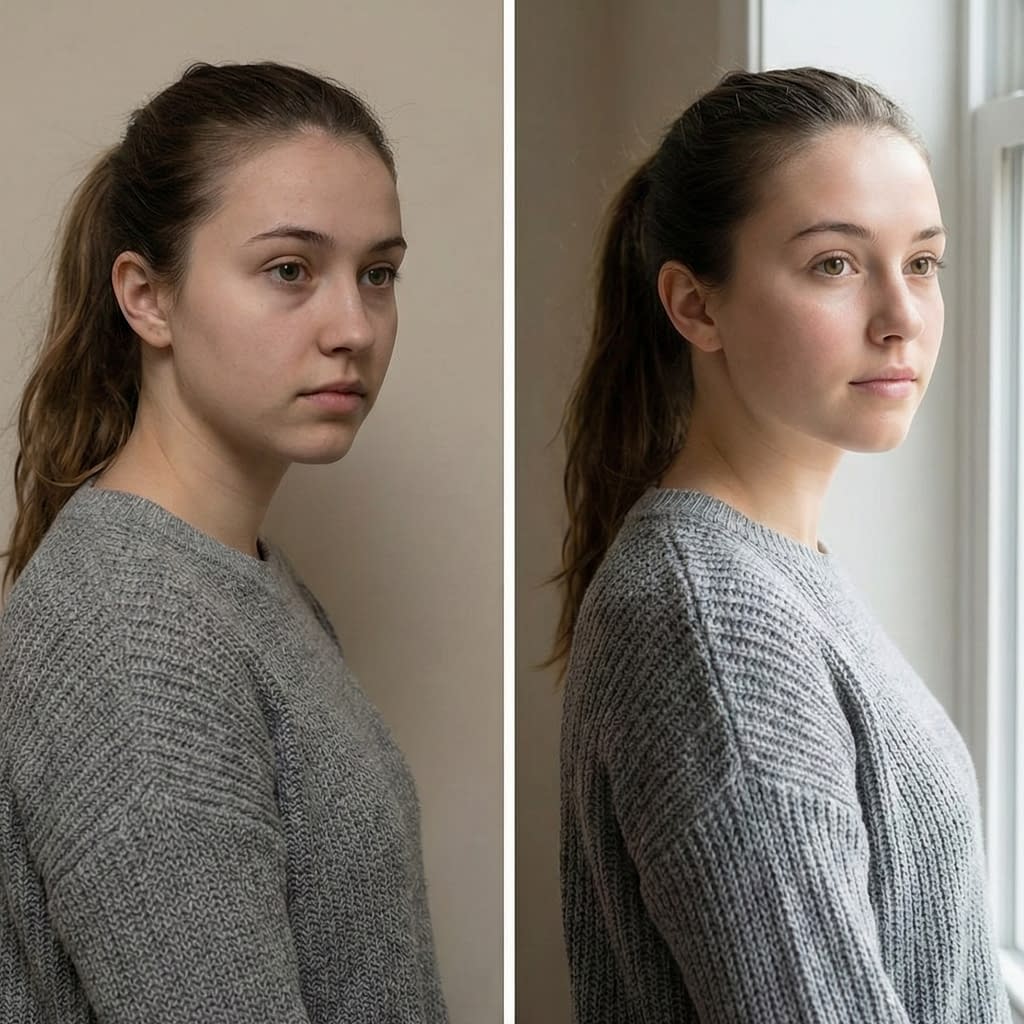
Light is the single biggest photo hack — good lighting hides texture, sculpts the face, and makes eyes pop.
Lighting quick guide (step-by-step)
- Find soft, even light. Window light is ideal: face the window or stand slightly angled (about 30°) for soft, flattering highlights. Avoid bright overhead lights that cast harsh shadows.
- Golden hour tip: outdoors, shoot 30–60 minutes after sunrise or before sunset for warm, flattering tones.
- Backlight with fill: place a soft light or reflector in front (or use fill flash) when the sun is behind you — this creates a glow and avoids dark faces.
- Avoid direct noon sun: if you must shoot midday, find shade to get even light.
- For phone selfies: use portrait mode or slightly diffuse front-facing light (a white paper or thin cloth over a lamp) to soften harshness.
If you can control only one thing, control light: move your body, not your camera.
Skin Prep: Natural Glow Without Heavy Makeup
Healthy skin reads well on camera — not perfect, just hydrated and even.
Skin-prep routine (10 minutes)
- Cleanse quickly to remove oil/grime.
- Exfoliate gently 1–2× weekly (not before every photo if skin is sensitive).
- Apply a hydrating serum (hyaluronic acid) or lightweight moisturizer while skin is damp to lock in glow.
- Use a primer or smoothing lotion if you plan to apply any makeup — it blurs texture and prolongs wear.
- For immediate glow: mix a drop of liquid highlighter or facial oil into your moisturizer on the high points (cheekbones, bridge of nose) and blend.
Small tip: keep blotting papers handy to remove midday shine rather than piling on powder.
Subtle Makeup Tricks That Enhance Features
Makeup should read natural and enhance — not hide.
Step-by-step quick makeup for photogenic skin
- Tinted base: use a tinted moisturizer or light foundation for even tone. Avoid heavy foundation that looks cakey in photos.
- Conceal selectively: dab concealer only on dark circles or spots. Blend outward.
- Soft brows: fill brows with tiny hair-like strokes; groom them upward so they frame the eyes.
- Eyes: tightline the upper waterline with a soft liner or use a brown pencil for a natural lash-thickening effect. Curl lashes and apply a lengthening mascara.
- Cheeks: cream blush blended into the apples gives a natural, camera-friendly flush.
- Highlight: apply a subtle sheen on cheek tops and nose bridge — not glitter.
- Set lightly: use a translucent powder only where you need it (T-zone), and finish with a setting spray to avoid flatness.
Less is often more; small targeted moves boost features without looking “made up.”
Hair Styling Tips That Work for Photos
Hair frames the face. Simple adjustments change the entire vibe.
Hair prep & on-the-day tips
- Brush and add a small amount of lightweight oil/serum to tame frizz and add sheen.
- Add body with dry shampoo at roots or a quick blow-dry with the head flipped for instant lift.
- Use a soft wave or bend to add texture — straight, flat hair can photograph lifeless.
- Avoid extreme parting changes the day you want to look natural; minor variance is fine.
- For quick volume: backcomb lightly at roots and smooth the top layer.
- Keep flyaways controlled with a toothbrush sprayed with hairspray (gentle fix).
If hair is unpredictable, choose styles that tolerate movement (loose waves, low pony) and avoid exact symmetry that snaps the “natural” look.
Natural Poses That Flatter Every Body Type
Posing is about angles and tension — how you position limbs alters shape and posture.
Simple pose formula (step-by-step)
- Start with posture: stand tall, weight on the back foot, front knee slightly bent — this creates an S-curve.
- Create space: move an arm away from the body (hand on hip or gently down the thigh) to avoid a flat silhouette.
- Angle the body: turn torso 10–30° from camera rather than facing straight on. This slims and adds shape.
- Chin placement: bring your chin slightly forward and down to avoid a double-chin look — think “forward then down.”
- Hand placement: keep fingers relaxed (not stiff); if unsure, hold a prop or lightly touch hair/neck.
- Seated pose: lean slightly forward from the hips and push shoulders back — it reduces slouch and makes eyes engage the lens.
Teach readers to practice small movements and pick 3 reliable poses they know look good on them.
How Posture Makes a Huge Difference in Photos
Good posture instantly reads confident and photogenic.
Posture checklist (instant posture fix)
- Roll shoulders back and down.
- Lengthen through the spine (imagine a string pulling you gently up).
- Slight pelvic tilt (helps keep the torso engaged).
- Breathe in, exhale softly and relax the jaw for a natural look.
Use the “posture micro-routine” before every photo: inhale, stand tall, exhale and soften, small smile.
Expression Tips: Smiling, Relaxed, and Confident
Expressions sell authenticity — avoid forced smiles.
Expression practice (step-by-step)
- Smile with your eyes (“squinch” slightly) — think of a small happy memory to get a natural crinkle.
- Try the 3-second rule: change expression every 3 seconds as the camera clicks — slight shifts make more interesting shots.
- Practice the “soft mouth”: slightly part lips, relax jaw, then smile with lips — less teeth often looks softer and natural.
- Use breath to relax: inhale, exhale slowly, then smile — it calms tension.
- If you want a serious look: relax facial muscles, slightly lower the brows, and look just past the camera for a candid vibe.
Practice in mirror or take short video clips to find your natural expressions.
Clothing Choices That Look Good on Camera
Clothes send quick signals in a frame — pick shapes and colors that flatter.
Wardrobe rules for photos
- Choose solid colors or small prints; large logos and busy patterns distract.
- Wear colors that complement your skin tone — jewel tones work well on camera for most people.
- Fit matters: clothes that skim (not cling) the body look better. Tailored items always photograph sharper.
- V-necks lengthen a short neck; structured jackets create a nice frame.
- Avoid extremely shiny fabrics that catch light oddly.
Quick outfit test: take a 3-second photo in natural light before leaving — if it looks good small on the screen, it will read well.
Accessories and Backgrounds That Complement Your Look
Small accessories add personality — but don’t overdo it.
Accessory advice
- Use one focal accessory (a necklace, hat, or watch) rather than many competing pieces.
- Keep jewelry matte or subtle — very reflective metals can catch the flash.
- Background: choose simple backdrops or one with soft depth (blurred background) to keep the focus on you.
- Pay attention to lines behind you: poles or tree branches that come out of your head in pictures are distracting — move a step.
Tip: if shooting outdoors, pick a background with complementary color (e.g., green for warm skin tones).
How to Relax and Avoid Stiff Photos
Relaxation is the final secret to looking natural.
Relax routine (1 minute)
- Shake out your hands and shoulders for 10 seconds.
- Take 3 deep nasal breaths.
- Think of a simple, pleasant memory or a funny moment — a light smile will follow.
- Move between frames: a small step, look away, and then return to pose — motion creates natural frames and reduces stiffness.
Direct the photographer (or use a timer): ask for “a few candid frames” while you chat or move — candid shots often feel the most photogenic.
Common Mistakes That Make You Look Unphotogenic
Avoid these easy-to-fix traps.
Mistakes & fixes
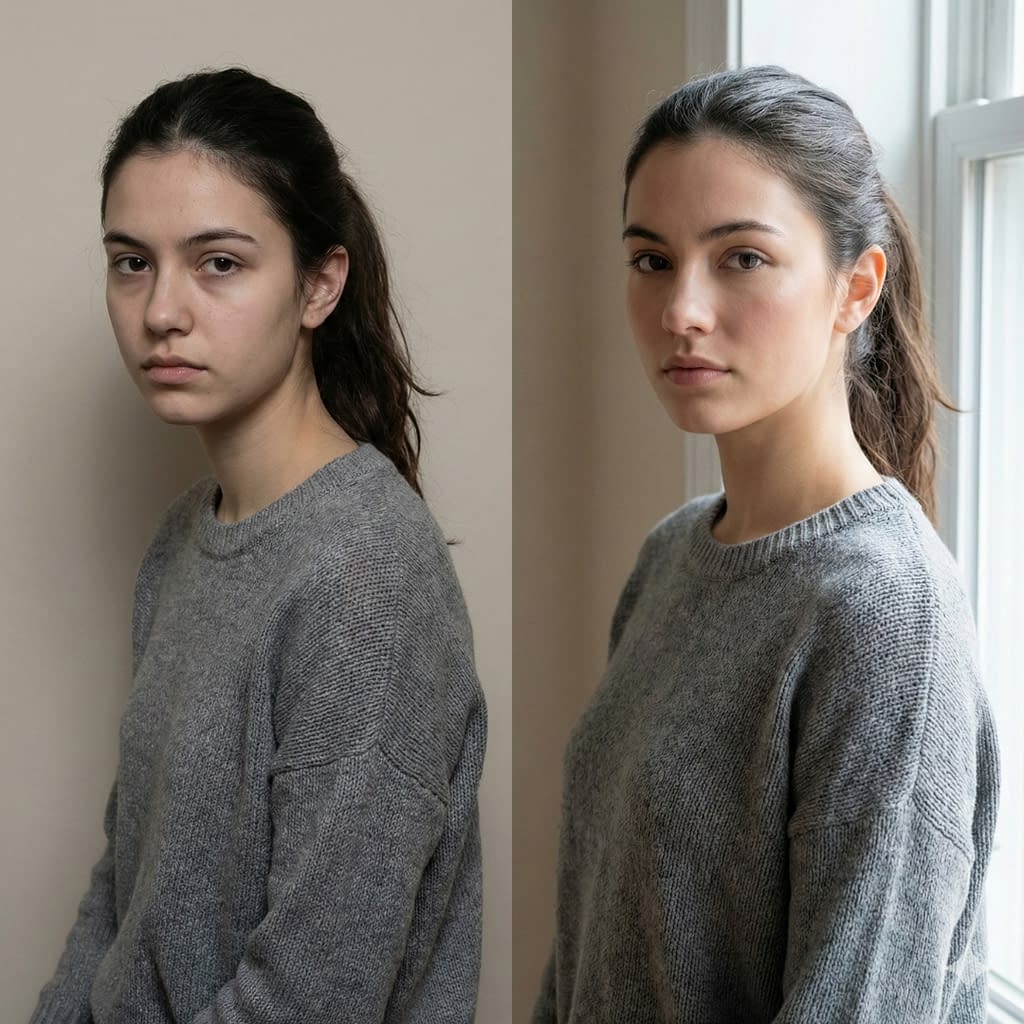
- Flat light / harsh overhead light → move to a window or shade.
- Rushing the pose → slow down and breathe, use small shifts.
- Too much makeup or heavy powder → go lighter; flash highlights texture.
- Arms pressed flat to the sides → create space with a small hand-on-hip or bend.
- Stiff jaw or clenched teeth → drop jaw slightly, breathe out, relax.
- Bad background choices → step a few feet forward to blur the background.
A quick checklist before a shot: posture? light? relaxed jaw? small smile? fix one and retake.
Final Words
Looking photogenic without trying comes from training a few tiny habits — lighting, angle, posture, skin prep, and relaxed expression. Practice a short pre-photo routine you perform every time (posture reset + chin move + soft smile) and learn one or two flattering poses. Keep skin and hair maintained, choose simple clothing, and let light be your friend. Over time these small steps become second nature and every snapshot will feel more camera-ready with less effort.


