Fuller lips are a classic sign of youth and vitality — but you don’t need injections to make them look nicer. With consistent care, the right makeup tricks, and a few safe home remedies, you can boost volume, smooth texture, and create a visibly plumper pout. Below you’ll find a practical, step-by-step guide for every approach: skincare, treatments, natural enhancers, diet, and a final makeup routine to maximize results.
Why Plump Lips Are Timeless and Attractive
Plump lips draw attention, reflect good circulation, and soften facial proportions — all of which people often interpret as attractive. Many prefer natural enhancement because it’s lower risk, reversible, and improves overall lip health rather than temporarily altering structure. The goal here is realistic: healthier, fuller-looking lips that are well hydrated, smooth, and shapely — not dramatic, medical results. Small, consistent habits give the most pleasing, long-term outcome.
Exfoliate Your Lips Regularly for a Smooth Canvas

Dead, flaky skin makes lips look smaller and dull. Exfoliation sloughs off rough cells, reveals fresh tissue, and makes the surface reflect light more evenly — an instant visual plump.
Why it helps
- Smooth lips catch light better (appearing fuller).
- Removes dry patches that make lipstick sit unevenly.
- Improves absorption of hydrating treatments.
How to exfoliate — step by step
- Frequency: 1–3× per week depending on your lip sensitivity (start once weekly).
- Gentle physical scrub (DIY sugar scrub):
- Mix 1 tsp brown or white sugar + 1 tsp honey or jojoba oil.
- Using a damp fingertip, massage the mixture onto lips in small circular motions for 30–45 seconds.
- Rinse with lukewarm water and pat dry.
- Soft tool option: Use a dry, soft toothbrush to softly buff lips for 20–30 seconds (very light pressure).
- Chemical option (mild): Products with a low-concentration lactic acid or PHA can be used rarely — only if your skin tolerates acids and with sunscreen afterward.
- Aftercare: Immediately follow with a nourishing balm or oil to lock in moisture.
Cautions: Don’t over-scrub — excessive exfoliation causes irritation, redness and can thin the skin.
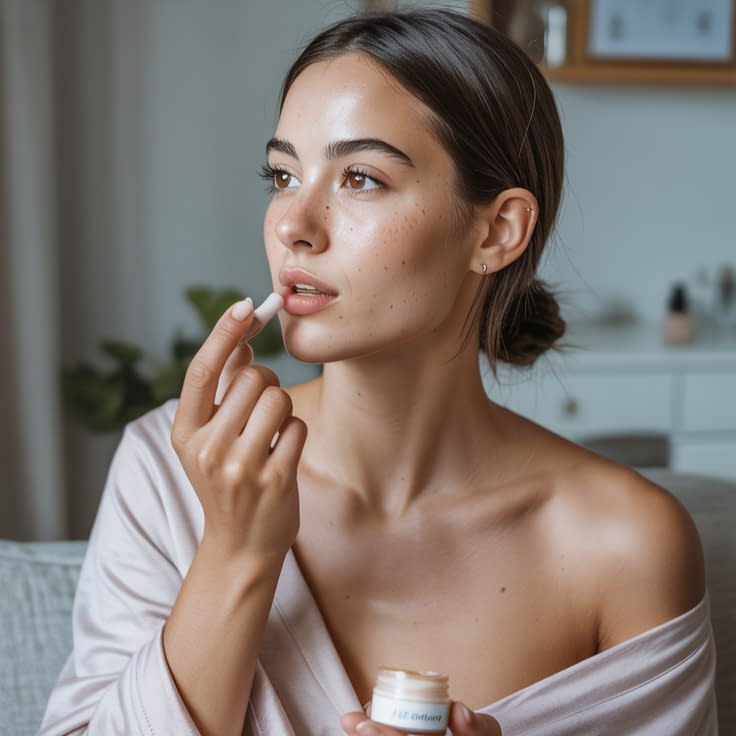
Keep Your Lips Hydrated All Day
Hydration is the #1 non-makeup trick for plumper lips: plumpness = water content in tissues.
Daily hydration routine
- Drink water throughout the day. Aim for regular sips (hydration is systemic).
- Use a quality lip balm often: Ingredients to look for — hyaluronic acid (at the skin level), glycerin, shea butter, jojoba oil, squalane, ceramides. Apply every morning and throughout the day as lips feel dry.
- Overnight heavier treatment: Apply a thicker occlusive (petrolatum or lanolin-free alternatives like a rich balm or lanolin substitute) before bed to lock in moisture while you sleep.
- Humidifier in dry environments helps prevent chronic lip dehydration.
- Avoid irritants in daytime balms (menthol, camphor, high fragrance) if your lips are sensitive — they can cause rebound dryness.
Quick tip: Keep a small balm in your bag and apply after meals and before bed.
Use Lip Masks and Treatments Overnight
Overnight masks deliver concentrated hydration and can visibly plump by morning.
Simple overnight mask ideas
- Pure occlusive: apply a generous layer of vaseline-alternative or thick balm to seal moisture (great if severely chapped).
- Nourishing oil blend: 1 part castor oil + 1 part jojoba oil (apply thin layer). Castor oil conditions and can temporarily thicken lip feel.
- Commercial overnight lip masks: choose antioxidant and humectant formulas (hyaluronic + ceramides).
How to use
- Apply mask as the last step in your nighttime routine after cleansing and any serums.
- Leave on overnight and wipe gently in the morning.
- Use 2–3×/week or nightly if your lips are very dry and tolerate it.
Safety: If you experience irritation, stop use and switch to a simpler balm (petrolatum or pure shea butter).
Massage Your Lips to Boost Circulation
Gentle massage increases blood flow to the lips, creating a temporary flush and fullness.
Lip massage — step by step
- Clean hands: wash hands before touching lips.
- Apply a thin oil or balm to reduce friction (jojoba, sweet almond, or a soft lip balm).
- Circular strokes: using a fingertip, make small clockwise then counterclockwise circles along the lips for 30–60 seconds.
- Pinch & roll (gentle): very lightly roll lips between thumb and index finger for 20–30 seconds—don’t pull hard.
- Tapping: gently tap the lips with fingertips for 10–20 seconds to stimulate circulation.
- Finish: apply a hydrating balm.
Frequency: Once daily (morning or before makeup) — stop if you feel excessive redness or discomfort.
Apply Lip Liner Strategically
Lipliner is the easiest, most reliable non-invasive way to create the illusion of fuller lips.
Natural overlining technique — step by step
- Choose the right liner color: match close to your natural lip tone or lipstick — avoid stark contrasts.
- Prep: exfoliate and moisturize lips first for a smooth canvas.
- Find the natural border: lightly trace your natural lip line with faint strokes rather than a heavy continuous line.
- Slight overline (subtle): extend the line very slightly — about 1–2 mm — at the center of the cupid’s bow and the center of the lower lip only. Avoid extending at the corners (that looks unnatural).
- Blend inward: soften the line by smudging with a fingertip or a small brush so it’s not a harsh border.
- Fill base: fill the lips lightly with the liner to give base color and improve staying power for lipstick.
- Top with gloss: a center gloss (see step 7) amplifies the volumizing effect.
Pro tip: Less is more — subtle overlining combined with light reflectors looks natural and elegant.
Choose the Right Lip Colors and Finishes
Color and finish make a huge difference in perceived volume.
What works best
- Glossy center: light reflection in the middle of the lower and upper lip makes lips appear fuller.
- Sheer to satin finishes: cream and sheen finishes add dimension without flattening. Matte can be slimming if applied heavily across the entire lip.
- Lighter shades: soft nudes, pinks, and coral reflect light more than very deep shades (but deep can be elegant if paired with a softened sheen).
- Ombre technique: a slightly lighter shade or dab of highlighter at the center with a darker perimeter increases the 3D effect.
Application tips
- After lining and base color, apply lipstick or tint.
- Add a dab of clear or light-tinted gloss to the center of the lower lip and gently press lips together.
- Use a small, precise dab of a matte highlighter (or very light concealer) on the cupid’s bow and center of the lower lip for extra bounce.
Caution: Avoid sticky, heavy glosses that bleed — use one with a balanced viscosity and, if needed, a lip primer or a touch of translucent powder at the edges to control feathering.
Natural Remedies That Promote Lip Fullness
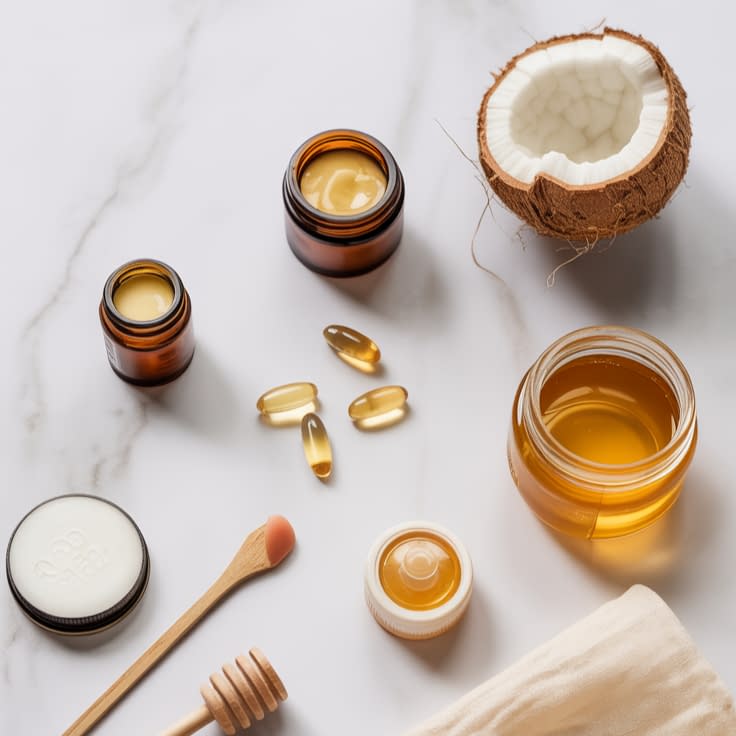
Some topical natural ingredients produce a temporary plumping sensation by increasing circulation or mild irritation. Use sparingly and patch test.
Common natural enhancers (temporary)
- Cinnamon (oil or powder): creates a warming tingle that increases blood flow — dilute carefully.
- Peppermint oil: creates light swelling via mild irritation; very potent—use minimal dilution.
- Ginger or cayenne (tiny amounts): warming but can be harsh; not recommended for sensitive skin.
- Honey: humectant and soothing; can slightly plump via hydration.
- Cinnamon lip scrub (DIY): ¼ tsp cinnamon + 1 tsp coconut oil + ½ tsp sugar — apply for 30 seconds, rinse, then balm.
Safe dilution guide
- Essential oil limit for lips: keep essential oils (peppermint, cinnamon bark) to ≤0.1–0.3% of total blend for lip use. In practice that’s 1 drop in ~20–30 g carrier — extremely low.
- Better approach: infuse a tiny amount of cinnamon powder into a carrier oil (castor/jojoba), then strain; patch test and use very small amounts.
How to use safely
- Patch test: apply a drop to inner forearm for 24–48 hours. If any burning, red rash, or itching occurs, do not use on lips.
- Initial small test: apply a tiny pea-size amount on one part of the lip; wait 5–10 minutes. If mild warm tingle only, it’s likely safe in small doses.
- Neutralize with balm: after 5–15 minutes, apply balm to soothe.
- Frequency: occasional use only (1–2× per week max) to avoid chronic irritation.
Warning: If your lips are cracked, bleeding, or very sensitive, avoid these irritants entirely.
Maintain a Healthy Diet for Naturally Healthy Lips
Lip health is tied to overall nutrition. Build a diet that supports skin and collagen.
Key nutrients & foods
- Protein: amino acids are building blocks (eggs, lean meat, legumes).
- Vitamin C: supports collagen synthesis (citrus, strawberries, bell peppers).
- Omega-3 fatty acids: support skin barrier and hydration (salmon, chia, walnuts).
- Zinc & iron: deficiencies can reduce hair and skin quality (pumpkin seeds, beef, spinach).
- Biotin (B7): associated with hair and nail health — eggs, nuts, oats.
- Hydration & electrolytes: water, hydrating fruits (melon, cucumber), and balanced electrolytes help tissue plumpness.
Lifestyle tips
- Avoid excessive alcohol and smoking — both dry the lips and impair circulation.
- Manage sun exposure — use lip SPF or a balm with SPF to prevent collagen-breaking UV damage.
Note: If you suspect a nutritional deficiency, consult a healthcare provider before starting supplements.
Avoid Habits That Make Lips Look Thin or Dry
Small habits can sabotage plump lips.
Habits to stop or reduce
- Licking your lips (temporary relief but evaporates moisture).
- Picking at flakes — leads to inflammation and scarring.
- Using very drying products (high alcohol mouthwashes or harsh lip tints) without follow-up hydration.
- Excessive sun exposure without protection — UV breaks down collagen.
- Sleeping face down — friction can crease and dehydrate the lips over time.
Better alternatives
- Reapply balm instead of licking.
- Gently exfoliate and moisturize rather than picking.
- Use an SPF lip balm outdoors.
- Sleep on a silk or satin pillowcase to reduce friction.
Step-by-Step Makeup Routine for Plumper Lips
This routine combines prep, subtle enhancement, and light-reflecting finishes.
Full routine — step by step
- Prep
- Exfoliate lips gently (sugar scrub) and rinse.
- Pat dry and apply a light hydrating balm; let absorb 5 minutes.
- Prime (optional)
- Use a lip primer or a small amount of concealer to even tone and help liner adhere.
- Line
- Using a soft lip pencil close to your natural color, outline your natural shape. Slightly overline the center (1–2 mm) at cupid’s bow and lower center only. Smudge lightly to avoid a stark edge.
- Fill base
- Fill the lips completely with the liner or a base lipstick to increase longevity.
- Apply lipstick / tint
- Use a satin or cream lipstick one shade brighter than your lip’s natural tone in the center, blending outwards.
- Ombre & highlight
- Apply a slightly lighter shade or concealer dot at the center of the lower lip and gently blend. Add a pin-size dab of highlighter (or a tiny bit of light concealer) at the cupid’s bow center.
- Gloss
- Add a small drop of clear or translucent shimmer gloss only to the center of the lower lip and a tiny touch at the upper center. Press lips together softly.
- Clean edges
- Use a cotton swab or concealer brush to sharpen the edges if needed.
- Set
- Blot the perimeter with a tissue to prevent feathering; avoid blotting the center gloss.
Quick daytime hack: skip the bold lipstick and rely on liner + sheer gloss center for a natural plump look.
Final Words
Plumper-looking lips are an attainable, low-risk goal when you combine gentle care, smart makeup, and healthy habits. Start with a simple ritual: exfoliate once a week, hydrate daily, do a short massage each day, and save natural plumping blends for occasional use with careful patch testing. Use makeup tricks — subtle overlining, center gloss, and highlight — for immediate visual impact. Over time, diet, hydration, and sun protection will enhance the natural structure and texture of your lips.
Final safety reminders: avoid chronic use of irritant plumpers, patch test any new topical, and stop use if you experience burning or persistent redness. If you want more dramatic, longer-lasting changes, consult a board-certified dermatologist or plastic surgeon to discuss safe medical options and risks.


