
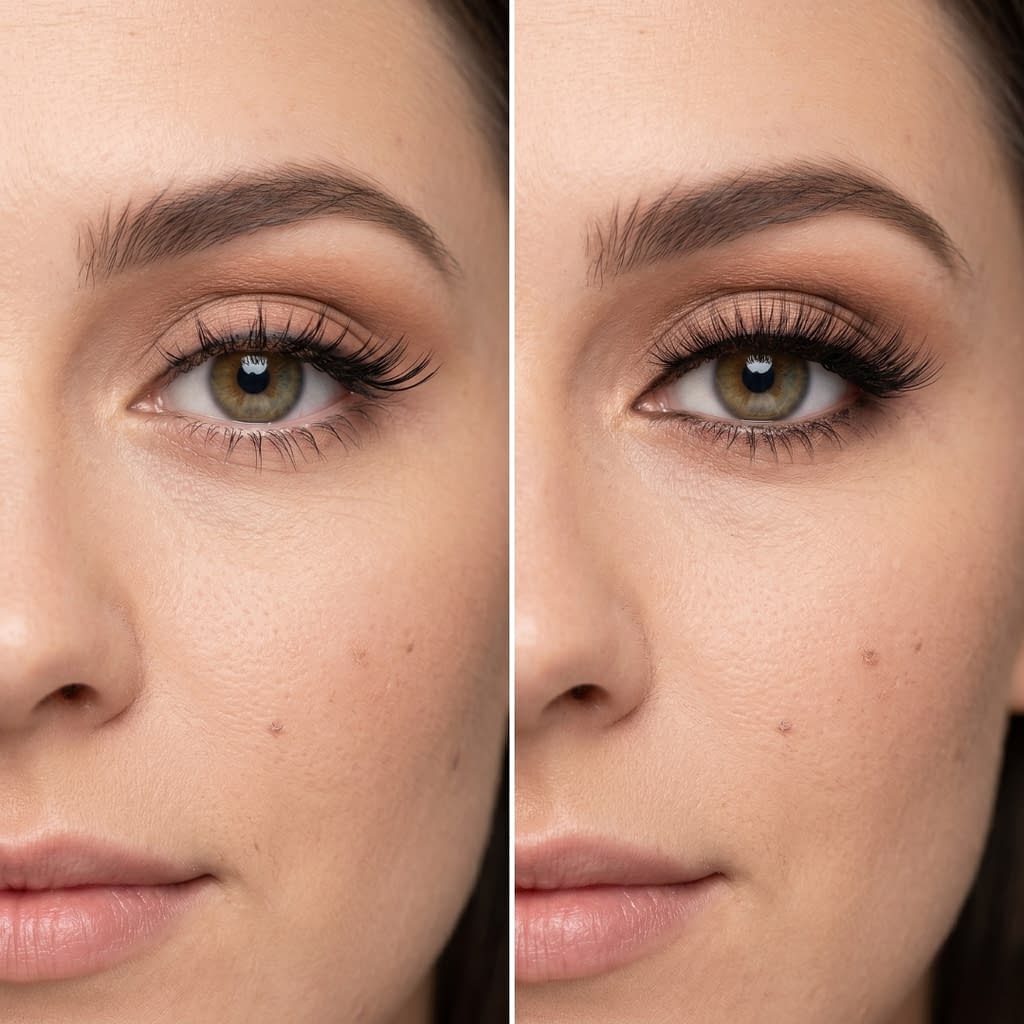
False lashes can completely change a makeup look. They make the eyes look bigger, more lifted, and more polished. But when the inner or outer corners start lifting, the whole effect can fall apart fast. Instead of looking seamless, the lashes can look like they are hovering above the eye, sticking out at the edges, or popping away from the lash line every time you blink. That “floating” look is frustrating because it makes even the best eye makeup look unfinished.
The good news is that this problem is usually fixable. In most cases, floating lashes are caused by fit, glue placement, eye shape, or a little too much movement before the glue fully sets. Once you know what is causing the lift, you can correct it with a better prep routine, a stronger application method, and a few small adjustments that make the lashes sit closer and last longer.
In this guide, you will learn why false lashes lift at the corners, how to choose and trim them for a better fit, how to apply glue for strong hold, and how to fix lifting lashes if they start floating later in the day. Each section breaks the process into simple steps so your lashes look snug, smooth, and natural instead of loose and awkward.
Why False Lashes Start Lifting at the Corners
False lashes usually start lifting at the corners because those areas have the least surface contact and the most movement. The inner corner is near the tear duct and tends to have more natural moisture, while the outer corner moves a lot when you blink, smile, or talk. If the lash strip is not the right shape or the glue is not placed properly, those edges can peel up first.
Another reason is that the lash strip may be a little too stiff or too long for your eye. When that happens, the corners do not sit flush against the skin. Instead, they curve away, which creates the floating effect. Even a great pair of lashes can do this if they were not trimmed, bent, or applied well.
Step by step: why corners lift
- The lash strip is too straight or too long for the eye.
- Glue coverage is weaker at the edges.
- The eye area moves and blinks throughout the day.
- Natural oils or moisture weaken the bond.
- The corners begin to pop up first.
A floating lash usually means the corners were never fully secured or the lash shape did not match the eye well enough.
What Causes the Floating Lash Look
The floating look often comes from a combination of small issues rather than one huge mistake. Sometimes the glue was not tacky enough before application. Other times the lashes were placed too high above the natural lash line. In some cases, the lash band is too stiff, too thick, or too wide for the eye.
It can also happen if the eye area is too oily, if there is leftover skincare on the lid, or if the person opens their eyes before the glue has set. The result is a lash that looks attached in the middle but loose at one or both ends.
Step by step: common causes
- The lash band does not match the eye shape.
- Glue is not applied close enough to the lash line.
- The corners do not get enough adhesive.
- The eye area is slippery from oil, skincare, or moisture.
- The lashes are not pressed down firmly enough while drying.
The floating look is usually a fit-and-application issue, which means it can be fixed.
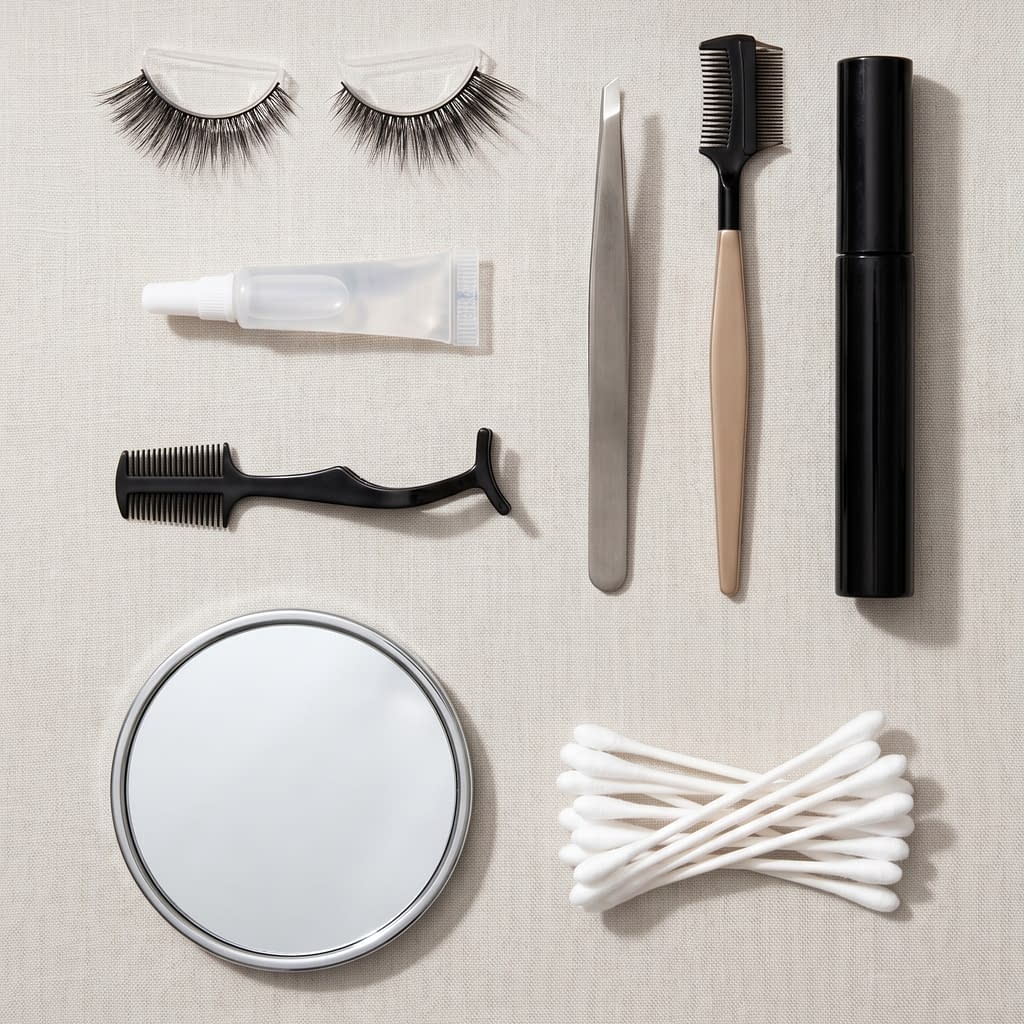
How to Prep Your Natural Lashes Before Applying Falsies
Good prep makes a huge difference in how well false lashes stay on. If your natural lashes and lids are clean, dry, and free from heavy product, the glue can bond much better.
Step by step: prep your lashes
- Remove any old makeup completely.
- Clean the eyelid area gently to remove oil and residue.
- Make sure the lashes are dry before applying glue.
- Curl your natural lashes lightly if needed.
- Apply mascara only if your lash style requires it, and use a thin coat.
Helpful tips
- Skip heavy creams or oily primers on the lash line
- If your lids get oily quickly, lightly powder the area before application
- Clean skin gives the glue a better surface to grip
The better the prep, the less likely the lashes are to lift later.
Choosing the Right Lash Shape for a Better Fit

Not every lash style works on every eye. Some lash strips are too long, too flat, or too dramatic for certain eye shapes. Choosing the right shape can solve lifting problems before they start.
What to look for
- A lash band that curves naturally with your eye
- A style that is not too wide for your lid
- A shape that complements your eye without pulling at the corners
- A band that feels flexible rather than stiff
Step by step: how to choose the right lash
- Measure the lash against your eye before applying.
- Check whether the strip is too long at the inner or outer corner.
- Hold it against the lid to see if the curve matches naturally.
- Choose a softer, more flexible band if your eyes are smaller or more curved.
- Try a lighter lash style if heavy lashes keep lifting.
A better lash shape often means less troubleshooting later.
The Best Way to Trim False Lashes for Your Eye Shape
Most false lashes need trimming, especially if they come in one standard size. Trimming them correctly can stop the corners from floating and make the band sit much closer to the eye.
Step by step: trimming lashes
- Hold the lash strip against your eyelid.
- Mark where it starts to extend past your natural eye shape.
- Trim from the outer corner if the lash is too long.
- Cut a little at a time instead of removing too much at once.
- Recheck the fit before gluing.
Helpful tips
- Trim only the section that makes the strip too long
- Keep the lash shape balanced
- If the band still feels stiff, gently bend it around your finger before applying
A properly trimmed lash is much more likely to sit flat and stay put.
How to Apply Lash Glue for Strong Corner Hold
The corners need extra glue support. If the center is secured but the ends are weak, the lash will still float. That is why glue placement matters so much.
Step by step: glue application
- Apply a thin, even layer of glue along the lash band.
- Add a tiny extra amount to the inner and outer corners.
- Wait until the glue becomes tacky, not wet.
- Place the lash as close to your natural lash line as possible.
- Press the center first, then secure both corners.
Helpful tips
- Too much glue can create a slippery mess
- Too little glue at the ends often causes lifting
- Tacky glue holds better than wet glue
The corners need firm but not excessive glue support to stay down.
Tips for Pressing Down Lash Edges Without Messing Up Makeup
Pressing the lash edges down correctly helps seal the corners without ruining the rest of your eye makeup. The trick is to use gentle pressure and the right tool.
Step by step: press the lashes
- Apply the lash and let it sit for a few seconds.
- Use tweezers, a lash applicator, or the back of a clean fingertip.
- Press the center first to anchor the strip.
- Press the inner corner gently into place.
- Press the outer corner last and hold for a few seconds.
Helpful tips
- Do not press so hard that you smudge liner or shadow
- A cotton swab can help nudge down a stubborn edge
- Let the glue set before blinking too much
Gentle pressure is usually enough when the glue has been placed well.
How to Keep Inner and Outer Corners from Popping Up
The inner and outer corners are the most likely to lift, so they need special attention. Securing them properly often makes the biggest difference in whether the lashes stay seamless.
Step by step: corner security
- Make sure the lash band reaches the right point on the eye.
- Apply extra glue to both ends of the strip.
- Wait for the glue to become tacky.
- Press the inner corner down first, then the outer corner.
- Recheck after a minute to make sure they are still flat.
Helpful tips
- The inner corner should not sit too close to the tear duct
- The outer corner should follow the eye’s natural curve
- If the corners still lift, the lash may need more trimming or a more flexible band
When the corners are secure, the whole lash line looks more realistic.
Common Lash Application Mistakes That Cause Lifting
A few common application mistakes can cause the “floating” look even if the lashes are good quality.
Common mistakes
- Applying the lash before the glue is tacky
- Placing the strip too high above the lash line
- Skipping the corners when applying glue
- Using a band that is too stiff
- Opening the eyes too soon after application
- Not pressing the lash into place long enough
Step by step: avoid lifting mistakes
- Prepare the lid and lashes properly.
- Apply the glue and wait for tackiness.
- Place the lash close to the natural lash line.
- Secure the corners carefully.
- Give the lashes time to dry before moving your eyes too much.
Small application errors often create big visual problems, so the details matter.
How to Fix False Lashes That Start Floating Midday

Sometimes lashes look perfect in the morning and start lifting later on. That usually happens when natural oils, humidity, movement, or sweat weaken the glue. You do not always need to remove the lashes and start over.
Step by step: midday fix
- Check which corner is lifting.
- Use a clean cotton swab or tweezers to gently lift the lash just enough to get under the edge.
- Add a tiny amount of glue to the lifted section.
- Wait a few seconds for it to get tacky.
- Press the corner back into place and hold it there.
Helpful tips
- Carry a small lash glue in your bag for touch-ups
- If the band is fully loose, it may be better to remove and reapply
- Do not use too much glue or it will look messy
A tiny fix is often enough to save the whole look.
Waterproof and Long-Wear Tricks for a Secure Lash Look
If your lashes usually lift from humidity, tears, oil, or long wear, a few extra tricks can help them stay put.
Step by step: longer hold
- Clean and dry the lid thoroughly.
- Use a long-wear or waterproof lash glue.
- Apply extra attention to the corners.
- Press the lashes into place and let them fully dry.
- Finish with a light setting step around the eye area if needed.
Helpful tips
- Avoid oily skincare near the lash line
- Keep the band clean before applying
- Choose glue designed for stronger hold if lifting is a constant issue
A strong glue and a dry lid often solve the problem better than adding more makeup.
How to Make False Lashes Look Seamless and Natural
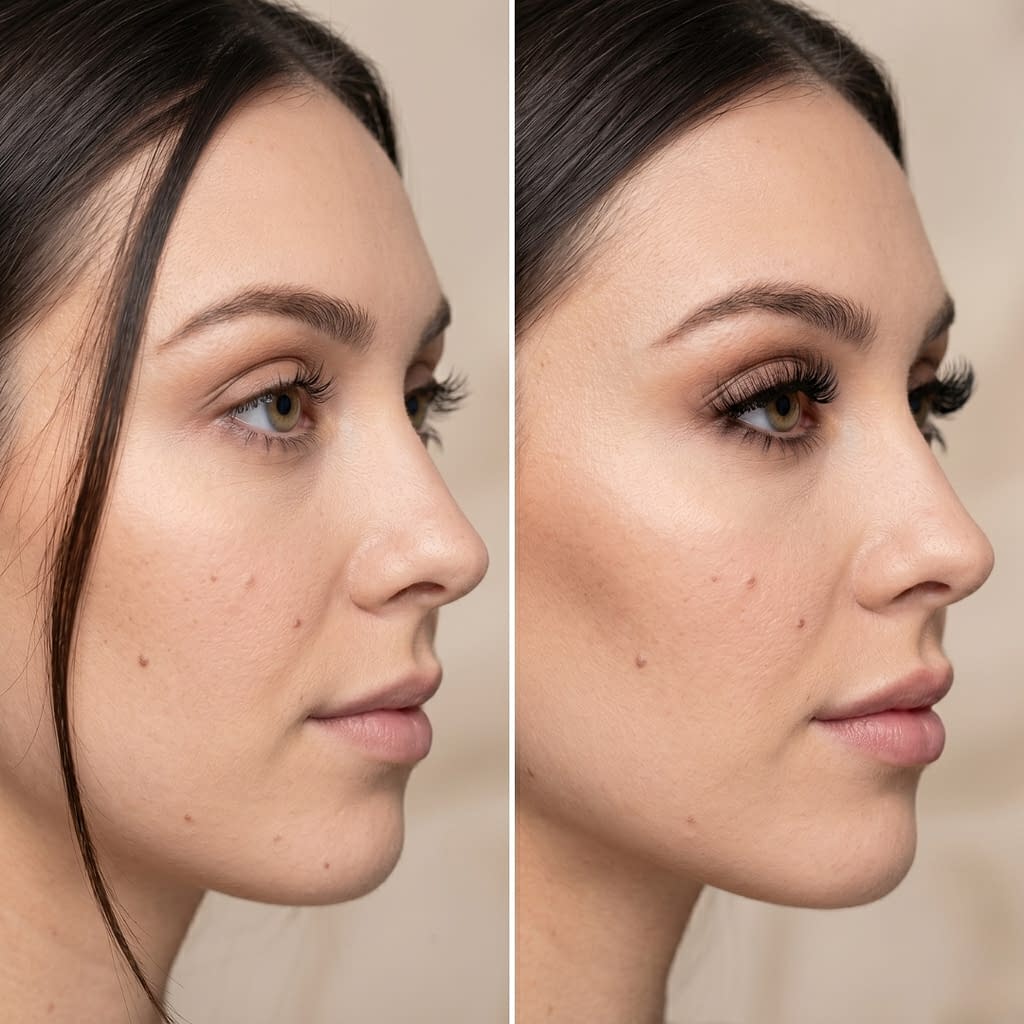
False lashes can look more natural when they blend with your eye shape and natural lashes. If they sit too high, too stiff, or too obvious, they are more likely to look separate from the eye.
Step by step: seamless lash finish
- Trim the lashes to fit.
- Place them as close as possible to the natural lash line.
- Blend with a thin line of eyeliner if needed.
- Gently pinch the natural lashes and falsies together.
- Add a small coat of mascara only if it helps the blend.
Helpful tips
- A soft lash band usually looks more natural
- The right shape matters as much as the glue
- The goal is for the lash line to look connected, not layered
When the lashes look seamless, they also tend to appear more secure.
Final Words
The floating false lash look is frustrating, but it is usually very fixable. In most cases, the problem comes down to fit, glue placement, or a lash band that is not quite matched to your eye shape. Once you trim the lashes properly, prep the lids well, and secure the corners with enough tacky glue, the whole look becomes much more stable.
The biggest lesson is that corner lifting is rarely random. It usually gives you a clue that the strip needs better shaping or stronger support at the ends. When you fix those details, the lashes sit closer, last longer, and look far more natural throughout the day.
A good lash application should feel secure, smooth, and invisible. With the right prep and technique, your lashes can stop floating and start looking like they truly belong there.


